Melting chocolate may seem simple, but achieving flawless melted chocolate requires combining precise techniques, understanding chocolate's chemistry, and avoiding common mistakes.
This guide will delve into the best methods for melting chocolate, essential tools, expert tips, and how to avoid pitfalls.
Whether you’re a home baker or a professional chocolatier, this article will provide a comprehensive understanding of how to melt chocolate perfectly with valuable techniques and insights into flavor enhancement and storage solutions.
Introduction to Chocolate Melting
Chocolate melting is a fundamental process in baking and confectionery, essential for creating smooth and glossy finishes in various recipes.
Different types of chocolate, including dark, milk, white, and compound chocolates, each have varying melting points and behaviors.
In this article, we'll explore the methods and tools necessary for melting chocolate efficiently, help you avoid common mistakes like overheating or seizing, and guide you toward flavor enhancements and proper storage for optimal results.
Tips #1: Temperature and Melting Methods
Melting chocolate slowly at low heat produces superior results and prevents burning. As chocolate burns at temperatures above 45°C (113°F), keeping heat low and steady is vital. Gradual heating allows the cocoa solids and fats to break down without compromising flavor or texture.
Stirring constantly while melting ensures a smooth and even distribution of heat. Failing to stir chocolate can cause uneven melting, creating a grainy or clumpy texture. Stirring distributes the heat more evenly and allows every piece of chocolate to melt properly.
Chopping chocolate into small, uniform pieces results in faster and more even melting. Using smaller pieces exposes more surface area to the heat, making the process more efficient.
Methods for Melting Chocolate
Using the Double Boiler (Bain-Marie) Method
The double boiler method is one of the safest ways to melt chocolate without direct exposure to heat, reducing the risk of burning.
Fill a saucepan with 2-3 inches of water and place a heatproof bowl over it, ensuring the water does not touch the bowl's bottom. Place your chopped chocolate in the bowl and heat the water on low, stirring the chocolate frequently.
Advantages of the Double Boiler Challenges of the Double Boiler
Reduces the risk of burning Can be slow compared to other methods
Ensures even heat distribution Requires constant supervision
Maintains heat control
Melting Chocolate in the Microwave
The microwave method is fast and convenient but requires careful attention to avoid burning. Heat the chopped chocolate in a microwave-safe bowl at 20-30-second intervals, stirring between sessions. The chocolate will continue melting from the residual heat, so don't overheat it.
Direct Heat on the Stovetop
Direct stovetop heating involves placing chocolate directly in a pan. This method should only be used with extreme caution and low heat, as direct exposure can scorch chocolate easily. Regular stirring is critical to prevent the chocolate from sticking or burning.
Electric Melting Pots: Pros and Cons
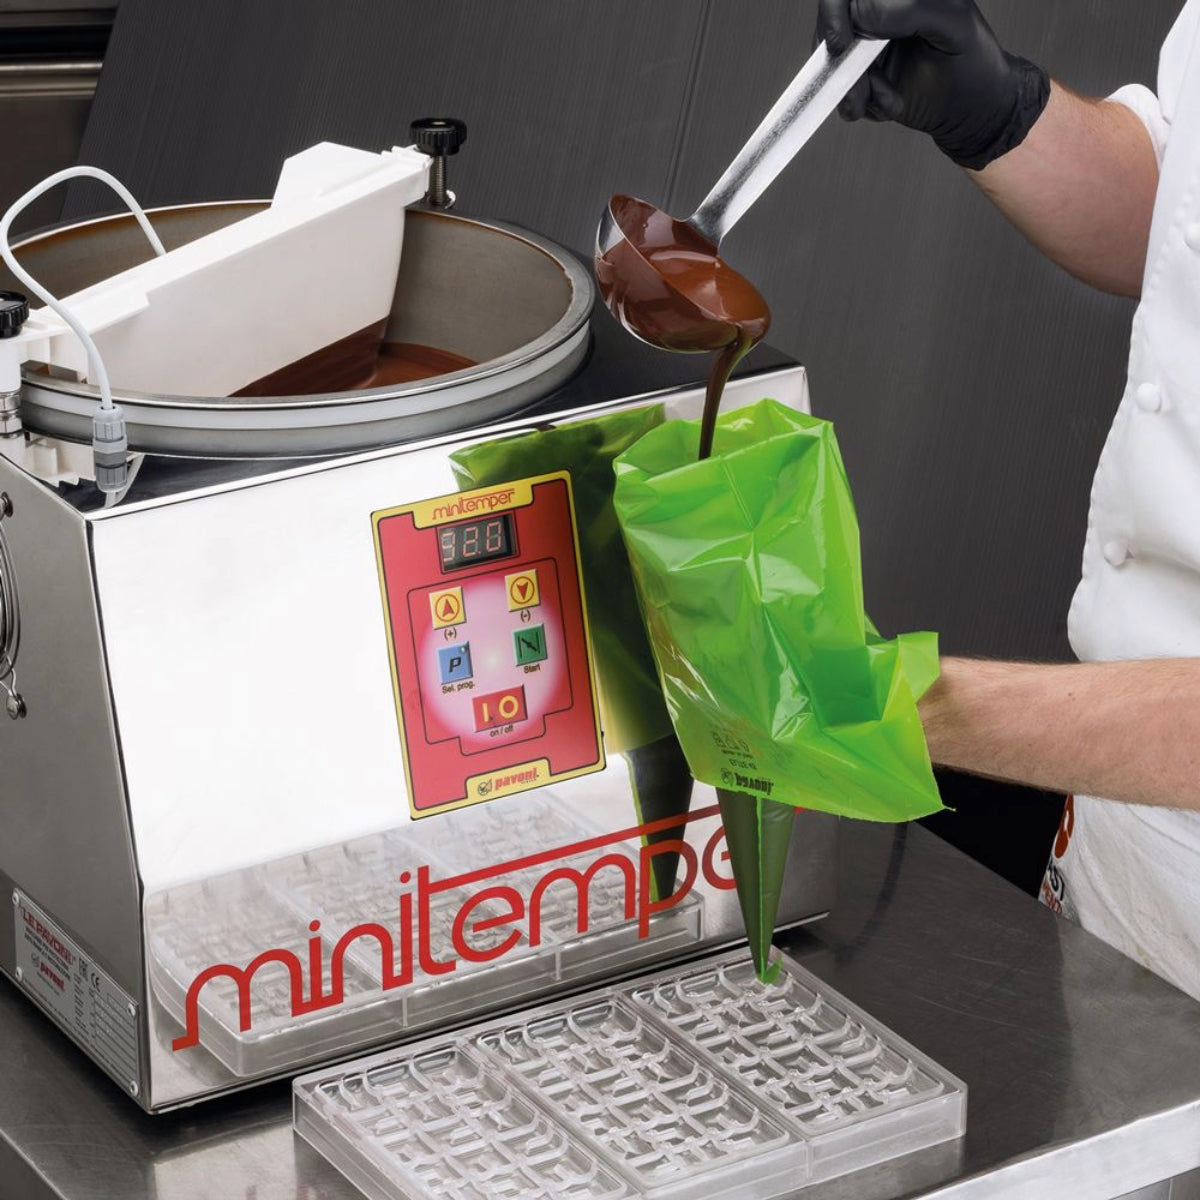
Electric melting pots offer an efficient way to melt large quantities of chocolate, especially for professionals who need to melt chocolate consistently. These devices maintain precise temperature control, but they can be expensive and are primarily geared toward larger-scale operations.
Tip #2: Mistakes to Avoid When Melting Chocolate
Chocolate burns easily if heated too quickly or at too high a temperature. Avoid overheating, especially with dark chocolate, which melts around 45°C (113°F).
White and milk chocolates burn even more quickly due to lower cocoa content.
Moisture accidentally introduced while melting chocolate can cause seizing. Chocolate is hydrophobic, meaning water causes it to clump and harden upon contact. Ensure all tools and work surfaces are dry, and avoid using wet utensils around the chocolate.
Failure to stir chocolate regularly can lead to uneven melting. Without constant movement, chocolate may remain lumpy or overheat in certain spots while other areas stay solid.
Using the wrong type of chocolate for your recipe can also cause melting difficulties. Baking chocolate, couverture, and compound chocolate have different fat or cocoa content, which affects how they melt and re-solidify.
| Common Mistake | Result | How to Avoid |
| Overheating chocolate | Burnt chocolate taste | Always use low, controlled heat. |
| Contact with moisture | Chocolate seizes | Keep tools and environment completely dry. |
| Lack of consistent stirring | Uneven melting or clumps | Stir frequently for smooth results |
| Using the wrong chocolate | Poor melting performance | Choose the correct chocolate type for the task. |
Tip #3: How to Fix Seized or Overheated Chocolate
Seized chocolate can often be recovered by adding fats like butter or cream. If chocolate combines with even a tiny drop of water, it will seize and become grainy. However, you can save it by incorporating fat, which helps melt the cocoa and sugar again. Add a teaspoon of warm butter or cream while stirring the chocolate vigorously.
There is no easy fix for burned chocolate, but it may be possible to mask the flavor slightly in small amounts. If chocolate becomes too scorched during the process, discard it, as its flavor and texture will be largely compromised.
Tip #4: Tools for Melting Chocolate Easier
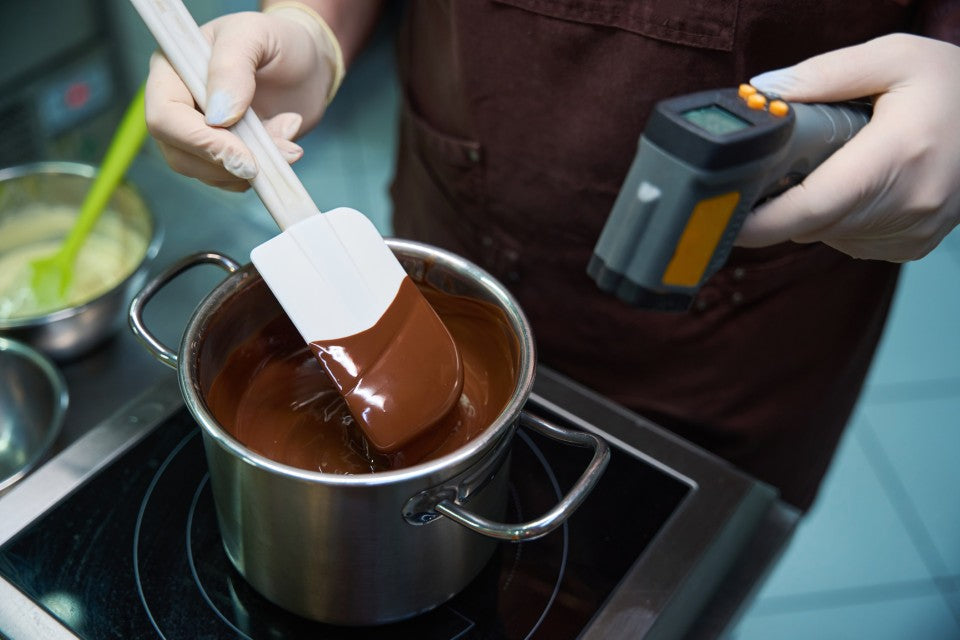
Heatproof bowls, silicone spatulas, and candy thermometers are essential for successful chocolate melting. A heatproof bowl is necessary when using the double boiler method, and a silicone spatula helps scrape down the sides and constantly stir without damaging the bowl or the chocolate.
A candy thermometer is critical for accuracy. It is used to keep track of the temperature and prevent overheating, achieving the best results in melting and tempering.
Tool Function
- Heatproof Bowls: Safe for double-boiler melting
- Silicone Spatula: Smooths, scrapes, and aids in constant stirring
- Candy Thermometer: Tracks precise temperature during melting
Tip #5: Flavor Enhancements
Adding vanilla, spices, or sea salt can enhance the chocolate’s flavor while melting. These ingredients can be incorporated directly into melted chocolate for a more complex taste. Aromatics like vanilla or cinnamon offer subtle flavor, while spices such as chili powder add heat.
Liquids like liqueurs or coffee can be used, but they must be added with caution. Too much moisture can cause the chocolate to seize. Ensure the liquids are introduced in small amounts, ideally in conjunction with fats like cream or butter.
Butter or cream is often used to achieve a glossier, smoother finish. These fats help to incorporate flavors smoothly and ensure a rich, silky texture for the melted chocolate.
Tip #6: How to make your chocolate has the Perfect Consistency
When melted correctly, chocolate should be smooth, fully liquefied, and uniform in texture. Perfectly melted chocolate pours easily and coats items evenly, mainly when dipping and coating.
Fats like butter and oil help achieve the right consistency. Adding extra fats can often help thin the chocolate or improve its workability, particularly when dipping fruits or frosting desserts.
Tip #7: Temperatures for Melting based on the type of chocolate
Each type of chocolate requires different melting temperatures for the best result.
-
Dark chocolate melts best between 45°C/113°F and 50°C/122°F.
-
Milk chocolate melts around 40°C/104°F.
-
White chocolate should never exceed 38°C/100°F due to its low cocoa content.
Using a thermometer ensures precise temperature control. It also helps you avoid the main pitfalls, such as scorching or overheating, during the melting process.
Tip #8: Preventing Chocolate Bloom After Melting
Chocolate bloom occurs when cocoa butter separates from the chocolate and forms a grayish film on the surface. Fat bloom often appears when chocolate cools too quickly or undergoes significant temperature changes.
Preventing bloom requires stable temperatures during melting and storage. Chocolate should be melted and rehardened at controlled room temperatures to ensure the cocoa butter does not separate unevenly.
Tip #9: Incorporating Melted Chocolate Into Recipes
Melted chocolate is ideal for dipping fruits, nuts, and cookies. Achieving the perfect consistency for dipping requires smooth, liquefied chocolate that clings to food evenly.
Drizzling and decorating with melted chocolate offers versatility. Use piping bags or spoons for an even drizzle on cakes and desserts, ensuring smooth application.
Chocolate ganache requires combining melted chocolate with cream to achieve richness. Warm cream added to melted chocolate creates a luxurious, velvety ganache.
Tip #10: Chocolate Storage Tips After Melting
Leftover melted chocolate should be stored in airtight containers to prevent moisture exposure. As moisture can quickly cause chocolate to seize or harden improperly, airtight plastic or glass containers will extend its usability.
Reheat the chocolate carefully and avoid overheating. When reheating, always use short bursts of heat and stir consistently, retaining its smooth texture.
When stored correctly, melted chocolate can last 2-3 weeks. Refrigerating or freezing it is ideal for long-term storage, but ensure you reheat it gently to bring it back to its original consistency.
Bonus: Advanced Tips for Professional Chocolatiers
Tempering chocolate involves precise heating and cooling to achieve glossy, snappy finishes. Tempering prevents bloom and ensures beautifully coated chocolates with a professional finish.
Couverture chocolate offers superior melting properties. With a higher cocoa butter content, it melts more smoothly, making it ideal for dipping and enrobing.
Conclusion
Mastering the art of melting chocolate is a rewarding skill in both home baking and professional culinary settings. Using tools like candy thermometers and following proper techniques will help ensure your chocolate is smooth, glossy, and perfect every time. These tips can help you avoid common mistakes, explore flavor enhancements, and store chocolate correctly for future use.










Dejar un comentario
Este sitio está protegido por hCaptcha y se aplican la Política de privacidad de hCaptcha y los Términos del servicio.