


Key Takeaways
-
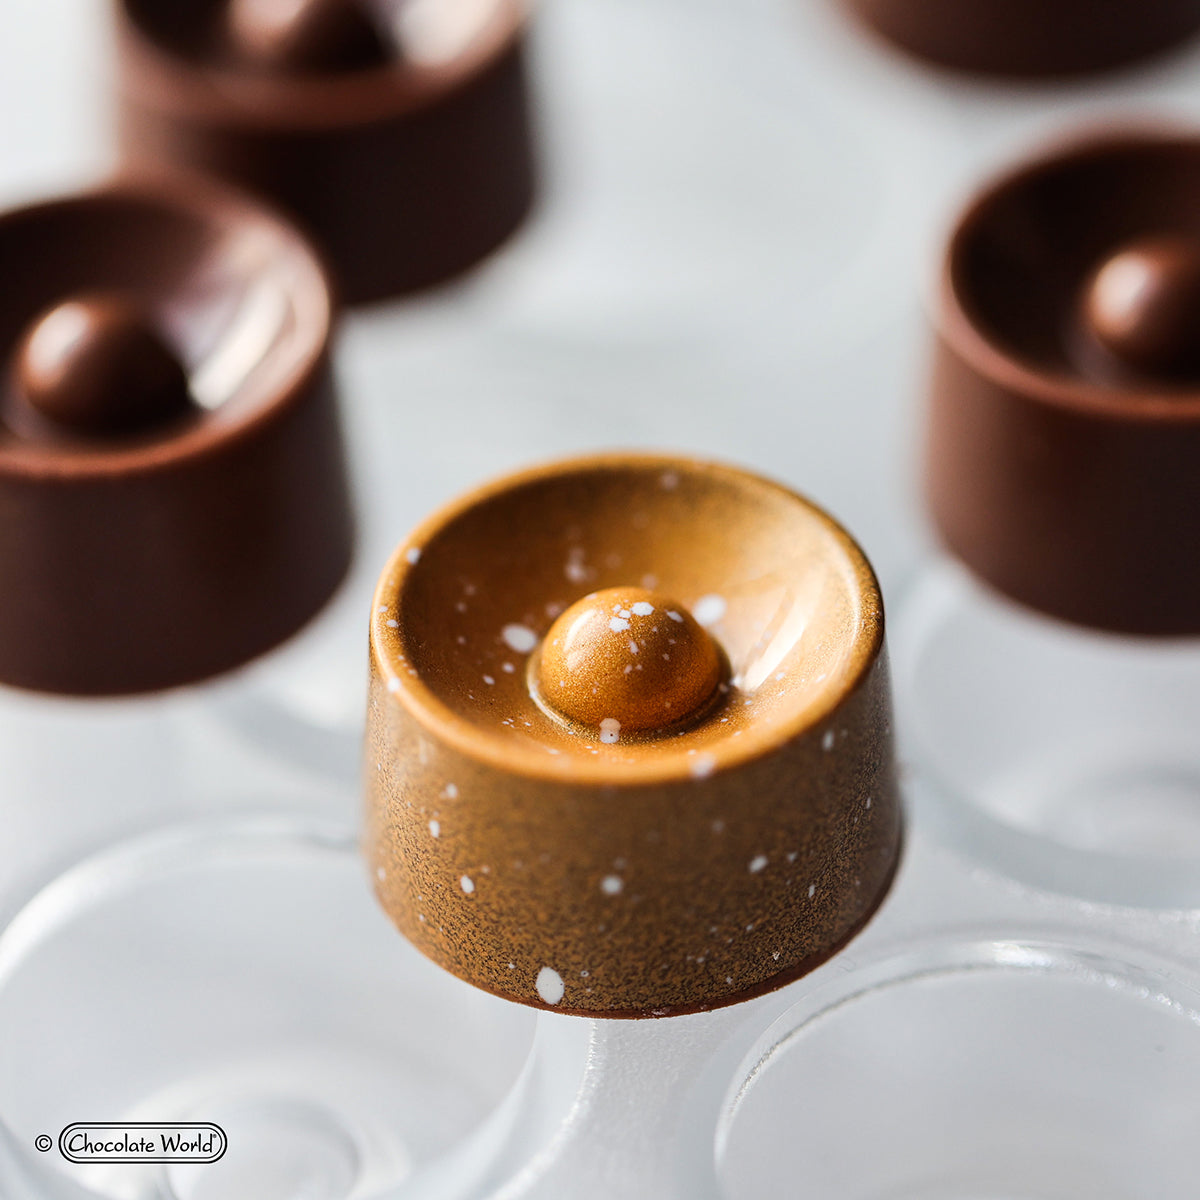
Properly tempered chocolate has a glossy finish, satisfying snap, and doesn't melt at room temperature
-
The three essential temperatures for tempering are melting (45-50°C), cooling (27-28°C), and working (31-32°C for dark chocolate)
-
The seeding method is the most beginner-friendly tempering technique
-
Different chocolate types (dark, milk, white) require different tempering temperatures
-
Quality chocolate with higher cocoa butter content tempers more easily and produces better results
-
Explore Zucchero Canada's chocolate collection for premium chocolate perfect for tempering
Introduction to Chocolate Tempering
Have you ever wondered why store-bought chocolate has that beautiful glossy shine and satisfying snap, while your homemade chocolate creations often turn out dull, streaky, or soft? The secret lies in a process called tempering. Chocolate tempering is a technique that aligns the cocoa butter crystals in chocolate to create that professional finish you see in high-end confections.
If you've tried tempering chocolate at home before, you might have found it intimidating or had mixed results. The good news is that with the right knowledge and techniques, anyone can master chocolate tempering in their home kitchen. This comprehensive guide will walk you through everything you need to know about chocolate tempering tips that professionals wish they had known when they started.
Whether you're a home baker looking to elevate your chocolate decorations, a budding chocolatier, or simply a chocolate enthusiast wanting to understand the science behind your favorite treat, this guide will transform your chocolate work from amateur to professional.
Why Tempering Chocolate Matters
Before diving into the how-to, it's important to understand why tempering chocolate matters in the first place. Untempered chocolate might taste fine, but it lacks the characteristics that make chocolate truly exceptional.
Properly tempered chocolate offers:
-
Superior appearance: A glossy, attractive shine that signals quality
-
Perfect texture: That distinctive "snap" when you break a piece
-
Stability: Resistance to melting at room temperature
-
Smooth mouthfeel: A silky texture as it melts on your tongue
-
Extended shelf life: Better resistance to bloom and spoilage
The science behind tempering relates to the crystalline structure of cocoa butter. Cocoa butter can crystallize in six different forms (polymorphs), but only one form—the beta crystal—gives chocolate its desirable properties. Tempering is the process of manipulating temperature to encourage these stable beta crystals to form.
When chocolate is melted, all crystal structures are destroyed. Without proper tempering, the cocoa butter will solidify in unstable crystal forms, leading to chocolate that's dull, soft, and prone to developing whitish streaks called "bloom."
Essential Equipment for Tempering Chocolate at Home
One of the most important chocolate tempering tips is having the right tools. While professional chocolatiers have specialized equipment, you can achieve excellent results at home with basic kitchen items:
-
Accurate thermometer: The single most important tool—digital instant-read thermometers or infrared thermometers work best
-
Heat-resistant bowls: Glass, stainless steel, or ceramic
-
Saucepan: For creating a double boiler setup
-
Rubber or silicone spatulas: For gentle stirring without introducing air bubbles
-
Workspace: A clean, cool marble slab or countertop (optional but helpful)
-
Parchment paper: For testing temper and setting finished chocolates
-
Kitchen scale: For precise measurements
-
Chocolate molds or sheets: For shaping your final creations
While not essential, some home chocolatiers invest in:
-
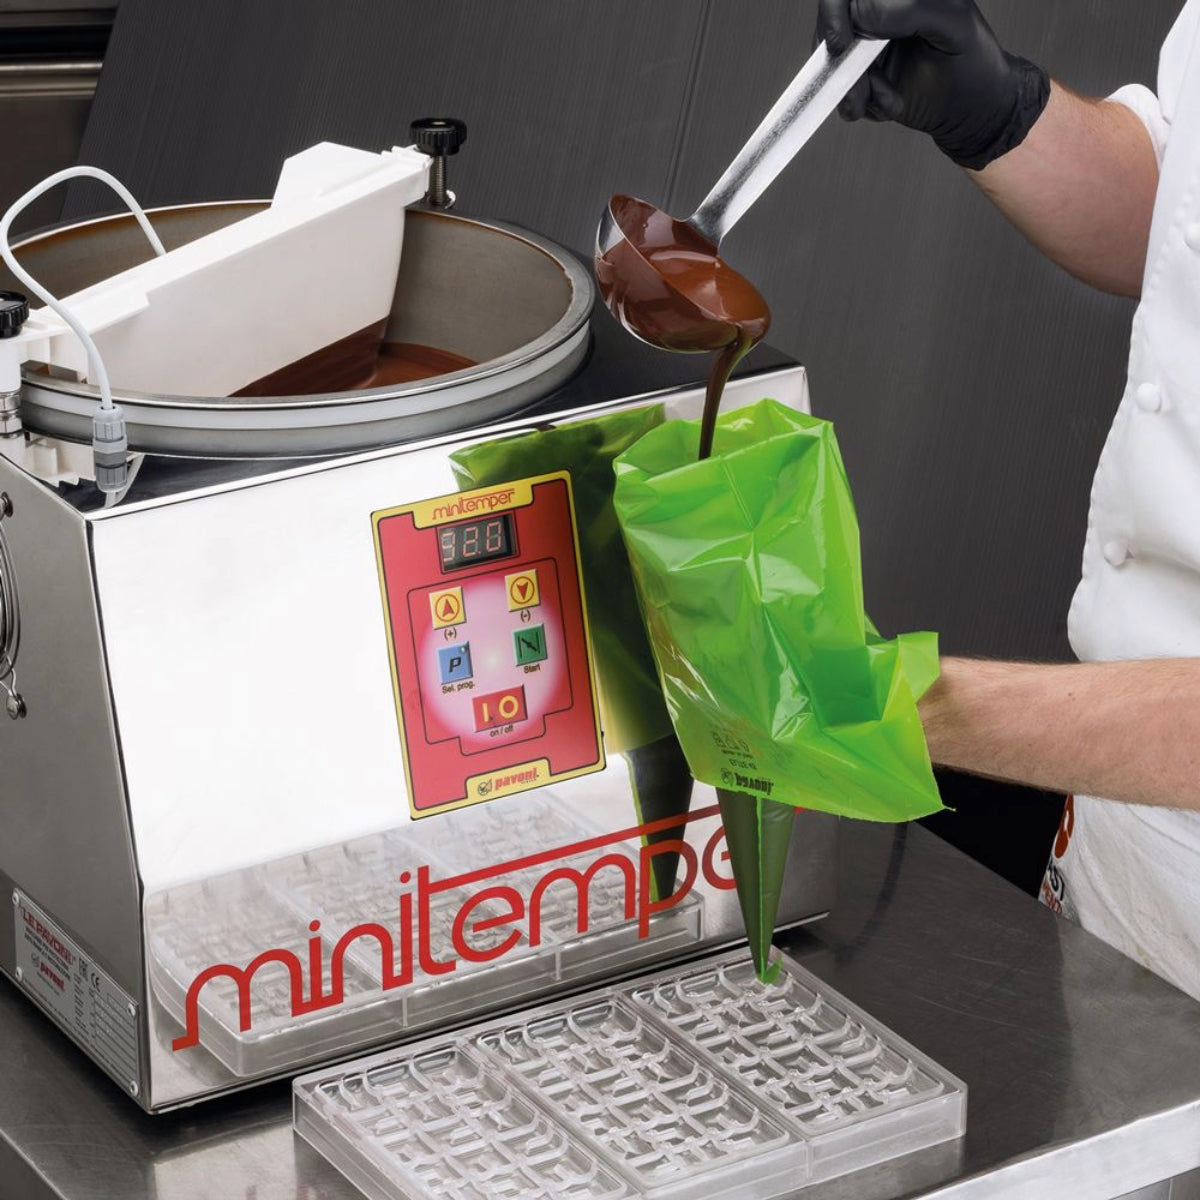
Chocolate melter/temperer: Maintains precise temperatures
-
Chocolate scrapers: For working chocolate on a marble surface
-
Warming pad: Keeps tempered chocolate at working temperature
Quality equipment makes the tempering process smoother, but don't let a lack of specialized tools stop you. Many professional chocolatiers started with just a bowl, a pot, and a good thermometer.
Different Methods of Tempering Chocolate
There are several approaches to tempering chocolate, each with its advantages. The method you choose might depend on your experience level, the equipment you have available, and the amount of chocolate you're working with.
Seeding Method
The seeding method is widely considered the most accessible technique for beginners and remains popular among professionals for its reliability.
How it works: You melt about 2/3 of your chocolate completely, then "seed" it with the remaining 1/3 of unmelted, already-tempered chocolate. The seed chocolate contains stable beta crystals that encourage proper crystallization throughout the melted chocolate.
Pros:
-
Least equipment-intensive
-
More forgiving of temperature fluctuations
-
Works well for small to medium batches
Cons:
-
Requires already-tempered chocolate as seed
-
Can take longer than other methods
Tabling Method
The tabling method is the traditional technique used by professional chocolatiers and gives you the most control over the tempering process.
How it works: You melt all your chocolate completely, then pour about 2/3 of it onto a cool marble surface. You work this chocolate with scrapers until it begins to thicken (as crystal formation begins), then return it to the remaining warm chocolate and mix thoroughly.
Pros:
-
Provides excellent control
-
Often results in the most stable temper
-
Traditional professional method
Cons:
-
Requires practice and skill
-
Needs a marble surface or cooling table
-
Can be messy for beginners
Sous Vide Method
This modern approach uses precise temperature control to simplify the tempering process.
How it works: Chocolate is sealed in a bag and melted completely in a sous vide water bath at around 45°C (113°F). The temperature is then lowered to the working temperature for the specific chocolate type, and held there until the chocolate crystallizes properly.
Pros:
-
Very precise temperature control
-
"Set it and forget it" approach
-
Minimal hands-on work
Cons:
-
Requires sous vide equipment
-
Takes longer than other methods
-
Limited batch size depending on equipment
Microwave Method
The microwave method is the quickest approach and works well for small amounts of chocolate.
How it works: Chocolate is carefully melted in short bursts in the microwave, stirring between each burst. Once about 2/3 melted, you rely on residual heat and stirring to complete the melting while cooling to working temperature.
Pros:
-
Fastest method
-
Minimal equipment needed
-
Good for small batches or quick fixes
Cons:
-
Higher risk of overheating
-
Less precise temperature control
-
Can be challenging for beginners
Step-by-Step Guide to Tempering Different Types of Chocolate
One of the most valuable chocolate tempering tips to remember is that different chocolate types require different temperatures. Let's explore the specific approaches for each variety.
Dark Chocolate
Dark chocolate is typically the easiest to temper due to its higher cocoa solids content and simpler composition.
Tempering temperatures for dark chocolate:
-
Melt to 45-50°C (113-122°F)
-
Cool to 27-28°C (80-82°F)
-
Reheat to working temperature of 31-32°C (88-90°F)
Detailed seeding method for dark chocolate:
-
Chop 2/3 of your dark chocolate (200g from a 300g batch) into small, even pieces.
-
Set aside the remaining 1/3 (100g) as your "seed" chocolate.
-
Place the chopped portion in a heat-resistant bowl.
-
Create a double boiler by placing the bowl over a pot with an inch of simmering water, ensuring the water doesn't touch the bowl.
-
Stir gently as the chocolate melts, monitoring the temperature closely.
-
Once it reaches 45-50°C (113-122°F), remove from heat.
-
Immediately add a small handful of the seed chocolate and stir gently.
-
Continue adding seed chocolate in small amounts, stirring continuously.
-
Check the temperature frequently—the goal is to cool the chocolate to 27-28°C (80-82°F).
-
Once cooled, place the bowl back over warm water briefly to raise the temperature to 31-32°C (88-90°F).
-
Test the temper by dipping a knife tip or piece of parchment in the chocolate and allowing it to set at room temperature (15-20 minutes). Properly tempered chocolate will be glossy and snap cleanly.
-
Maintain the working temperature while using the chocolate.
Milk Chocolate
Milk chocolate contains milk solids and typically has a lower cocoa content, making it slightly trickier to temper than dark chocolate.
Tempering temperatures for milk chocolate:
-
Melt to 45°C (113°F)
-
Cool to 26-27°C (79-81°F)
-
Reheat to working temperature of 29-30°C (84-86°F)
The process follows the same steps as dark chocolate, but with stricter temperature control. Milk chocolate is more sensitive to overheating, so monitor temperatures carefully and melt more gently.
White Chocolate
White chocolate contains no cocoa solids, only cocoa butter, sugar, and milk solids. This composition makes it the most challenging to temper properly.
Tempering temperatures for white chocolate:
-
Melt to 40-45°C (104-113°F)
-
Cool to 25-26°C (77-79°F)
-
Reheat to working temperature of 28-29°C (82-84°F)
White chocolate burns easily, so use even gentler heat than with milk chocolate. Its high sugar content can make it grainy if overheated, so patience is key. When properly tempered, white chocolate should have a creamy ivory appearance rather than a yellowish tint.
Common Chocolate Tempering Problems and Solutions
Even experienced chocolatiers encounter issues when tempering chocolate. Here are some common problems and their solutions:
Streaky or dull chocolate
-
Problem: Chocolate hasn't been properly tempered
-
Solution: Re-temper the chocolate completely, paying closer attention to temperature ranges
Chocolate too thick to work with
-
Problem: Temperature has dropped too low
-
Solution: Gently warm to raise to proper working temperature, being careful not to exceed it
Chocolate setting too quickly
-
Problem: Working temperature is too low
-
Solution: Slightly increase the temperature, staying within the working range
Chocolate taking too long to set
-
Problem: Temperature may be too high or temper wasn't achieved
-
Solution: Verify temper with a test sample; re-temper if necessary
White streaks or spots (bloom)
-
Problem: Fat bloom from improper tempering or storage
-
Solution: Re-temper completely; ensure proper storage away from temperature fluctuations
Chocolate too thick even at correct temperature
-
Problem: May have seized or contain moisture
-
Solution: If seized, can only be saved for ganache or sauces; if just thick, try adding a small amount (1-2%) of cocoa butter
Advanced Chocolate Tempering Tips for Home Enthusiasts
Once you've mastered the basics, these advanced chocolate tempering tips will help you achieve professional-quality results:
-
Invest in couverture chocolate: Chocolate with higher cocoa butter content (32-39%) tempers more easily and produces superior results. Zucchero Canada offers excellent couverture chocolate perfect for tempering.
-
Pre-crystallization: Add a small amount (1%) of grated cocoa butter to your melted chocolate to provide nucleation sites for crystal formation.
-
Temperature stability: Create a warm working environment without drafts. Temperature fluctuations are the enemy of tempered chocolate.
-
Temper curve adjustment: Slightly adjust your tempering temperatures based on your specific working environment. If your kitchen is very warm, you might need to work at the lower end of the temperature ranges.
-
Maintain working temperature: Keep tempered chocolate at working temperature using a warming pad set to the correct temperature, or with brief exposures to gentle heat.
-
Avoiding moisture: Even tiny water droplets can cause chocolate to seize. Ensure all equipment is completely dry before use.
-
Cleaning tools: Clean chocolate residue from tools using paper towels first, before washing with water.
-
Storage: Store tempered chocolate creations at cool room temperature (18-20°C/65-68°F), never in the refrigerator, to prevent condensation and bloom.
Frequently Asked Questions About Chocolate Tempering
Can I temper chocolate without a thermometer?
While possible, it's not recommended. The success of tempering relies heavily on precise temperature control. However, in a pinch, you can use these visual cues:
-
Melted chocolate should be completely liquid and slightly warmer than body temperature
-
Cooled chocolate will be thicker but still fluid, and feel cool on your lower lip
-
Working temperature chocolate will be smooth, glossy, and fluid but not runny
How can I tell if chocolate is properly tempered?
Properly tempered chocolate will:
-
Set quickly at room temperature (5-10 minutes)
-
Have a glossy surface with no streaks or spots
-
Make a clean snapping sound when broken
-
Resist melting when touched briefly with a fingertip
Can I re-temper chocolate that has bloomed?
Yes! Chocolate with bloom is perfectly usable. Simply follow the complete tempering process again. The bloom is just cocoa butter that has separated and risen to the surface; it doesn't affect flavor or quality.
Why does my chocolate always seize when I'm tempering?
Chocolate seizes when it comes into contact with even tiny amounts of water or steam. Ensure all equipment is completely dry, avoid using wooden utensils that may retain moisture, and be careful of steam from your double boiler.
How long can I keep tempered chocolate in a working state?
Properly maintained at working temperature, tempered chocolate can remain usable for several hours. However, it's best to work with it within 1-2 hours for optimal results.
Can I add flavors or colors to tempered chocolate?
Yes, but with caution. Any additions must be:
-
Completely oil-based (no water content)
-
Added when chocolate is fully melted, before tempering begins
-
Limited to about 5% of the total weight to avoid affecting the temper
Is it true that adding shortening or oil makes tempering easier?
Adding fats like vegetable oil or shortening will prevent bloom and make chocolate shinier, but it's not true tempering. This method creates a coating, not properly tempered chocolate, and sacrifices the snap and mouthfeel of properly tempered chocolate.
Conclusion: Your Journey to Mastering Chocolate Tempering
Tempering chocolate at home might seem intimidating at first, but with practice and the chocolate tempering tips shared in this guide, you'll soon be creating professional-quality chocolates in your own kitchen. Remember that even professional chocolatiers had to start somewhere, and each "failed" batch is simply an opportunity to learn and improve.
The key to success lies in understanding the science behind tempering, investing in good quality chocolate, maintaining precise temperature control, and practicing regularly. Don't be discouraged by initial challenges—chocolate tempering is as much an art as it is a science.
Ready to put these chocolate tempering tips into practice? Zucchero Canada offers everything you need to get started, from premium chocolate couverture to essential tools and equipment. Explore their extensive chocolate collection to find the perfect chocolate for your next tempering project.
Remember, the joy of working with chocolate isn't just in the final product but in the creative process itself. Happy tempering!


Dejar un comentario
Todos los comentarios se revisan antes de su publicación.
Este sitio está protegido por hCaptcha y se aplican la Política de privacidad de hCaptcha y los Términos del servicio.