


Chocolate spoons have become incredibly popular as elegant gifts, café accessories, and party favors. Learning how to make chocolate spoons with mold at home allows you to create personalized treats that are both beautiful and delicious. Whether you're crafting them for a special occasion or starting a small business, this comprehensive guide will walk you through every step—from selecting the right chocolate spoon molds to achieving that perfect glossy finish. With the right techniques and quality supplies, you'll be creating professional-looking chocolate spoons in no time.
What Are Chocolate Spoons and Why Make Them?
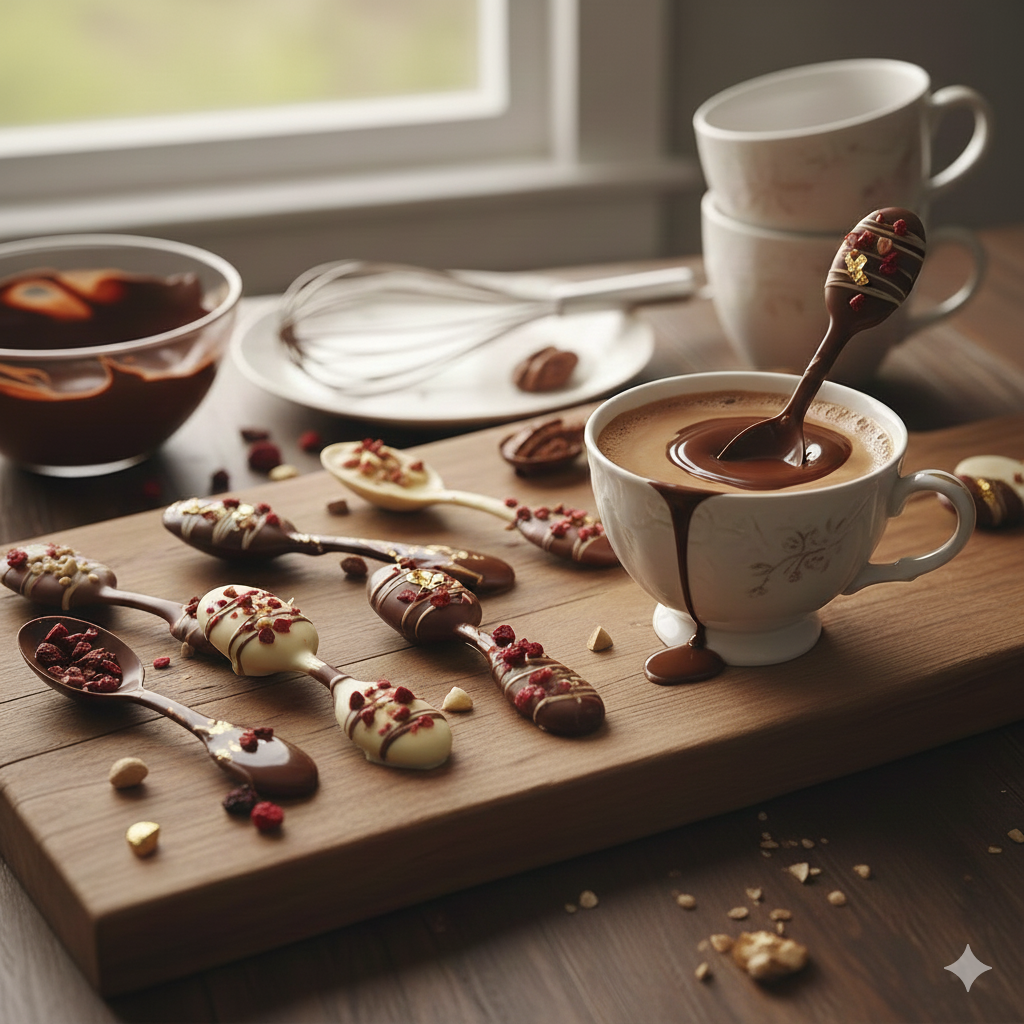
Chocolate spoons are edible utensils designed to stir into hot beverages like coffee, hot chocolate, or tea, slowly melting and infusing drinks with rich chocolate flavor. They combine functionality with indulgence, making them perfect for gifts, wedding favors, holiday treats, or upscale café offerings. The spoon gradually dissolves as you stir, transforming an ordinary drink into a luxurious experience.
Making chocolate spoons at home offers numerous advantages that make the effort worthwhile:
- Complete Quality Control: Choose premium chocolate without additives or excessive sugar found in commercial versions
- Endless Customization: Create flavors tailored to dietary needs (vegan, sugar-free, allergen-friendly)
- Cost-Effectiveness: Homemade batches cost significantly less per spoon than retail prices
- Business Potential: Many successful small businesses started with handmade chocolate spoons
- Creative Expression: Design unique patterns, colors, and flavor combinations impossible to find in stores
The process of how to make chocolate spoons with mold is surprisingly straightforward once you master the fundamentals. From classic dark chocolate to innovative combinations like peppermint white chocolate, lavender-infused milk chocolate, or salted caramel with sea salt flakes, the creative possibilities are truly endless when crafting your own.

Essential Supplies for Making Chocolate Spoons
Before you begin learning how to make chocolate spoons with mold, gathering the right supplies ensures a smooth process and professional results.
Choosing the Right Chocolate Spoon Molds
Chocolate spoon molds come in two main types, each with distinct advantages. Silicone molds are ideal for beginners—they're flexible, dishwasher-safe, and make unmolding effortless without risking breakage. Their non-stick surface means even imperfectly tempered chocolate releases cleanly. Polycarbonate molds create superior shine and sharper details but require proper tempering chocolate techniques and careful handling. Professional chocolatiers often prefer polycarbonate for display pieces.
For those starting their chocolate spoons journey, silicone molds for pastry and chocolate offer excellent value and consistent results. Standard spoon molds measure 5-7 inches long, perfect for standard mugs. Consider these features when selecting:
- Handle Design: Some molds include integrated handle cavities; others require wooden or plastic sticks
- Capacity: Deeper cavities create thicker, more substantial chocolate spoons
- Detail Level: Intricate patterns show better in polycarbonate but work fine in quality silicone
- Quantity: Multi-cavity molds speed up production for large batches
Selecting Your Chocolate and Essential Tools
Quality chocolate is the foundation of exceptional making chocolate spoons. Couverture chocolate, containing higher cocoa butter content (32-39%), provides superior flavor, smooth texture, and that satisfying snap. Dark chocolate (60-70% cacao) offers rich, complex flavor and the easiest working properties for beginners. Milk chocolate creates sweeter, creamier spoons that appeal to broader audiences. White chocolate, technically not chocolate due to lacking cocoa solids, requires extra temperature care but produces elegant, vanilla-forward results.
Avoid chocolate chips containing stabilizers that prevent proper melting. Look for chocolate labeled "couverture" or high-quality baking chocolate in bars or callets (small discs). For those avoiding tempering, compound chocolate or candy melts work adequately, though they lack the depth and mouthfeel of real chocolate.
|
Essential Tool |
Purpose |
Pro Tip |
|
Microwave-safe bowl or double boiler |
Even chocolate melting |
Glass bowls show chocolate color clearly |
|
Silicone spatula |
Stirring without air bubbles |
Avoid wooden spoons that retain moisture |
|
Digital thermometer |
Temperature monitoring |
Instant-read types work best |
|
Wooden/plastic spoon sticks |
Creating handles |
Pre-cut to 6" for uniform appearance |
|
Small offset spatula |
Smoothing surfaces |
Angled blade reaches mold corners easily |
|
Bench scraper |
Leveling filled molds |
Creates perfectly flat backs |
Preparing Your Workspace
Proper preparation prevents common mistakes when learning how to make chocolate spoons with mold. Chocolate is notoriously sensitive to moisture—even a single drop of water causes it to seize into a grainy, unusable mass. Before starting, wipe down all surfaces with a dry cloth and ensure your chocolate spoon molds are spotlessly clean and completely dry.
Clean your molds with warm soapy water, rinse thoroughly, and dry with a lint-free cloth. For extra assurance, let them air-dry for 30 minutes. Any water droplets, fingerprints, or dust particles will transfer directly to your finished chocolate spoons, creating imperfections.
Organize your workspace strategically:
- Place molds on a level surface (uneven surfaces create lopsided spoons)
- Arrange all tools within arm's reach to avoid frantic searching mid-process
- Set out decorating supplies, spoon sticks, and flavorings beforehand
- Keep paper towels handy for quick cleanup of drips
- If working with multiple chocolate types, prepare separate bowls to prevent cross-contamination
Room temperature matters significantly. Ideally, work in a space between 65-70°F. Warmer environments cause chocolate to set too slowly; cooler spaces may cause temperature shock when unmolding from refrigeration.
Step-by-Step Guide: How to Make Chocolate Spoons with Mold
Step 1: Melting Your Chocolate Properly
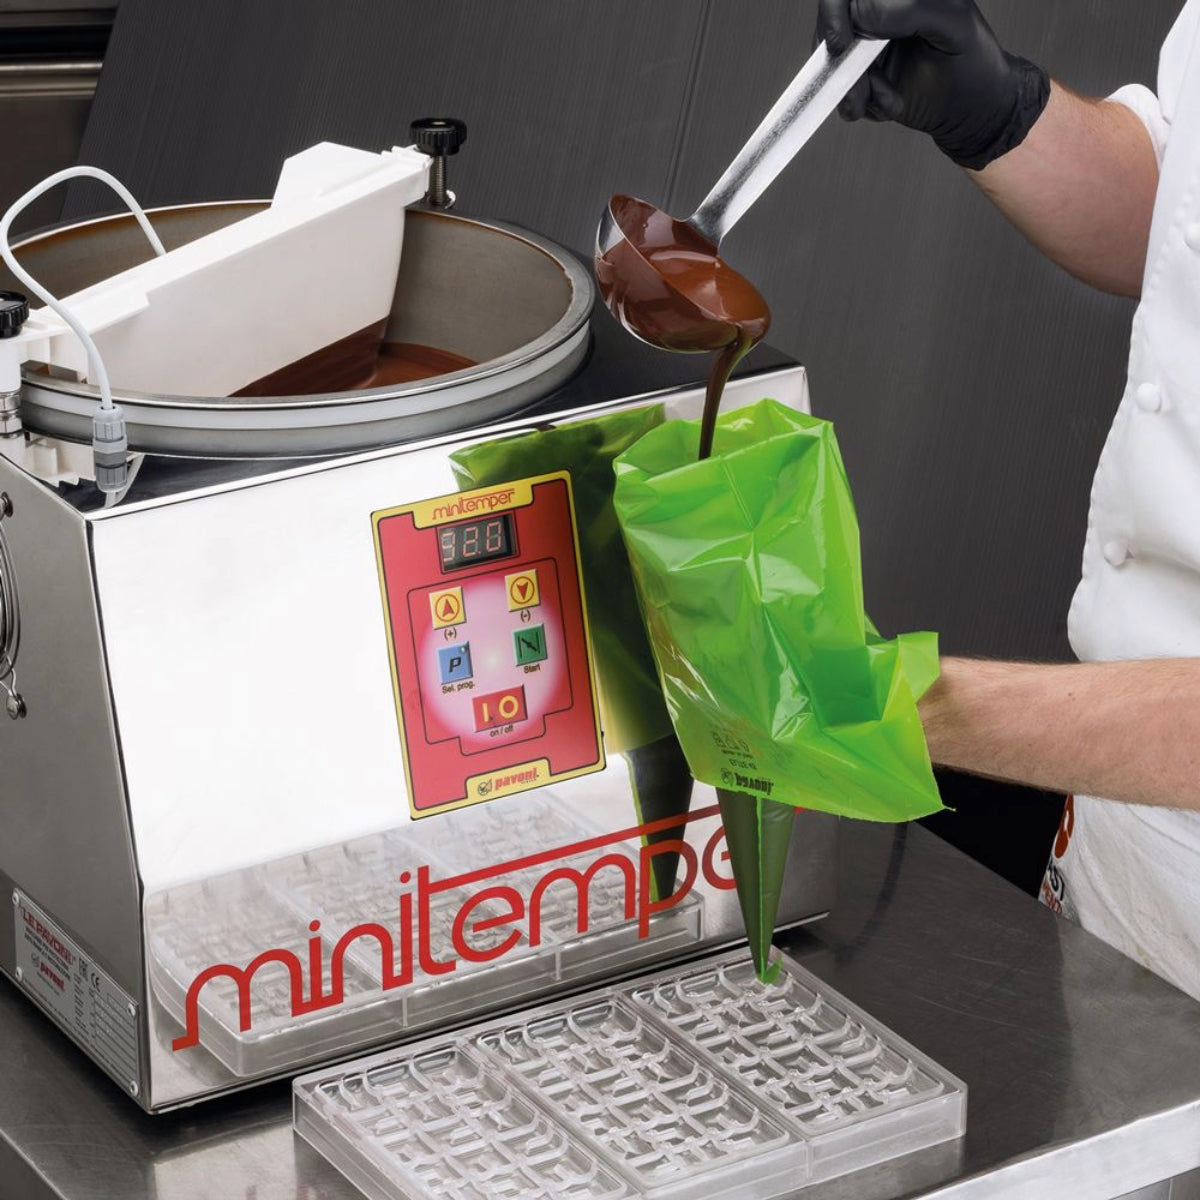
The first step in how to make chocolate spoons with mold is melting chocolate correctly. For the microwave method, heat chocolate in 30-second intervals at 50% power, stirring between each interval. This prevents overheating and graininess.
For double boiler method, simmer an inch of water in a saucepan, place a bowl on top (not touching water), and stir chocolate constantly. Target temperatures: dark chocolate 115-120°F, milk chocolate 110-115°F, white chocolate 105-110°F.

Step 2: Tempering Chocolate (Optional)
Tempering chocolate stabilizes cocoa butter crystals for glossy chocolate spoons with perfect snap. Melt two-thirds of chocolate to the temperatures above, then stir in remaining one-third unmelted chocolate. Cool to: 88-90°F (dark), 86-88°F (milk), or 82-84°F (white).
Test by spreading chocolate on parchment—it should set within 3-5 minutes with shine. While tempering creates professional results, you can skip this step when making chocolate spoons in silicone molds for your first attempts.
Step 3: Filling the Molds
Pour melted chocolate into chocolate spoon molds, filling three-quarters full. Don't overfill to avoid spillage during tapping. Use an offset spatula to spread evenly if needed.
Tap the mold firmly on your counter to eliminate air bubbles. Continue until no bubbles appear. Insert spoon sticks halfway into chocolate if your molds lack handle cavities, wiggling slightly to secure them.
Step 4: Setting and Unmolding
Let chocolate spoons set completely before unmolding. Tempered chocolate sets at room temperature in 20-30 minutes. Untempered chocolate needs refrigeration for 10-15 minutes. Chocolate is ready when matte and pulled away from mold edges.
For silicone molds, gently flex or turn upside down. Chocolate spoons should release easily. For polycarbonate molds, invert and tap gently—properly tempered chocolate falls right out.
Step 5: Decorating Your Chocolate Spoons
Add flair with contrasting chocolate drizzles using a fork or piping bag. Sprinkle chopped nuts, freeze-dried fruit, or edible glitter while drizzle is wet. For filled spoons, add mini marshmallows or caramel pieces before chocolate fully sets.
For professional shimmer, use spray colors which provide even, beautiful finishes. Keep decorations complementary to chocolate's flavor.
Creative Flavor Combinations
Once you've mastered how to make chocolate spoons with mold, experimenting with flavors elevates your creations from simple treats to memorable culinary experiences. Understanding flavor pairing principles helps create harmonious combinations rather than competing tastes.
|
Chocolate Type |
Classic Pairings |
Adventurous Options |
Best Occasions |
|
Dark chocolate (60-70%) |
Espresso powder, orange zest, sea salt |
Chili powder, cardamom, earl grey tea |
Coffee lovers, sophisticated gifts |
|
Milk chocolate |
Raspberry, caramel, vanilla bean |
Miso, brown butter, chai spice |
Kids' parties, everyday treats |
|
White chocolate |
Peppermint, lemon, lavender |
Matcha, rose, pistachio |
Weddings, spring events |
Seasonal Flavor Inspiration:
- Fall: Incorporate cinnamon, nutmeg, and clove into milk chocolate for chai-spiced versions, or add pumpkin spice blend with a pinch of ginger
- Winter: Mix crushed candy canes into white chocolate, or create gingerbread-spiced dark chocolate with molasses undertones
- Spring: Infuse white chocolate with culinary lavender or add freeze-dried strawberry powder to milk chocolate
- Summer: Combine coconut flakes with lime zest in white chocolate, or mix passion fruit powder into milk chocolate
Advanced Techniques: Create visually stunning layered chocolate spoons by pouring dark chocolate first, letting it partially set (surface loses shine but still feels slightly tacky), then carefully adding a contrasting layer of white or milk chocolate. The layers bond during final setting, creating a beautiful cross-section when bitten.
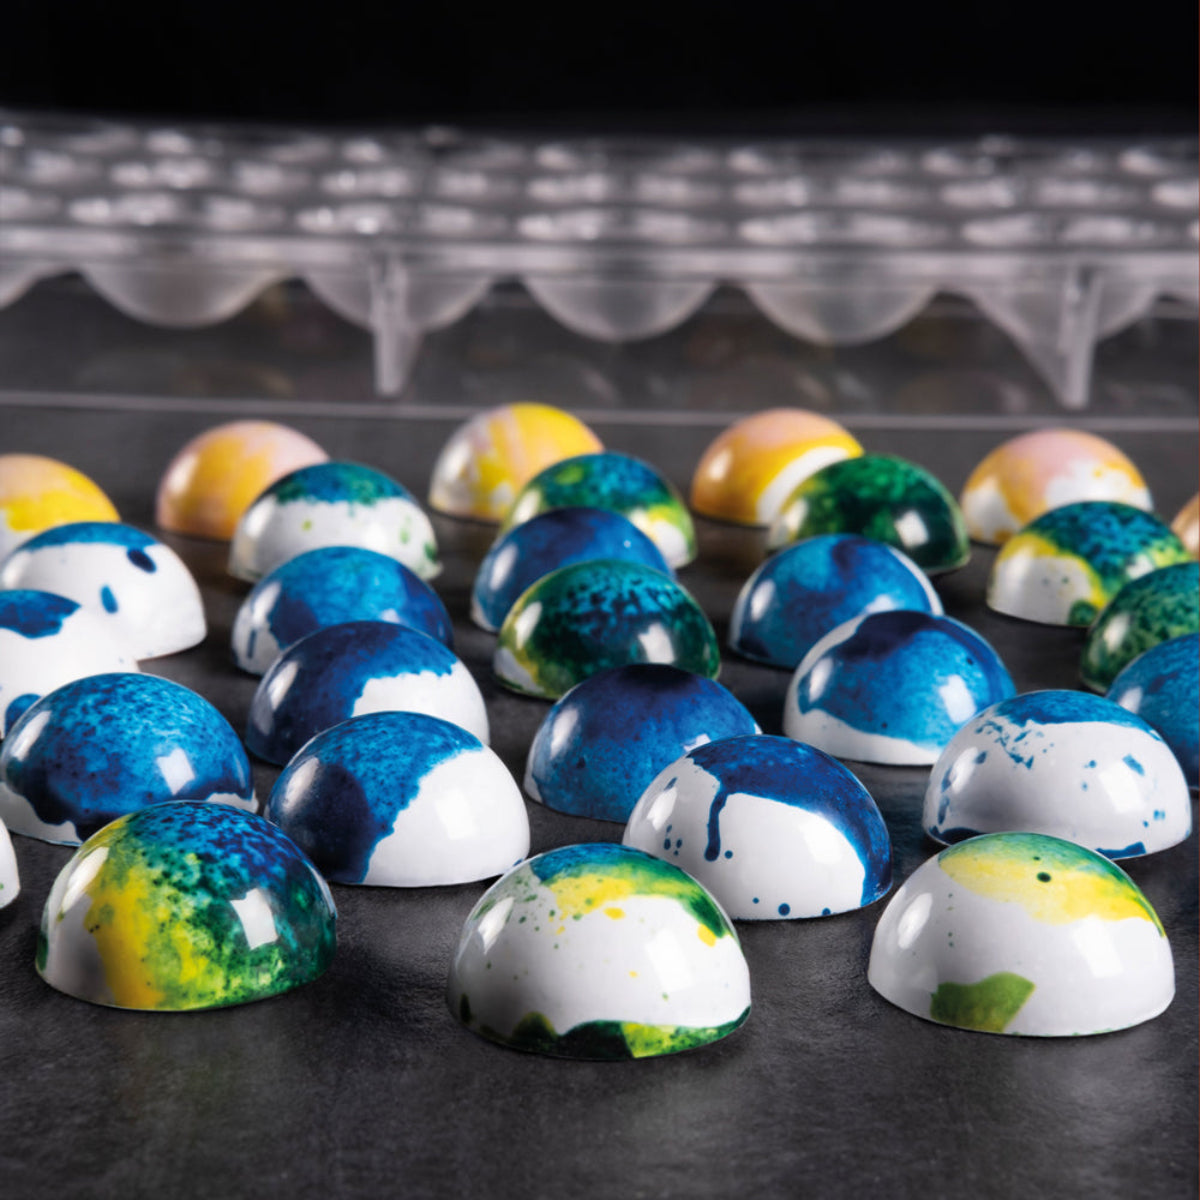
For marbled effects, pour two chocolate colors simultaneously into chocolate spoon molds, then gently swirl with a toothpick before tapping out bubbles. This creates unique, unrepeatable patterns in each spoon.
Important Flavoring Notes:
-
Use oil-based flavorings rather than water-based extracts (water causes chocolate to seize)
-
Add liquid flavorings sparingly—start with 1/4 teaspoon per cup of chocolate
-
Dry ingredients (spices, freeze-dried fruit powder) incorporate more easily and won't affect chocolate texture
-
Always test flavor combinations in small batches before committing to large production runs
Professional Tips for Perfect Results
Achieve professional-quality chocolate spoons with these key techniques:
Temperature Control: Work in a cool room (65-70°F) when making chocolate spoons. Ensure chocolate spoon molds are at room temperature—cold molds cause condensation, warm molds prevent setting.
Glossy Finish: Polish silicone molds with a soft cloth before use to remove dust particles. Properly tempered chocolate naturally produces the best shine.
Storage: Wrap finished chocolate spoons individually in cellophane and store in a cool, dry place. Properly stored spoons last several months.
Consistency: Weigh chocolate rather than using volume measurements for uniform results across batches.
Troubleshooting Common Issues
Even experienced chocolatiers encounter challenges when making chocolate spoons. Understanding common problems and their solutions prevents frustration and wasted materials.
|
Problem |
Root Cause |
Solution |
Prevention |
|
Won't release from mold |
Insufficient setting time; moisture in mold |
Refrigerate 5 more minutes; check mold is completely dry |
Clean and dry molds thoroughly; allow full setting time |
|
Dull or streaky finish |
Improper tempering; wrong mold temperature; condensation |
Re-temper next batch; ensure room temp molds; avoid over-refrigeration |
Practice tempering technique; control humidity |
|
Air bubbles throughout |
Insufficient tapping; pouring too quickly |
Tap mold at least 20-30 times from multiple angles |
Pour slowly; use squeeze bottle for control |
|
Chocolate breaking when unmolded |
Rushed unmolding; chocolate too cold; uneven thickness |
Wait longer; bring to room temp before unmolding; fill molds evenly |
Patience during setting; monitor fill levels |
|
Handles falling off |
Inserted into set chocolate; insufficient insertion depth |
Insert while chocolate is still liquid; push sticks 1-2 inches deep |
Time insertion correctly; wiggle to secure |
|
White spots or streaks (bloom) |
Temperature fluctuations; moisture exposure; improper storage |
Still safe to eat; re-melt for new batch |
Store at consistent temperature; seal properly |
Advanced Troubleshooting:
If your chocolate spoons consistently have texture issues despite following proper technique, consider these less obvious factors:
- Water contamination: Even humidity in the air can affect chocolate in very humid climates—consider using a dehumidifier
- Old chocolate: Chocolate past its prime may have degraded cocoa butter that won't temper properly—use fresh chocolate within 12 months of production date
- Microwave hot spots: Some microwaves heat unevenly—try reducing power to 30% and increasing interval times
- Stirring technique: Over-vigorous stirring incorporates air bubbles—use smooth, gentle folding motions instead of whipping
For persistent problems with specific chocolate spoon molds, the mold itself may be damaged or worn. Inspect for cracks, warping, or surface degradation that prevents clean releases.
Packaging and Gifting
Presentation transforms homemade chocolate spoons into impressive gifts. Package individually in clear cellophane bags tied with ribbon, or arrange multiple spoons in decorative boxes lined with tissue paper.
Include care instructions noting that chocolate spoons should be stored in a cool, dry place and consumed within 2-3 months. For warm weather gifting, add small ice packs or advise refrigeration upon receipt. Create themed sets like hot chocolate gift baskets with chocolate spoons, gourmet cocoa mix, and marshmallows for memorable presentations.
Conclusion
Mastering how to make chocolate spoons with mold opens up a world of creative possibilities for gifting, entertaining, and even starting a small business. By following proper chocolate molding techniques, selecting quality ingredients, and paying attention to details like temperature control and mold preparation, you'll consistently create beautiful, professional-looking chocolate spoons that delight everyone who receives them. Whether you're crafting simple dark chocolate versions or elaborate decorated creations, the process becomes easier and more enjoyable with practice. Ready to start your chocolate-making journey? Visit Zucchero Canada for premium silicone molds for pastry and chocolate, professional tools, and everything you need to create stunning chocolate spoons that will impress family, friends, and customers alike.
References
Callebaut. (2023). The art of chocolate tempering: A complete guide. Barry Callebaut Group.
Greweling, P. (2022). Chocolates and confections: Formula, theory, and technique for the artisan confectioner (3rd ed.). Wiley.
National Confectioners Association. (2024). Chocolate molding techniques and best practices. NCA Professional Education Series.
Wybauw, J. P. (2023). Fine chocolates: Great experience (Vol. 4). Lannoo Publishers.


Leave a comment
All comments are moderated before being published.
This site is protected by hCaptcha and the hCaptcha Privacy Policy and Terms of Service apply.