


I am writing to express my deep disappointment regarding a recent order I received from you a few days ago.Upon opening the 25 kg bag of French flour, I noticed numerous yellow spots throughout the dry powder. Furthermore, I discovered many hard spots of flour clumps, particularly at the corners of the bag, which clearly indicate that the product was exposed to moisture before or during transit.I initially attempted to work with the product, but after using 7 kg, the results were completely unsatisfying. Because of the moisture damage and discoloration, I had to discard most of the dough I made. This is a severe quality control issue, and I am very unhappy and disappointed with the condition of this flour. I cannot use the remaining 18 kg left in the bag.Due to these circumstances, I am requesting a full refund for this order and instructions on how to return the remaining flour back to you.I look forward to your prompt response to resolve this issue.Sincerely
This flour is get once a month, its amazing that we can use French flour due to my daughter's intolerance to canadian flour,
Please stop asking for a review on this product I love it,
But writing a review everytime I get the flour is not what I want to do, I love the flour thank u for carrying it
I have a slight-mid level sensitivity to gluten however when using your T 65, my body really responds well with zero gluten issues.
Thank you!!!
I’m placing another order - this time for a large bag.
good communication and prompt delivery...fab product!
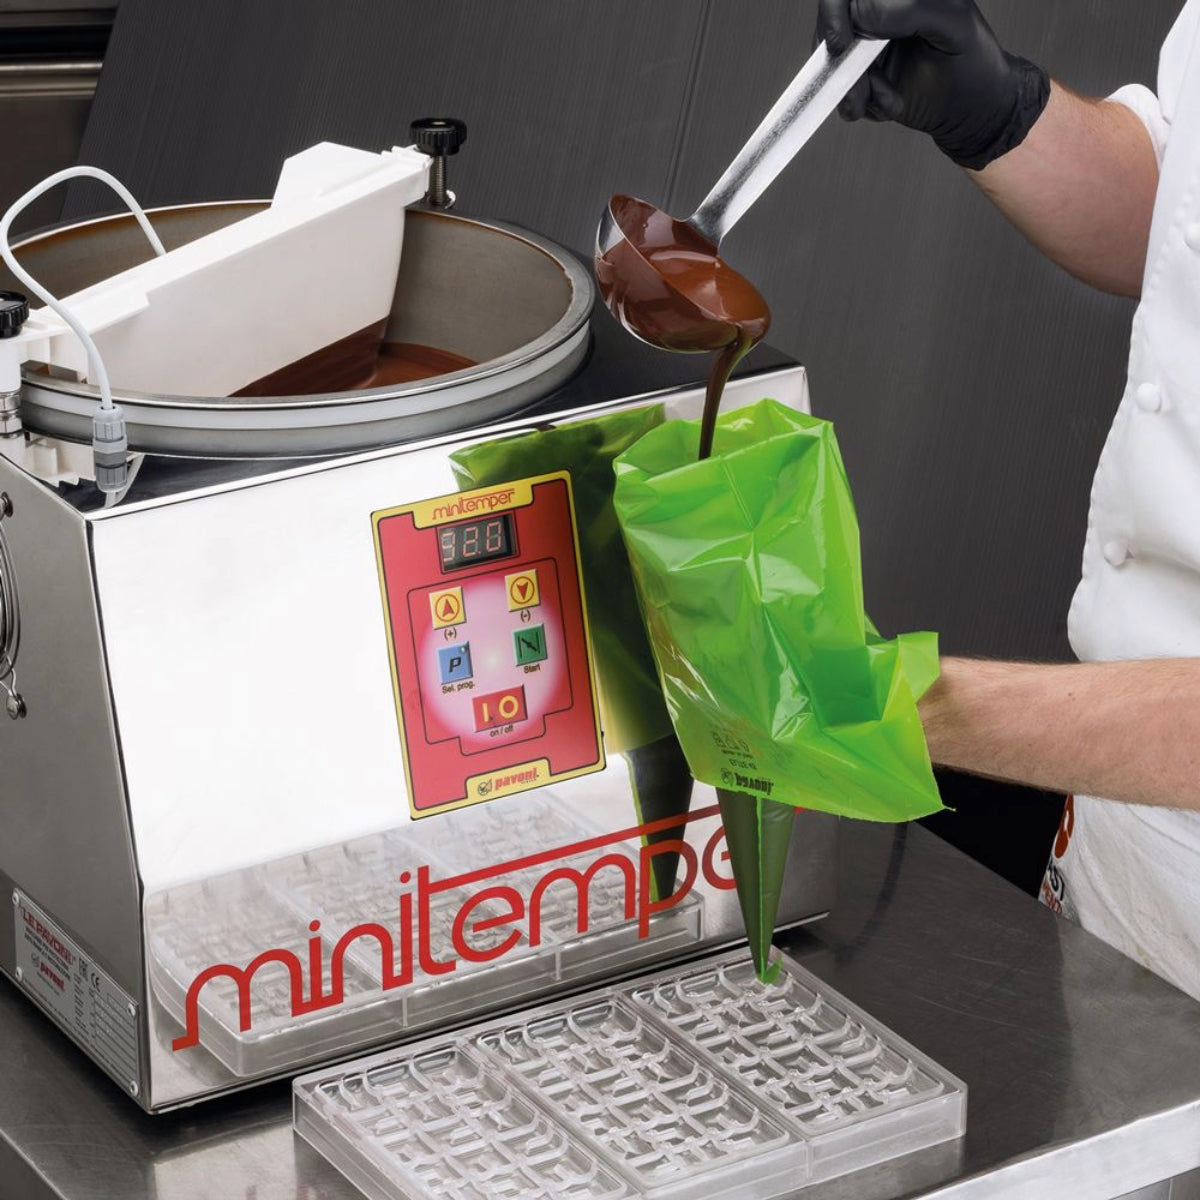
Getting the equipment I needed was hassle free and quick