
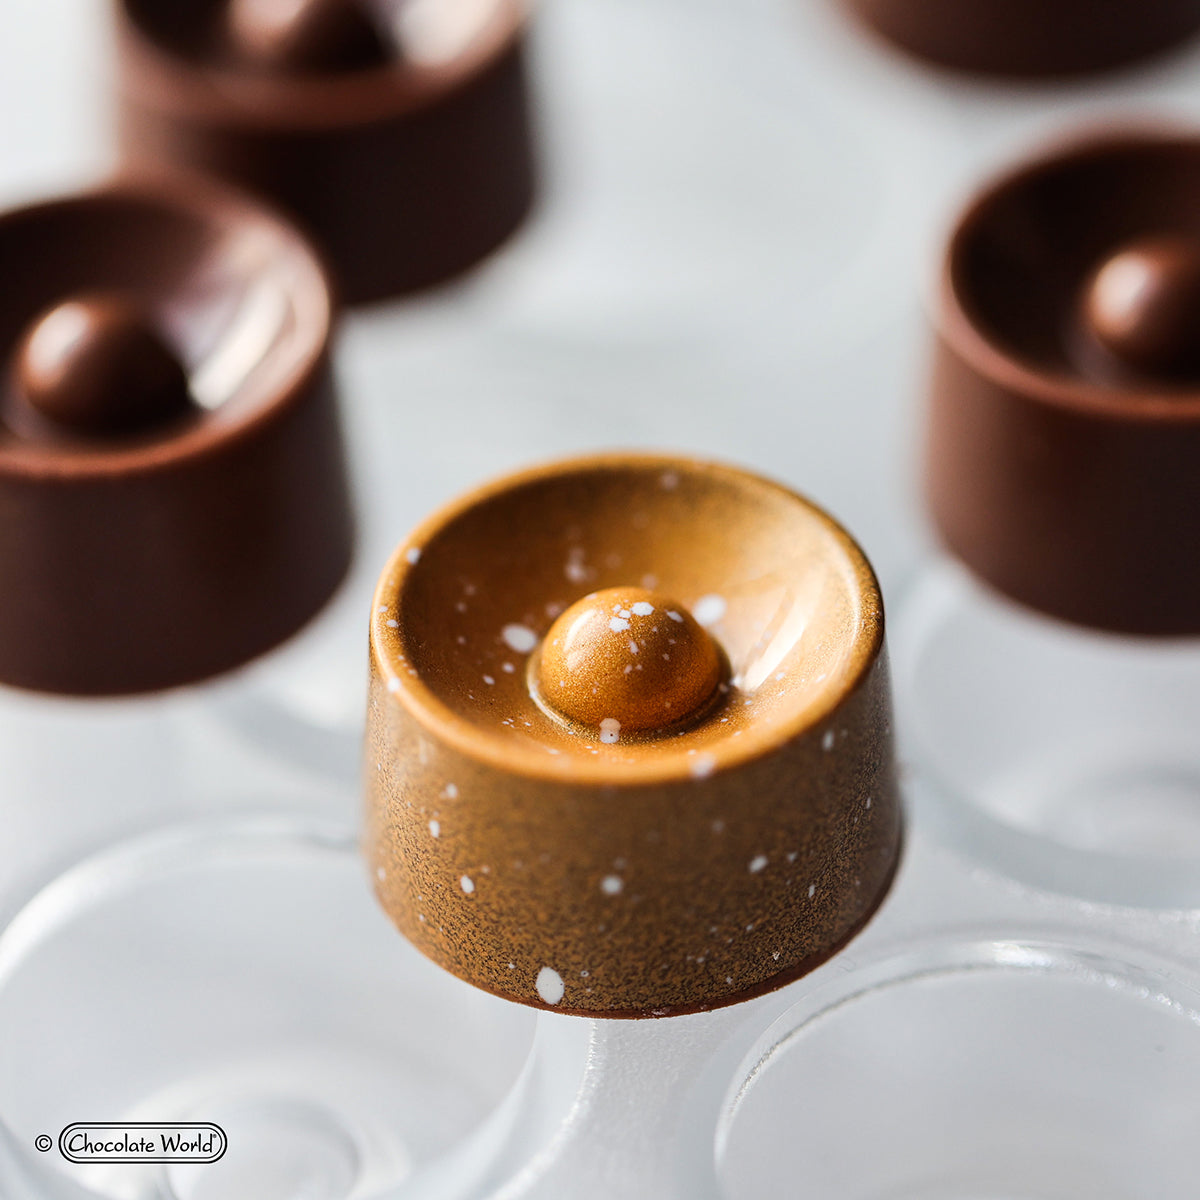


Chocolate tempering—the process of precisely controlling chocolate's crystallization—transforms ordinary melted chocolate into glossy, snappy confections with professional appeal. While commercial chocolatiers use specialized equipment, home enthusiasts can achieve excellent results with small-batch tempering techniques. This comprehensive guide explores accessible methods for tempering chocolate at home, giving you the knowledge to create professional-quality chocolates in your own kitchen.
What Is Tempering and Why Is It Essential?
Tempering is the controlled crystallization of cocoa butter to ensure chocolate sets with a glossy finish, satisfying snap, and smooth mouthfeel. Properly tempered chocolate also:
-
Resists melting at room temperature
-
Contracts slightly when cooling, making demolding easier
-
Has a longer shelf life and better bloom resistance
-
Provides a professional appearance for confections
Untempered chocolate typically appears dull, melts easily, and develops white streaks called "bloom"—telltale signs of improper crystallization.
Understanding Chocolate Crystals: The Science Behind Tempering
Cocoa butter, the fat in chocolate, can crystallize in six different forms (technically called polymorphs). Only Form V (5) crystals produce the desired characteristics of tempered chocolate:
|
Crystal Form |
Melting Point |
Characteristics |
|
Form I |
63°F (17°C) |
Soft, crumbly |
|
Form II |
70°F (21°C) |
Soft, crumbly |
|
Form III |
78°F (26°C) |
Firm, poor snap |
|
Form IV |
82°F (28°C) |
Firm, poor snap |
|
Form V |
94°F (34°C) |
Glossy, good snap |
|
Form VI |
97°F (36°C) |
Hard, brittle |
The tempering process manipulates temperature to eliminate all crystal forms except Form V, creating perfectly tempered chocolate.
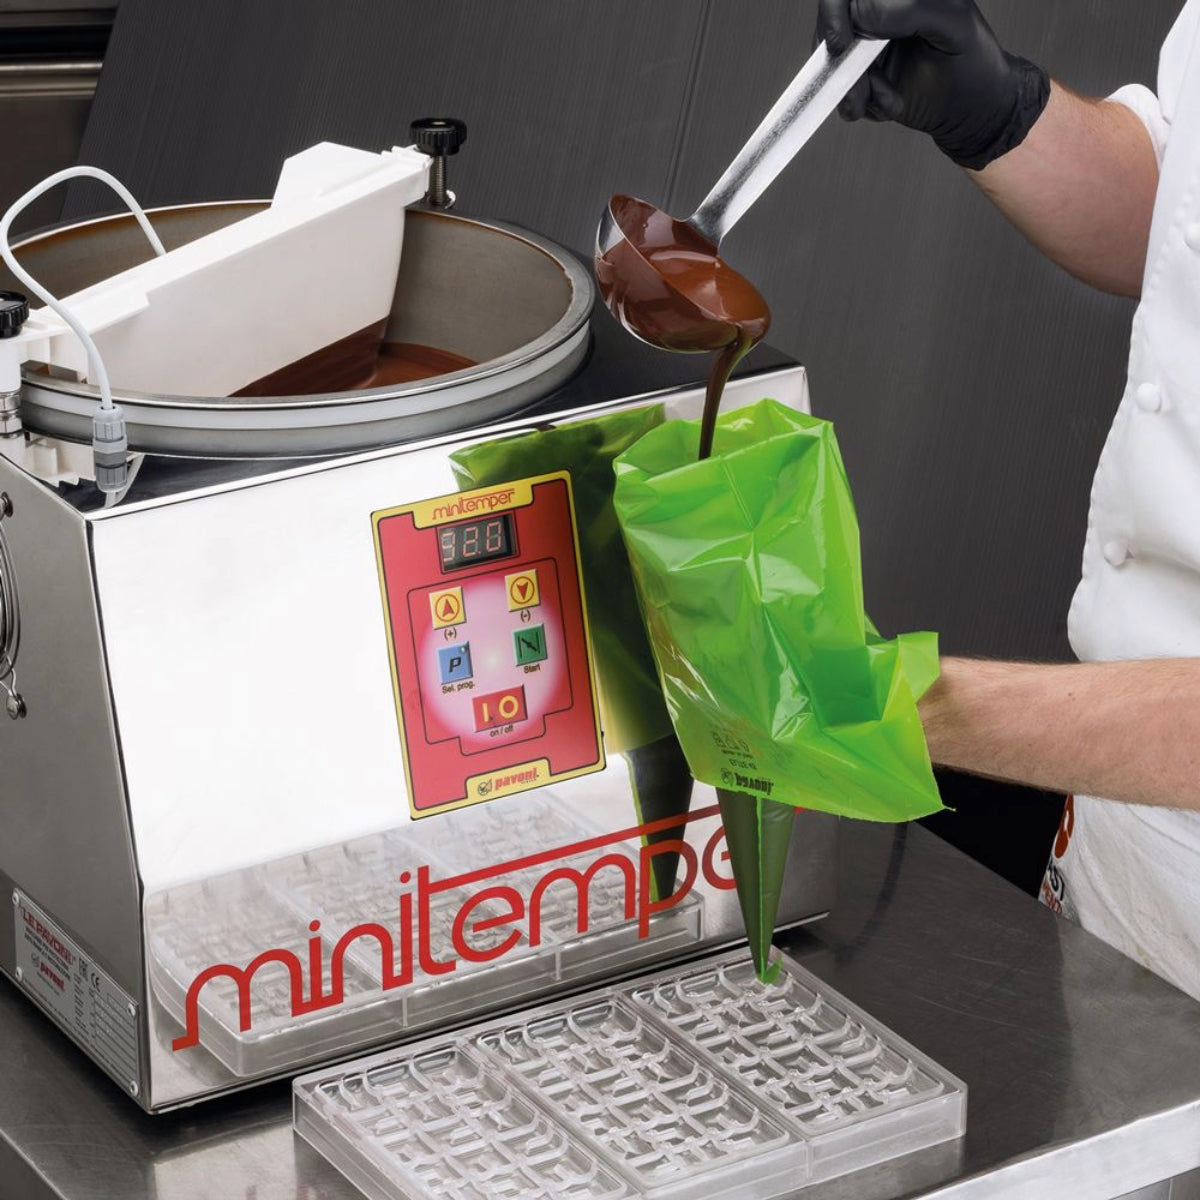
Essential Equipment for Small-Batch Tempering
Before exploring methods, gather these basic tools:
-
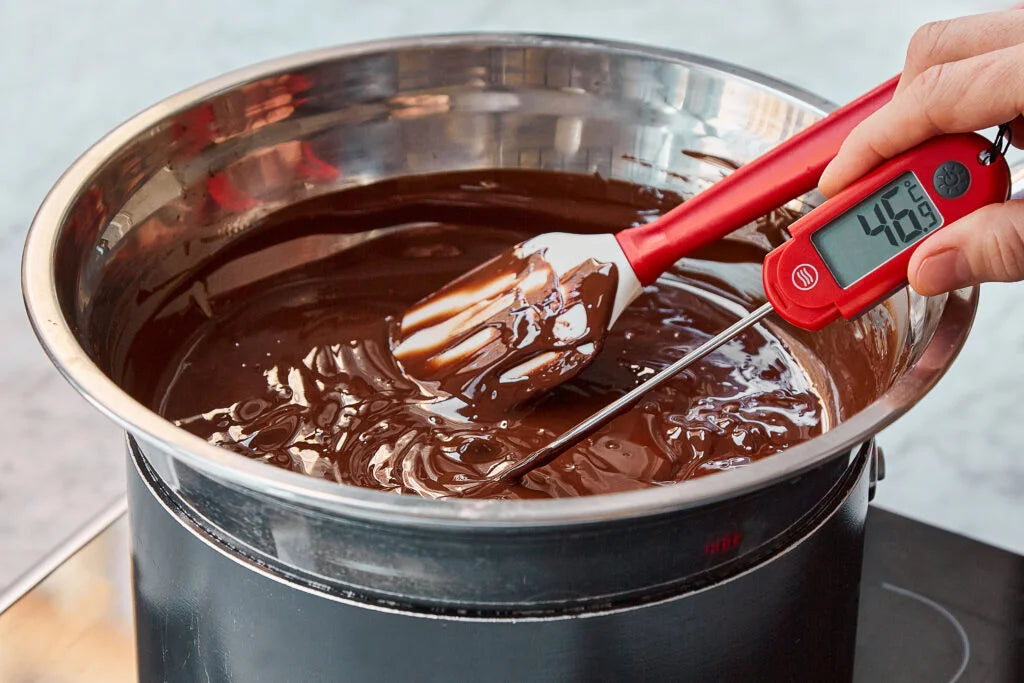
Digital instant-read thermometer (crucial for accuracy)
-
Heatproof bowls (preferably glass or stainless steel)
-
Silicone spatulas
-
Parchment paper or silicone mats
-
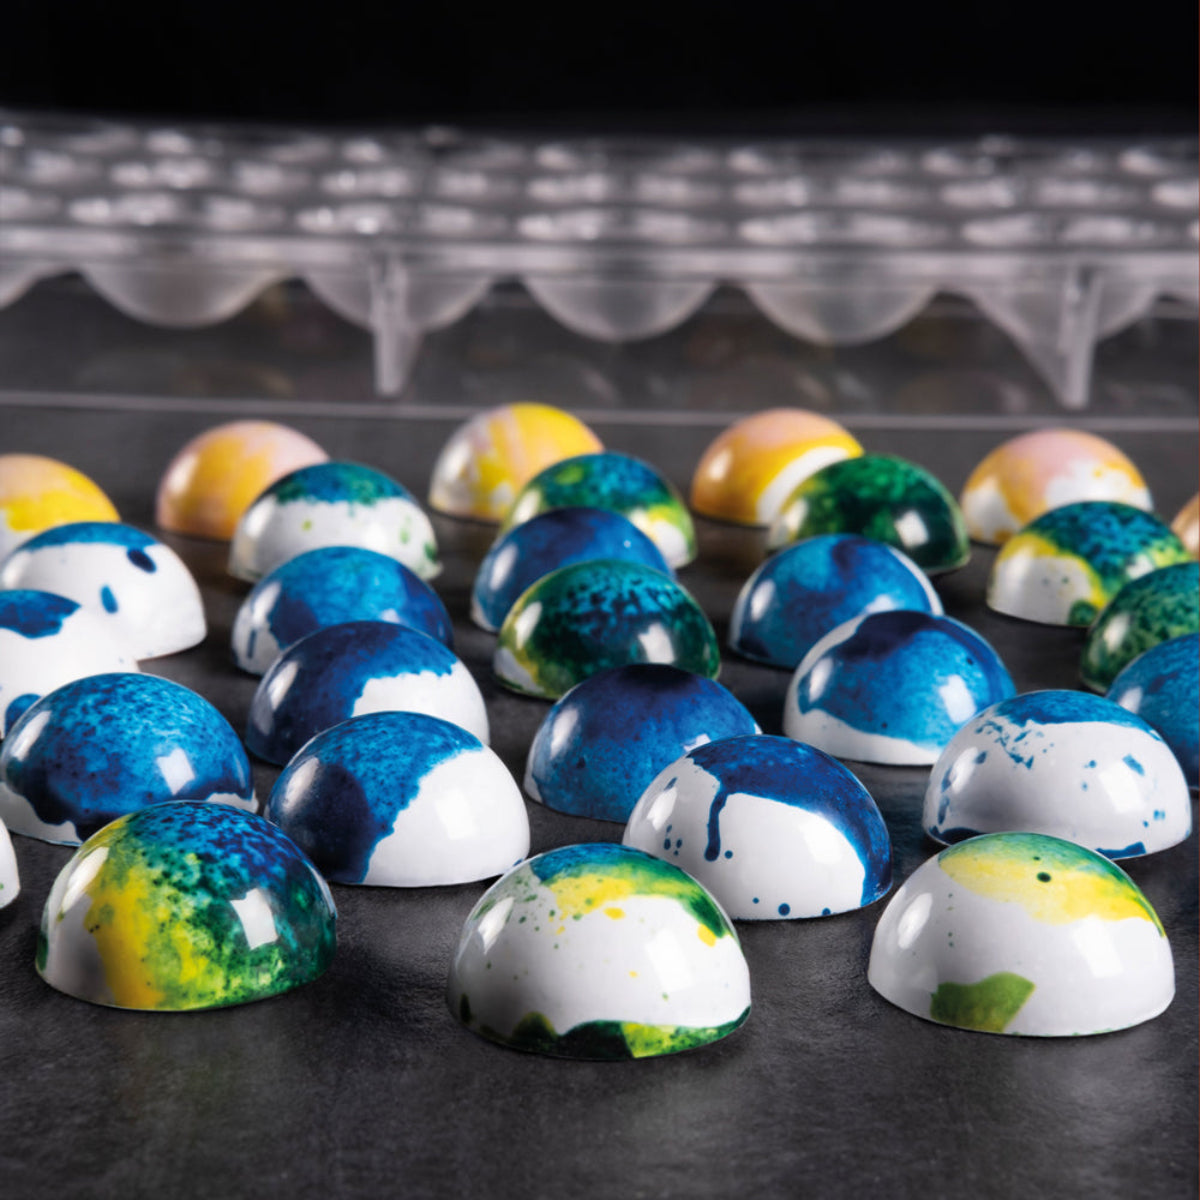
Molds (if making molded chocolates)
For specific methods, additional items may be necessary, as noted in each section.
Method 1: The Seeding Method - Classic Approach for Small Batches
The seeding method is perfect for beginners and small batches (4-16 oz/100-450g). It involves using already tempered chocolate to "seed" proper crystal formation.
Supplies Needed:
-
Double boiler or microwave
-
Digital thermometer
-
Already-tempered chocolate (about 1/3 of your total amount)
Step-by-Step Process:
-
Chop your chocolate into small, uniform pieces to ensure even melting.
-
Melt 2/3 of your chocolate to the following temperatures:
-
Dark chocolate: 115-120°F (46-49°C)
-
Milk chocolate: 110-115°F (43-46°C)
-
White chocolate: 105-110°F (40-43°C)
-
Add seed chocolate - gradually add the reserved 1/3 of chopped tempered chocolate while stirring constantly.
-
Cool and stir until you reach:
-
Dark chocolate: 88-90°F (31-32°C)
-
Milk chocolate: 86-88°F (30-31°C)
-
White chocolate: 84-86°F (29-30°C)
-
Test the temper by dipping a knife tip or spatula in the chocolate and allowing it to set at room temperature for 3-5 minutes. Properly tempered chocolate will harden completely and appear glossy.
-
Maintain working temperature by briefly placing your bowl over warm (not hot) water if it cools too much.
Troubleshooting Seeding Method:
-
If chocolate is too thick, it's likely too cool; warm slightly.
-
If test chocolate doesn't set properly, add more seed chocolate and continue stirring.
-
If chocolate appears streaky, it may be cooling too quickly; warm slightly and stir more vigorously.
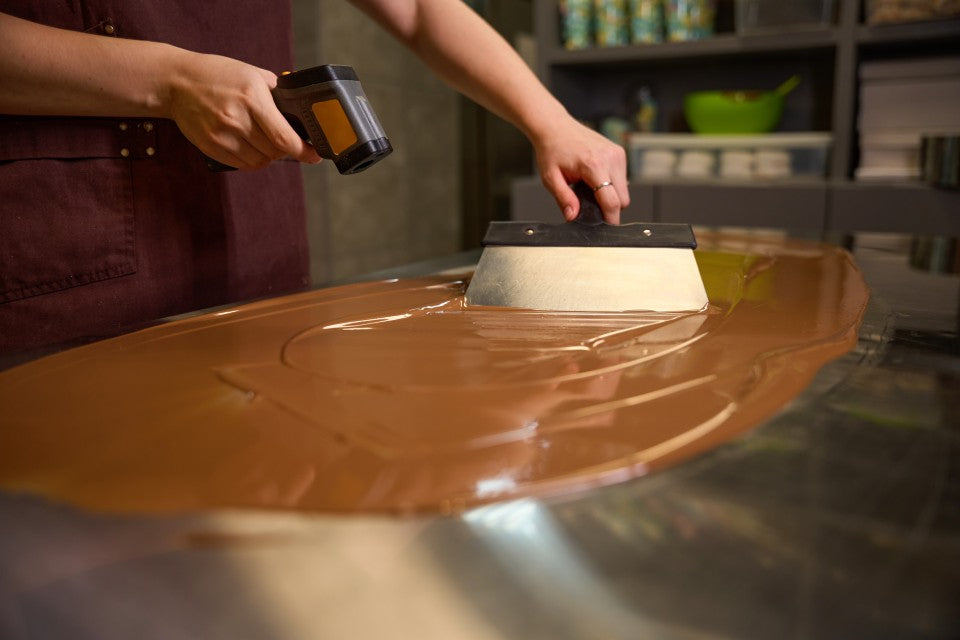
Method 2: The Tabletop or Marble Method - Traditional Approach
This classic technique uses a cool surface to rapidly lower chocolate temperature, perfect for 8-16 oz (225-450g) batches.
Supplies Needed:
-
Marble slab, granite countertop, or large baking sheet
-
Bench scraper or putty knives (dedicated to food use)
-
Double boiler or microwave
Step-by-Step Process:
-
Melt all chocolate to the temperatures listed in Method 1.
-
Pour 2/3 of melted chocolate onto your cool surface, reserving the rest in the warm bowl.
-
Work the chocolate using scrapers to spread and gather it repeatedly, creating movement and cooling.
-
Test temperature frequently. When it reaches:
-
Dark chocolate: 82-84°F (28-29°C)
-
Milk chocolate: 80-82°F (27-28°C)
-
White chocolate: 78-80°F (26-27°C)
-
Return cooled chocolate to the reserved warm chocolate and mix thoroughly.
-
Check final temperature - it should be at the working temperatures mentioned in Method 1.
-
Test temper as described previously.
Tabletop Method Tips:
-
Work quickly but methodically - this method requires some practice
-
Keep the surface clean and completely dry
-
If you don't have marble or granite, place a baking sheet in the refrigerator for 10 minutes before starting
Method 3: The Sous Vide Method - Modern Precision Approach
This innovative method uses sous vide precision cookers for perfect temperature control.
Supplies Needed:
-
Sous vide immersion circulator
-
Water bath container
-
Zip-top bags or vacuum-sealed bags
-
Optional: vacuum sealer
Step-by-Step Process:
-
Chop chocolate into small pieces and place in a zip-top bag, removing as much air as possible using the water displacement method or a vacuum sealer.
-
Set sous vide to the following temperatures:
-
Dark chocolate: 115°F (46°C)
-
Milk chocolate: 110°F (43°C)
-
White chocolate: 105°F (40°C)
-
Melt completely - usually takes 10-15 minutes depending on quantity.
-
Reset temperature to final working temperature:
-
Dark chocolate: 90°F (32°C)
-
Milk chocolate: 88°F (31°C)
-
White chocolate: 86°F (30°C)
-
Wait for stabilization - allow 10-20 minutes for crystals to form at this temperature.
-
Use immediately for dipping, molding, or decorating.
Why Sous Vide Works:
The precise temperature control eliminates guesswork. By holding chocolate at the exact temperature needed for Form V crystals, you effectively "pre-crystallize" the chocolate without the cooling and reheating steps.
Method 4: The Microwave Method - Quick Small-Batch Solution
Perfect for very small batches (2-6 oz/50-170g) when you need tempered chocolate quickly.
Supplies Needed:
-
Microwave
-
Microwave-safe bowl (glass preferred)
-
Digital thermometer
Step-by-Step Process:
-
Chop chocolate finely and place 3/4 of it in your bowl.
-
Microwave in short bursts - 15 seconds for dark chocolate, 10 seconds for milk or white, stirring thoroughly between each burst.
-
Stop microwaving when chocolate is about 75% melted.
-
Stir vigorously until completely smooth, letting residual heat finish the melting.
-
Check temperature - if it exceeds the maximum temperatures listed in Method 1, let it cool slightly.
-
Add remaining chocolate in small portions, stirring until each addition completely melts.
-
Test for temper as described previously.
Microwave Method Advantages:
-
Minimal equipment needed
-
Works well for quick decorations and small projects
-
Less cleanup than other methods
Method 5: The Direct Heat Method - Simplified Approach
This technique uses careful direct heat application, ideal for small batches (4-8 oz/100-225g).
Supplies Needed:
-
Small, heavy-bottomed saucepan
-
Digital thermometer
-
Heatproof spatula
Step-by-Step Process:
-
Chop chocolate into small, uniform pieces.
-
Heat pan on the absolute lowest setting possible.
-
Add 2/3 of the chocolate, stirring constantly to prevent scorching.
-
Monitor temperature closely - do not allow it to exceed the temperatures listed in Method 1.
-
Remove from heat when chocolate is fully melted.
-
Add remaining chocolate gradually, stirring until melted and temperature drops to working range.
-
Test for temper as described previously.
Direct Heat Method Cautions:
-
Use extremely low heat - gas flame should barely be visible
-
Never stop stirring
-
Remove from heat immediately if temperature rises too quickly
-
Not recommended for white chocolate, which is most sensitive to heat
Testing Your Temper: How to Know It's Working
Regardless of method, these tests confirm proper tempering:
-
Dip Test: Dip a knife tip or clean spatula into the chocolate and let it set at room temperature (65-70°F/18-21°C) for 5 minutes. Properly tempered chocolate will:
-
Set completely
-
Be glossy
-
Not show streaks or spots
-
Release easily from the surface
-
Lip Test: Place a small drop on your lower lip. Tempered chocolate feels cool, while untempered feels warm.
Troubleshooting Common Tempering Problems
|
Problem |
Cause |
Solution |
|
Chocolate remains soft |
Temperature too high, insufficient crystallization |
Add more seed chocolate, continue cooling and stirring |
|
Chocolate too thick |
Temperature too low |
Warm slightly (1-2 degrees) |
|
Streaky appearance |
Cooling too rapidly or unevenly |
Reheat to starting temperature and begin again |
|
Chocolate not setting quickly |
Improper crystal formation |
Add more seed chocolate with vigorous stirring |
|
Chocolate sets but looks dull |
Temperature fluctuations during setting |
Reheat and restart tempering process |
FAQ: Small-Batch Tempering Questions
How long does tempered chocolate stay in temper?
Properly tempered chocolate will remain workable for 15-30 minutes, depending on room temperature. If it cools too much, gently rewarm to working temperature (never exceed it).
Can I re-temper chocolate that has set?
Yes. Treated like new chocolate, it must be completely melted, cooled, and tempered again following any of the methods above.
Which chocolate is easiest for beginners to temper?
Dark chocolate is most forgiving because it contains the highest percentage of cocoa butter and fewest additives. White chocolate is typically the most challenging.
Do I need to temper chocolate chips?
Often, chocolate chips contain additives that help them maintain shape when baked. For best results in confections, use couverture or baking bars rather than chips.
What's the minimum amount of chocolate I can temper?
Practically speaking, 2 ounces (55g) is the minimum for most methods. Below this amount, temperature changes happen too rapidly for proper control.
Does compound chocolate need tempering?
No. Compound chocolate (made with palm oil instead of cocoa butter) doesn't require tempering. It can simply be melted and used.
Conclusion: Perfect Temper Is Within Your Reach
Mastering small-batch tempering techniques opens up a world of chocolate possibilities without requiring substantial investment in equipment. Begin with the seeding method for its reliability, then experiment with other approaches as your confidence grows.
Remember that chocolate tempering, like any culinary skill, improves with practice. Even professional chocolatiers occasionally face tempering challenges, so don't be discouraged by initial setbacks. The reward—beautifully glossy, perfectly snappy chocolate creations—is well worth the effort.
With these accessible methods, you're well-equipped to create professional-quality chocolate confections right in your home kitchen. Happy tempering!


Leave a comment
All comments are moderated before being published.
This site is protected by hCaptcha and the hCaptcha Privacy Policy and Terms of Service apply.