Key Takeaways
Creating homemade chocolate has never been more accessible! Here's what you'll discover in this comprehensive guide:
• Simple 3-ingredient basic recipe that anyone can master in under 30 minutes
• Professional techniques for tempering and molding chocolate at home
• Creative flavor variations to customize your chocolate creations
• Essential tips for achieving smooth, glossy finishes every time
• Storage methods to keep your homemade chocolate fresh for weeks
Ready to start your chocolate-making journey? Explore premium ingredients and inspiration at Zucchero Canada to elevate your homemade creations.
Making chocolate at home might seem like a daunting task reserved for professional chocolatiers, but the truth is quite different. With the right homemade chocolate recipe and basic ingredients, anyone can create delicious, artisanal-quality chocolate in their own kitchen.
This comprehensive guide will walk you through everything you need to know about how to make chocolate at home, from the simplest three-ingredient recipe to more advanced techniques that will have you creating confections worthy of any gourmet chocolate shop.
The beauty of learning how to make homemade chocolate lies not just in the delicious results, but in the complete control you have over ingredients, flavors, and quality. Unlike store-bought chocolate that often contains preservatives and artificial additives, your homemade versions will be pure, fresh, and customized to your exact taste preferences.
Why Make Chocolate at Home?
Creating chocolate from scratch offers numerous advantages that extend far beyond simple cost savings. When you make chocolate at home, you become the master of every ingredient that goes into your creation. This control is particularly valuable for individuals with dietary restrictions, allergies, or specific health goals.
Health Benefits of Homemade Chocolate:
• Complete control over sugar content and sweetener types
• Ability to use organic, fair-trade, or specialty ingredients
• No artificial preservatives, colors, or stabilizers
• Customizable cocoa content for maximum antioxidant benefits
• Fresh preparation ensures optimal flavor and nutritional value
The satisfaction of creating something delicious from basic ingredients cannot be overstated. There's a meditative quality to the chocolate-making process that many find relaxing and rewarding. Additionally, homemade chocolate makes exceptional gifts that demonstrate thoughtfulness and creativity.
From a practical standpoint, making chocolate at home can be significantly more economical than purchasing premium artisanal chocolates. A single batch of homemade chocolate recipe ingredients can yield multiple bars or dozens of individual pieces, making it an excellent choice for large families or frequent entertaining.
Essential Ingredients for the Best Homemade Chocolate Recipe
The foundation of any best homemade chocolate recipe lies in selecting high-quality ingredients. While chocolate can be made with just three basic components, understanding each ingredient's role will help you achieve consistently excellent results.
Cocoa butter serves as the primary fat in chocolate and is responsible for that characteristic smooth melt-in-your-mouth texture. Look for food-grade cocoa butter that appears white or pale yellow and has a mild, pleasant cocoa aroma. Avoid cosmetic-grade cocoa butter, which may contain additives unsuitable for consumption.
Cocoa powder provides the chocolate flavor and color. Dutch-processed cocoa powder offers a milder, more refined taste, while natural cocoa powder delivers a more intense, slightly acidic chocolate flavor. For beginners, Dutch-processed cocoa powder tends to be more forgiving and produces smoother results.
Sweeteners can vary widely based on personal preference and dietary needs. Traditional powdered sugar creates the smoothest texture, but alternatives like coconut sugar, maple syrup powder, or even sugar-free options like erythritol can work well. The key is ensuring your sweetener is finely ground to prevent grittiness in the final product.
Optional flavor enhancers can transform basic chocolate into gourmet creations:
• Pure vanilla extract for classic chocolate flavor
• Sea salt for sophisticated salted chocolate
• Espresso powder for mocha variations
• Essential oils like peppermint or orange (use sparingly)
• Spices such as cinnamon, cardamom, or chili powder
Quality ingredients make a noticeable difference in both taste and texture. Investing in premium cocoa products will elevate your home made chocolate recipe from good to extraordinary.
Basic 3-Ingredient Homemade Chocolate Recipe
This fundamental homemade chocolate recipe serves as the perfect starting point for beginners and remains a go-to option for experienced chocolate makers. The simplicity of three ingredients makes it virtually foolproof while still producing professional-quality results.
Ingredients:
• 1 cup cocoa butter, melted
• ½ cup unsweetened cocoa powder
• ⅓ cup powdered sugar (adjust to taste)
• Pinch of sea salt (optional)
Step-by-Step Instructions:
Begin by creating a double boiler setup using a heat-proof bowl placed over a pot of gently simmering water. Ensure the bottom of the bowl doesn't touch the water, as excessive heat can cause the cocoa butter to seize or develop an unpleasant texture.
Add the cocoa butter to your double boiler and allow it to melt slowly, stirring occasionally. The goal is to achieve a smooth, completely liquid consistency without overheating. This process typically takes 5-7 minutes, depending on the size of your cocoa butter pieces.
While the cocoa butter melts, sift your cocoa powder and powdered sugar together in a separate bowl. This sifting step is crucial for preventing lumps in your finished chocolate. If you don't have a fine-mesh sifter, you can use a whisk to break up any clumps, though sifting produces superior results.
Once the cocoa butter is completely melted and smooth, remove it from heat. Gradually whisk in the sifted cocoa powder and sugar mixture, adding about one-third at a time. Whisk vigorously after each addition to ensure complete incorporation and prevent lumps from forming.
Important Note: The mixture may appear thick or slightly grainy initially, but continued whisking will create a smooth, glossy chocolate. If you notice persistent lumps, you can strain the mixture through a fine-mesh sieve.
Pour the chocolate into your chosen molds or onto a parchment-lined baking sheet for bark-style chocolate. Tap the molds gently to release any air bubbles, then refrigerate for 20-30 minutes until completely set.
This basic recipe yields approximately 8-10 ounces of chocolate and can be easily doubled or tripled for larger batches. The finished chocolate will have a rich, intense flavor and satisfying snap when broken.
Advanced Techniques: Tempering Homemade Chocolate
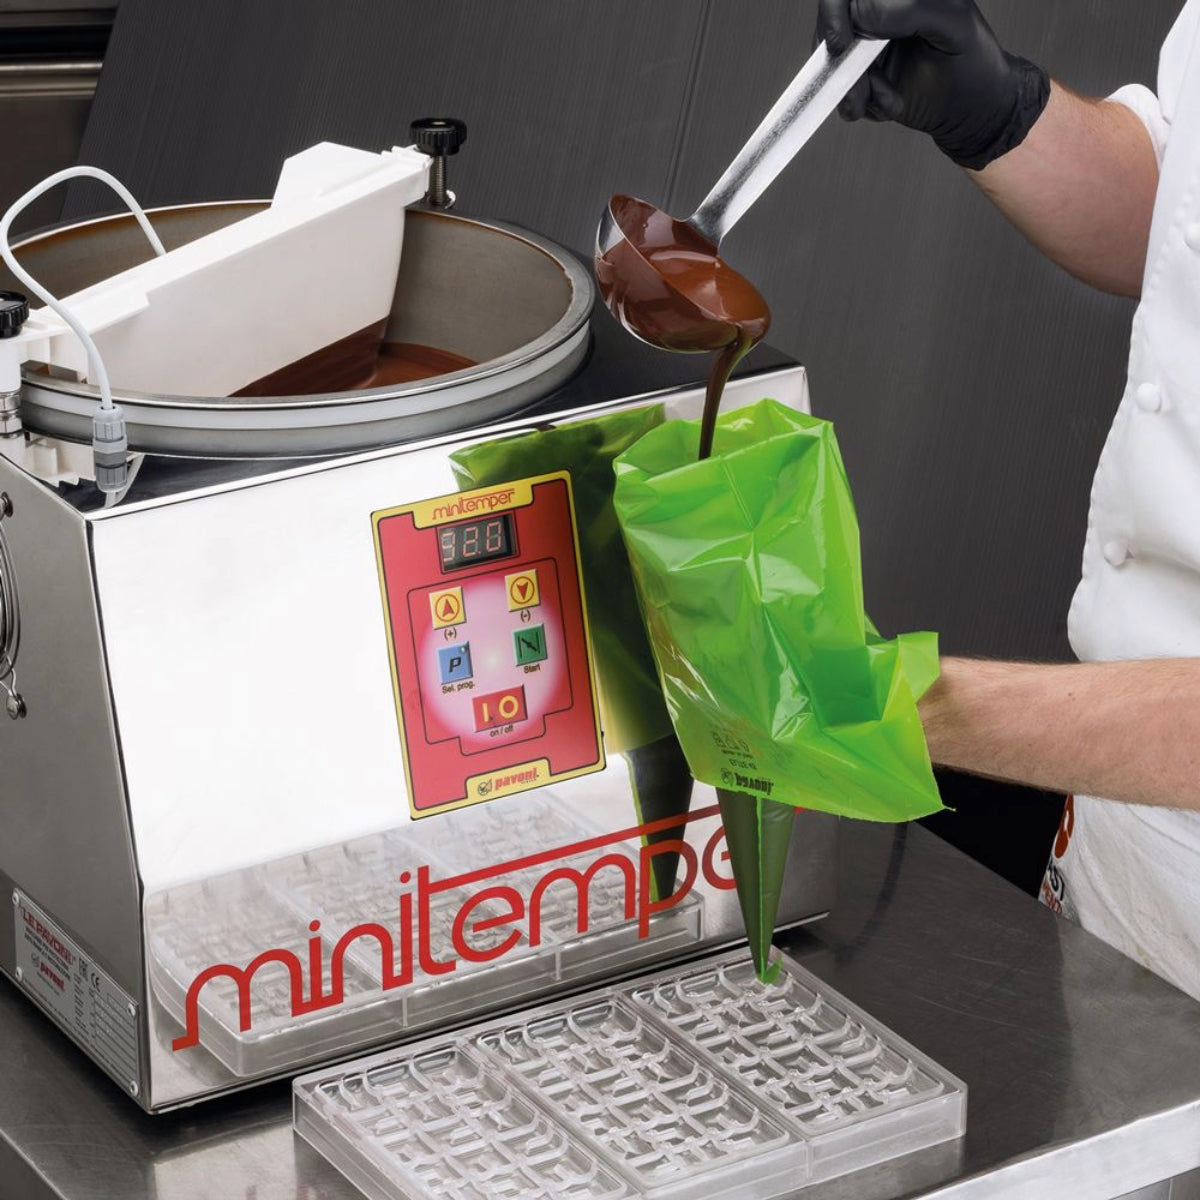
Understanding how to make chocolate at a professional level involves mastering the tempering process. Tempering is the controlled heating and cooling of chocolate to create stable crystal formations that result in glossy, smooth chocolate with a satisfying snap and resistance to melting at room temperature.
While the basic recipe above creates delicious chocolate, tempered chocolate has superior appearance, texture, and shelf stability. The process requires more attention and precision but produces results indistinguishable from high-end commercial chocolates.
The Science Behind Tempering:
Cocoa butter contains multiple types of crystals, but only Form V crystals create the desired characteristics in finished chocolate. Proper tempering encourages the formation of these stable crystals while preventing the formation of less desirable crystal types that can cause bloom, soft texture, or poor appearance.
Seeding Method for Home Tempering:
This method works excellently for small batches and doesn't require specialized equipment. Start with your basic chocolate recipe, but modify the cooling process as follows:
Heat your chocolate mixture to 115°F (46°C), monitoring with a digital thermometer for accuracy. Remove from heat and add small pieces of already-tempered chocolate (you can use high-quality store-bought chocolate for this purpose), stirring continuously.
Continue stirring as the temperature drops to 84°F (29°C), then gently reheat to 88°F (31°C) for dark chocolate or 86°F (30°C) for milk chocolate. This final temperature is your working temperature for molding or dipping.
Testing for Proper Temper:
Dip a clean knife or spoon into your tempered chocolate and place it in the refrigerator for 3-5 minutes. Properly tempered chocolate will set with a glossy surface and release easily from the utensil. If the chocolate appears dull or streaky, repeat the tempering process.
Tempered chocolate should be used within 20-30 minutes of reaching working temperature, as it will gradually lose its temper at room temperature. Work efficiently, and if the chocolate begins to thicken too much, gently rewarm to working temperature.
Creative Flavor Variations and Add-ins
Once you've mastered the best homemade chocolate recipe, the real fun begins with customization. Creating unique flavor combinations allows you to develop signature chocolates that reflect your personal taste preferences or cater to specific occasions.
Classic Flavor Combinations:
Salted caramel chocolate combines the richness of chocolate with sweet and salty elements. Add 1-2 tablespoons of caramel sauce to your basic recipe along with a generous pinch of flaky sea salt. The contrast creates a sophisticated flavor profile that's universally appealing.
Mint chocolate requires just a few drops of high-quality peppermint essential oil or 1 teaspoon of pure peppermint extract. Start with less than you think you need, as mint flavoring can quickly become overwhelming. Fresh mint leaves can also be infused into the cocoa butter during melting, then strained out before adding other ingredients.
Fruit and Nut Additions:
Dried fruits add natural sweetness and interesting texture contrasts. Chopped dried strawberries, crystallized ginger, or dried orange zest work particularly well. Add these ingredients after the chocolate has cooled slightly but before it sets, ensuring even distribution without causing melting.
Nuts and Seeds:
• Toasted almonds or hazelnuts for classic combinations
• Pistachios for elegant, colorful additions
• Coconut flakes for tropical variations
• Chia or hemp seeds for nutritional boosts
• Pine nuts for unique, sophisticated flavors
Spice-Infused Chocolates:
Cinnamon chocolate pairs beautifully with Mexican hot chocolate traditions. Use Ceylon cinnamon for subtle sweetness or Cassia cinnamon for more intense flavor. Start with ½ teaspoon per batch and adjust to taste.
Chili chocolate creates exciting heat that builds gradually. Cayenne pepper, chipotle powder, or even fresh jalapeño can create different heat profiles. Always start with tiny amounts – you can add more, but you can't remove excess spice.
Adult-Oriented Variations:
Wine-infused chocolates require reducing wine to concentrate flavors and remove alcohol. Red wine reductions pair beautifully with dark chocolate, while white wine or champagne reductions complement lighter chocolate variations.
Liqueur-flavored chocolates can incorporate rum, bourbon, or coffee liqueurs. Use only small amounts (1-2 teaspoons per batch) to avoid affecting the chocolate's setting properties.
Troubleshooting Common Issues
Even experienced chocolate makers encounter occasional challenges when learning how to make chocolate at home. Understanding common problems and their solutions will help you achieve consistent results and recover from mistakes.
Grainy or Gritty Texture:
This issue typically results from insufficient mixing or using sugar that's too coarse. Always sift dry ingredients before incorporating them, and whisk thoroughly during mixing. If grittiness persists, you can strain the melted chocolate through a fine-mesh sieve before molding.
Temperature shock can also cause texture problems. Ensure all ingredients are at similar temperatures before combining, and avoid adding cold ingredients to warm chocolate or vice versa.
Chocolate Won't Set Properly:
Soft chocolate that doesn't firm up usually indicates too much liquid ingredient or insufficient cocoa butter. Check your measurements and consider adding more cocoa butter if the ratio seems off. Environmental factors like high humidity can also affect setting – try refrigerating the chocolate longer or using a dehumidifier in your kitchen.
White Bloom on Finished Chocolate:
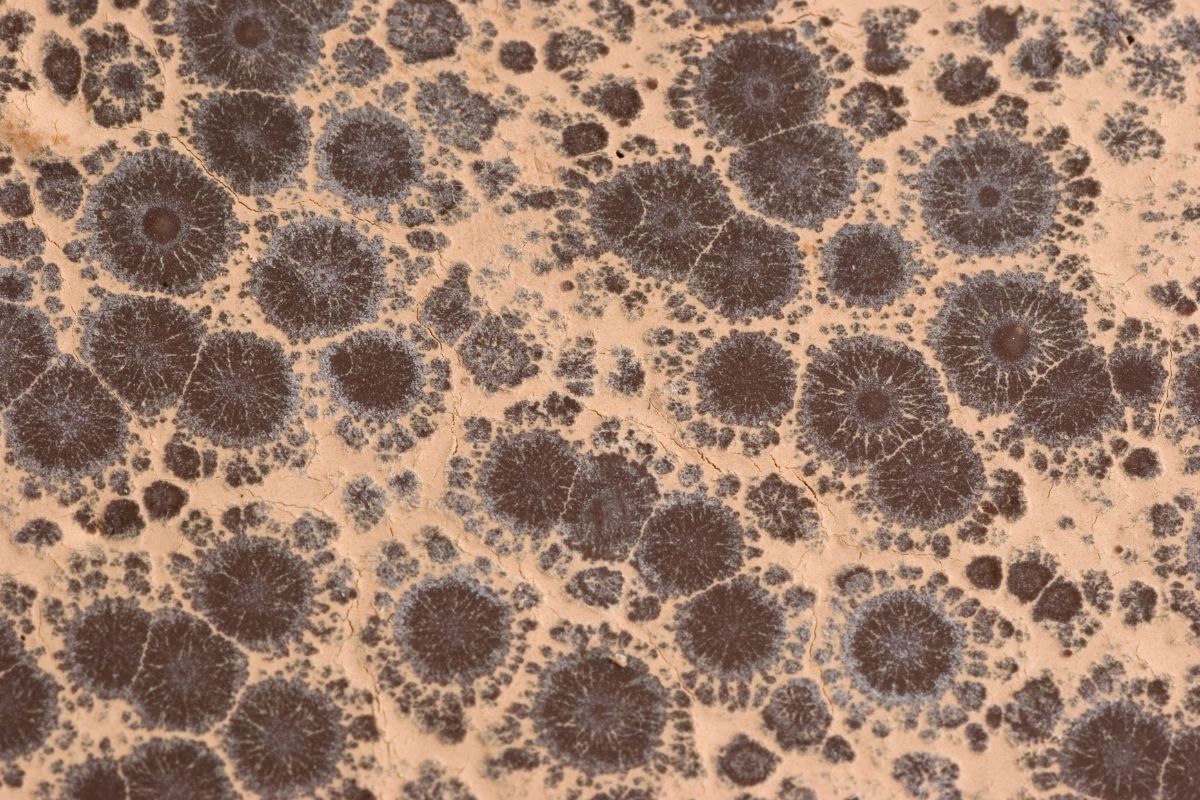
Bloom appears as white or grayish streaks or patches on chocolate surfaces. Fat bloom occurs
when chocolate experiences temperature fluctuations, while sugar bloom results from moisture exposure. While bloom doesn't affect safety or taste significantly, it impacts appearance.
Prevent bloom by storing chocolate in cool, dry conditions with stable temperatures. Properly tempered chocolate is more resistant to bloom formation.
Seized or Clumpy Chocolate:
Water contact is chocolate's enemy and can cause seizing – when chocolate becomes thick, grainy, and unworkable. Ensure all utensils are completely dry, and avoid steam from double boilers contacting the chocolate.
If seizing occurs, you may be able to rescue the chocolate by gradually whisking in small amounts of warm cocoa butter or neutral oil until the mixture smooths out.
Flavor Balance Issues:
Overly bitter chocolate can be corrected by adding more sweetener, but dissolve powdered sugar in a tiny amount of warm cocoa butter before incorporating to avoid grittiness. Overly sweet chocolate is harder to fix – try adding more cocoa powder or a pinch of salt to balance flavors.
Storage and Shelf Life Tips
Proper storage significantly extends the life of your homemade chocolate recipe creations and maintains their quality over time. Unlike commercial chocolates with preservatives, homemade versions require more careful handling but can last surprisingly long when stored correctly.
Optimal Storage Conditions:
Temperature control is crucial for maintaining chocolate quality. Store finished chocolate in a cool, dry place with temperatures between 60-68°F (15-20°C). Avoid refrigeration unless necessary, as condensation can cause sugar bloom when chocolate returns to room temperature.
Humidity should remain below 50% to prevent sugar bloom and mold growth. If you live in a humid climate, consider using airtight containers with silica gel packets to absorb excess moisture.
Packaging Methods:
Wrap individual pieces or bars in food-grade plastic wrap or aluminum foil before placing in airtight containers. This double protection prevents odor absorption and moisture exposure. Glass containers work excellently for storage, as they don't retain odors and provide good visibility of your chocolate collection.
For longer storage, vacuum-sealed bags remove air exposure that can cause oxidation and rancidity. However, be gentle when vacuum-sealing to avoid crushing delicate chocolates.
Shelf Life Expectations:
Well-stored homemade chocolate typically maintains peak quality for 2-4 weeks at room temperature. Factors affecting shelf life include:
• Ingredient freshness – fresher starting ingredients produce longer-lasting chocolate
• Storage conditions – stable, cool, dry environments extend shelf life significantly
• Added ingredients – nuts, dried fruits, or dairy additions may reduce shelf life
• Preparation method – properly tempered chocolate lasts longer than untempered versions
Signs of Deterioration:
Monitor your stored chocolate for changes in appearance, texture, or aroma. White bloom, while not dangerous, indicates storage condition problems. Soft texture or oily surfaces suggest fat separation or rancidity. Any unusual odors or visible mold require immediate disposal.
When stored properly, homemade chocolate often maintains good eating quality beyond its peak freshness period, though flavors may become less vibrant over time.
Equipment and Tools You'll Need
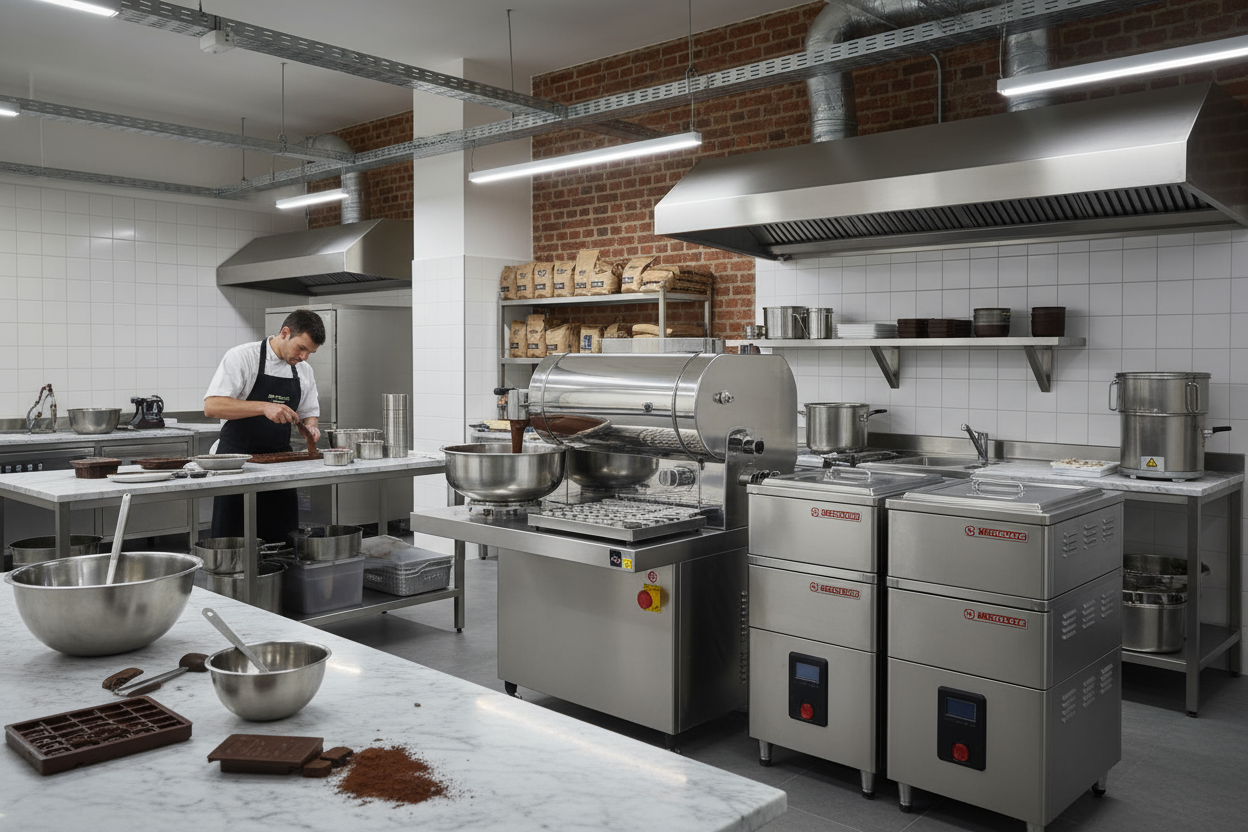
Creating professional-quality results with your home made chocolate recipe doesn't require expensive specialized equipment, but having the right basic tools makes the process significantly easier and more enjoyable.
Essential Equipment:
A digital kitchen scale provides accuracy that measuring cups can't match, especially for cocoa butter and small amounts of flavoring ingredients. Chocolate making relies on precise ratios, and weight measurements eliminate variables that can affect final results.
Double boiler setup – While you can purchase a formal double boiler, a heat-proof glass or stainless steel bowl placed over a saucepan works perfectly. Ensure the bowl sits securely without touching the water below. Avoid aluminum bowls, which can react with acidic ingredients.
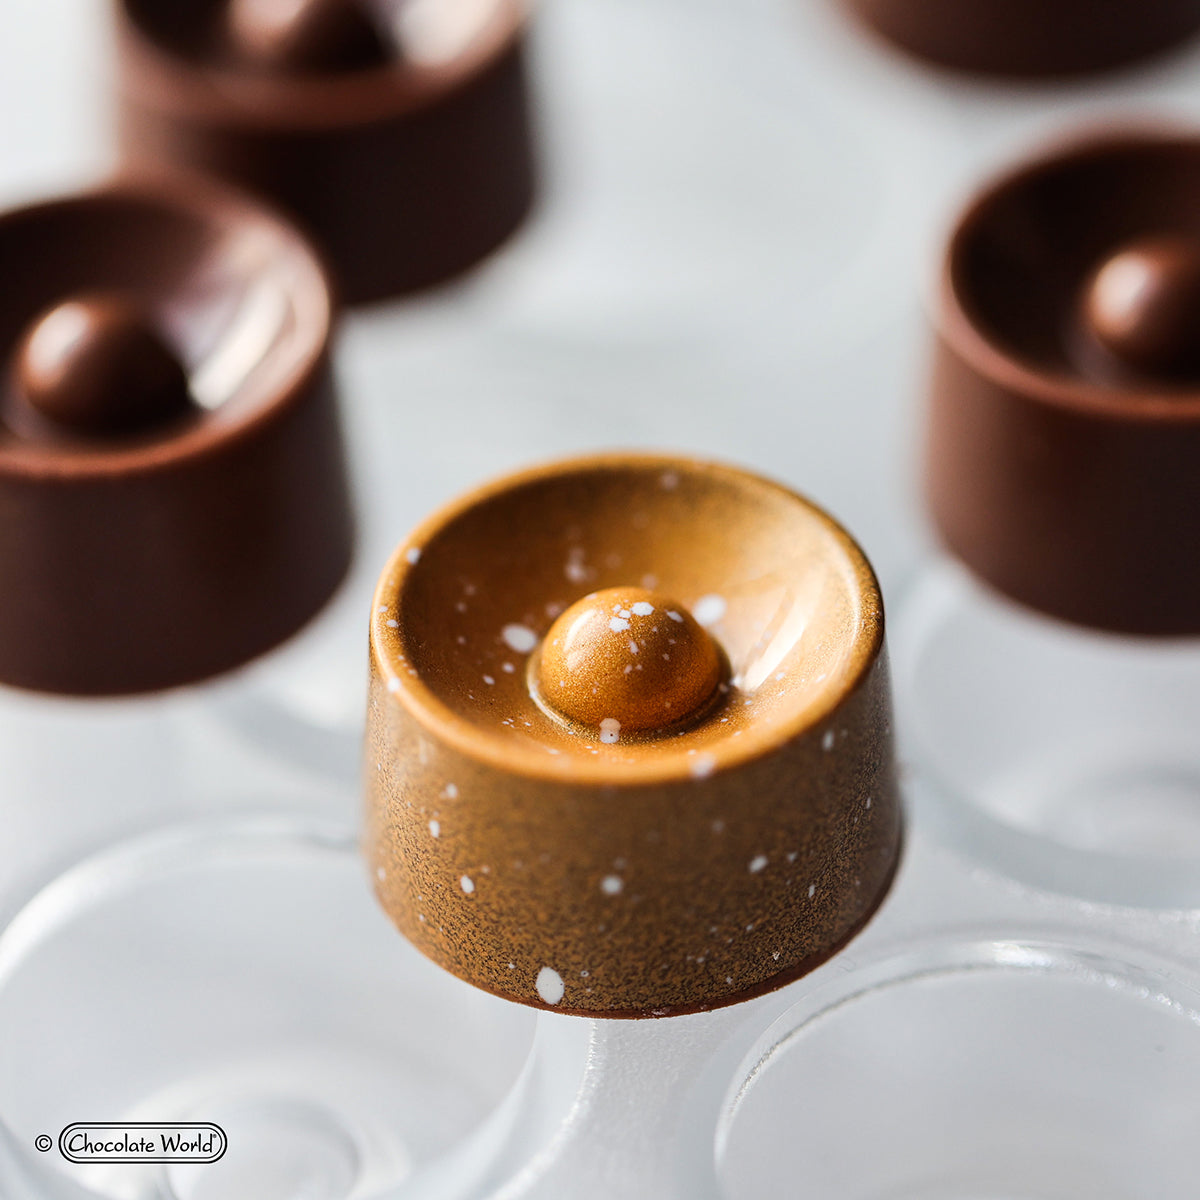
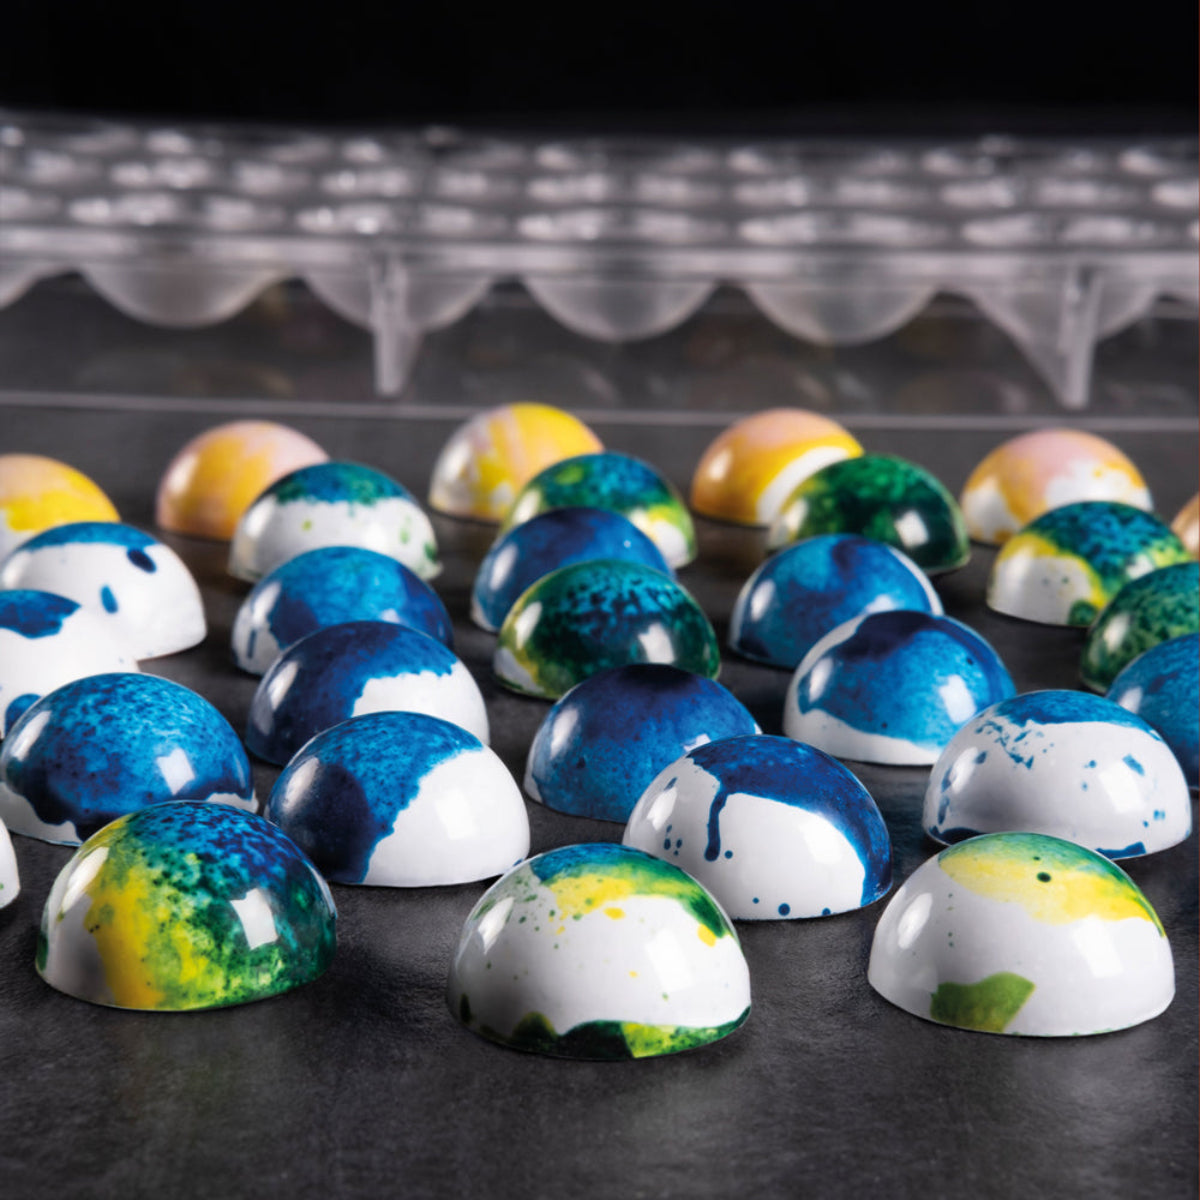
Chocolate molds come in countless shapes and sizes, from simple bar molds to intricate decorative designs. Food-grade silicone molds release finished chocolate easily and clean up well. Polycarbonate molds produce the most professional results but cost more and require more careful handling.
Helpful Additional Tools:
• Fine-mesh sifter for smooth ingredient incorporation
• Digital thermometer for tempering (optional but recommended)
• Offset spatula for spreading chocolate evenly
• Bench scraper for clean edges and easy removal
• Whisk or immersion blender for smooth mixing
Budget-Friendly Alternatives:
If you're just starting to explore how to make homemade chocolate, you don't need to invest in specialized equipment immediately. Parchment-lined baking sheets work well for bark-style chocolates, and ice cube trays can serve as makeshift molds for small individual pieces.
Improvised double boilers using existing cookware work perfectly for small batches. Even without a thermometer, you can successfully make delicious chocolate by paying attention to visual and textural cues during the melting and cooling process.
The key is starting with what you have and gradually adding specialized tools as your interest and skill level develop. Many successful home chocolate makers create beautiful results with minimal equipment.
Frequently Asked Questions
Q: Can I make chocolate without cocoa butter?
A: While cocoa butter creates the most authentic chocolate texture and flavor, you can substitute coconut oil in equal amounts for a different but still delicious result. The texture will be slightly softer, and the flavor will have subtle coconut notes. For best results, use refined coconut oil to minimize coconut flavor.
Q: How long does it take to make homemade chocolate?
A: The basic homemade chocolate recipe takes about 30 minutes from start to finish, including 20 minutes for setting time. More complex recipes with tempering or multiple flavor layers may take 1-2 hours, but most of this time involves waiting for chocolate to cool or set.
Q: Can I use regular sugar instead of powdered sugar?
A: Powdered sugar dissolves more easily and creates smoother chocolate. Regular sugar can work but may result in grittier texture unless you grind it very finely in a food processor or coffee grinder before use. For best results, stick with powdered sugar or other finely ground sweeteners.
Q: Is homemade chocolate healthier than store-bought?
A: Homemade chocolate can be healthier because you control all ingredients, avoiding preservatives, artificial flavors, and excessive additives. You can also adjust sugar content, use organic ingredients, and increase cocoa content for more antioxidants. However, chocolate remains a treat regardless of preparation method.
Q: What's the difference between Dutch-processed and natural cocoa powder?
A: Dutch-processed cocoa has been treated with alkali to neutralize acidity, resulting in milder flavor and darker color. Natural cocoa powder retains its natural acidity and provides more intense chocolate flavor. Both work in chocolate making, but Dutch-processed tends to produce smoother results for beginners.
Q: Can I add fresh fruit to homemade chocolate?
A: Fresh fruit contains too much moisture and will cause chocolate to seize or spoil quickly. Use dried fruits, freeze-dried fruits, or fruit powders instead. These provide intense fruit flavors without moisture problems that compromise chocolate texture and shelf life.
Final Thoughts and Next Steps
Mastering how to make chocolate at home opens up a world of creative possibilities and provides immense satisfaction through the creation of personalized, high-quality confections. Whether you start with the simple three-ingredient recipe or advance to complex tempering techniques, each batch teaches valuable lessons and builds confidence.
The journey from basic chocolate making to creating sophisticated flavored varieties happens naturally as you gain experience and discover your preferences. Don't be discouraged by occasional imperfect results – even professional chocolatiers continue learning and refining their techniques throughout their careers.
Consider keeping a chocolate-making journal to track successful recipes, flavor combinations you enjoy, and modifications that improve results. This record becomes invaluable as you develop your personal style and perfect your techniques.
For premium ingredients and inspiration for your chocolate-making adventures, explore the exceptional selection at Zucchero Canada's fine chocolate collection, where you'll find high-quality products that can serve as both ingredients and inspiration for your homemade creations.










Leave a comment
All comments are moderated before being published.
This site is protected by hCaptcha and the hCaptcha Privacy Policy and Terms of Service apply.