


Tempering problems follow predictable patterns. Once you understand what is actually happening to the cocoa butter crystals, the fix becomes obvious — and more importantly, you can prevent the same issue from repeating. This guide covers the 8 most common tempering problems, their exact causes, and what to do about each one.
Quick reference: tempering temperature curves
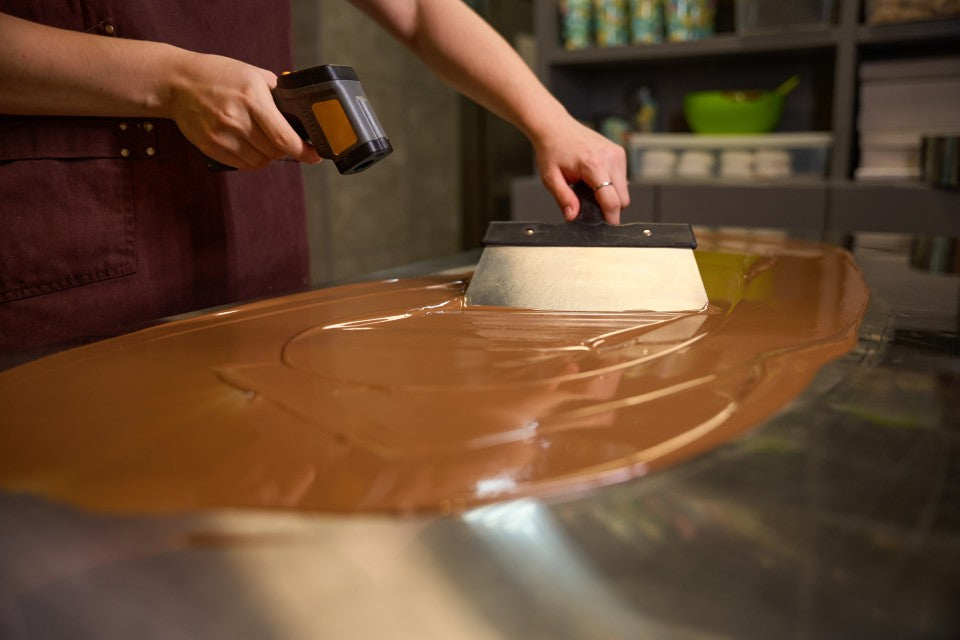
Before troubleshooting, confirm you are working with the correct temperatures. Most tempering problems come from being off by just a few degrees.
| Type | Melt to | Cool to | Working temp |
| Dark (70%+) | 45–50°C | 28–29°C | 31–32°C |
| Dark (55–70%) | 45–50°C | 28–29°C | 31–32°C |
| Milk | 40–45°C | 27–28°C | 29–30°C |
| White | 40°C | 26–27°C | 28–29°C |
These ranges are for couverture-grade chocolate (32%+ cocoa butter). Compound chocolate and lower-cocoa-butter products behave differently and do not require tempering.
Problem 1: Fat bloom — white or grey surface after setting
What it looks like: Finished chocolate has a dull, chalky, white or grey film on the surface. May appear immediately or develop over 24–48 hours.
Cause: Unstable cocoa butter crystals (not Form V) migrating to the surface as the chocolate sets or is stored. Almost always a tempering failure — the chocolate was not properly seeded into stable crystals before molding or dipping.
Fix:
- Re-melt the bloomed chocolate, re-temper from scratch
- Verify your working temperature before the next batch — use a calibrated thermometer, not the machine display alone
- If using a tempering machine, run a temper test: drop a small amount on parchment or marble. It should set with a shine in 3–4 minutes at 20–22°C room temperature
Prevention: Consistent temperature control throughout the working session. When chocolate sits idle in the bowl, it can cool below working temperature and lose temper. Keep it moving or maintain it in a tempered machine.
Problem 2: Chocolate sets too soft — no snap, fingerprints easily
What it looks like: Molded or dipped chocolate sets but remains soft, bendy, or waxy. No clean snap when broken.
Cause: Working temperature too high. If you work above the recommended temperature (e.g. 34°C for dark instead of 31–32°C), the stable Form V crystals melt back out and the chocolate sets in an unstable form — soft, with poor gloss.
Fix:
- Let the chocolate cool slightly and re-test. If still soft after setting: re-melt and re-temper at correct working temperature
- Check your thermometer calibration — a 2°C error is enough to cause this
Prevention: Work at the lower end of the working temperature range, especially in a warm kitchen. In summer or in kitchens above 22°C ambient, bring working temperature down by 0.5–1°C.
Problem 3: Chocolate too thick to work with
What it looks like: Chocolate is properly tempered but viscosity is too high — difficult to fill molds cleanly, leaves thick shells, drips too slowly when dipping.
Cause (most common): Temperature dropped below working range during use. As chocolate cools, viscosity increases rapidly. Also possible: the couverture itself has higher viscosity (lower cocoa butter content or higher sugar).
Fix:
- Gently re-warm to working temperature and re-test — do not overshoot or you will lose the temper
- If using a machine: verify the output temperature is correct, not just the tank temperature
- For thin-shell bonbons specifically: consider a couverture with higher fluidity (higher cocoa butter content, 35–39%)
Prevention: Use a dedicated tempering machine that maintains working temperature continuously. When working by hand, work in smaller batches and re-temper more frequently.
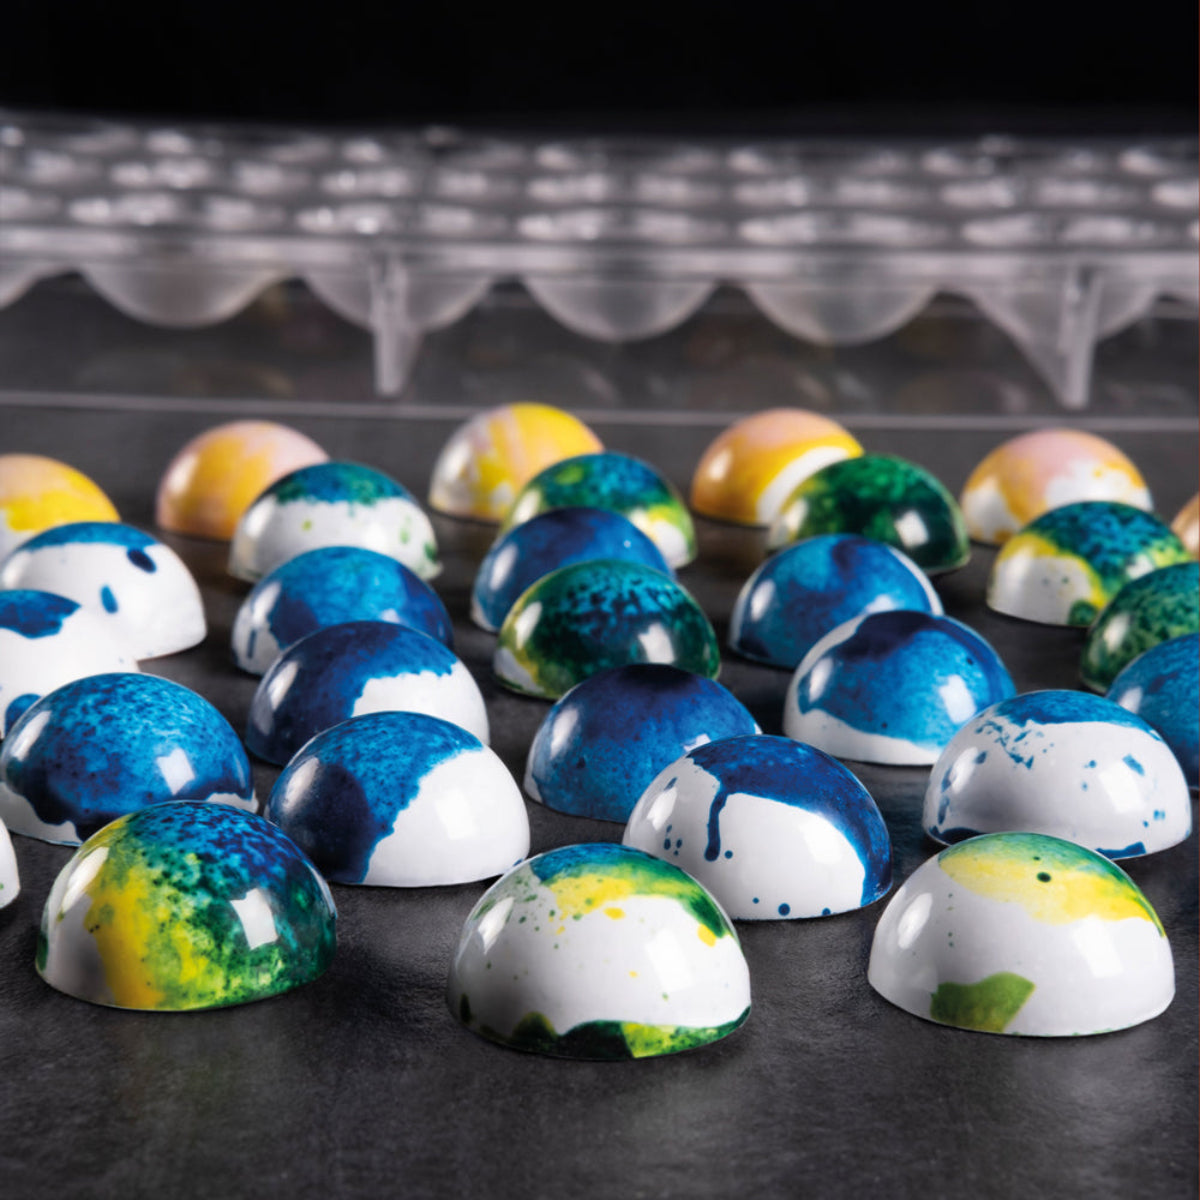
Problem 4: Streaks or swirls in finished chocolate
What it looks like: Uneven coloration — lighter and darker streaks, swirl patterns, or mottled appearance in molded or dipped products.
Cause: Uneven crystallization during cooling. Can happen when: molds are too cold when filled (chocolate sets too fast on the surface before the interior), cooling is too rapid or uneven, or the chocolate was close to the edge of temper when poured.
Fix:
- Pre-warm molds to 26–28°C before filling — molds straight from a cold room or storage will cause this
- Cool at 12–15°C with gentle airflow, not in a refrigerator (too cold, too fast)
- Re-melt and re-temper; ensure solid temper before pouring
Prevention: Consistent mold temperature, consistent cooling environment. A dedicated cooling cabinet or cooling tunnel gives you control that a fridge or cold room cannot.
Problem 5: Chocolate sticks to the mold — will not release
What it looks like: Molded chocolate sticks to the polycarbonate and will not release cleanly, or breaks when trying to unmold.
Cause: Almost always under-tempered chocolate. Properly tempered chocolate contracts slightly as it cools (cocoa butter crystallization causes volumetric contraction), which naturally pulls it away from the mold walls. Under-tempered chocolate does not contract properly and stays stuck.
Second cause: Not cooled long enough. Polycarbonate molds should be cooled until the back of the mold shows condensation starting to evaporate — the chocolate is contracting away from the mold at that point.
Fix:
- Re-melt, re-temper with better seeding, re-test before pouring
- Extend cooling time before unmolding
- Polish molds before next use with a clean, dry cotton cloth
Problem 6: Chocolate grays out only in spots — partial bloom
What it looks like: Some chocolates from the same batch are perfect; others have bloom. Not consistent across the batch.
Cause: Temperature variation during cooling — some pieces cooled faster or slower than others, or the mold had hot and cold spots. Also common when molds are filled from a cooling batch where the temperature was dropping, so the last pieces poured were at a different temper state than the first.
Fix and prevention: Work from a tempering machine that holds working temperature consistently throughout the pour. Fill molds quickly and cool uniformly.
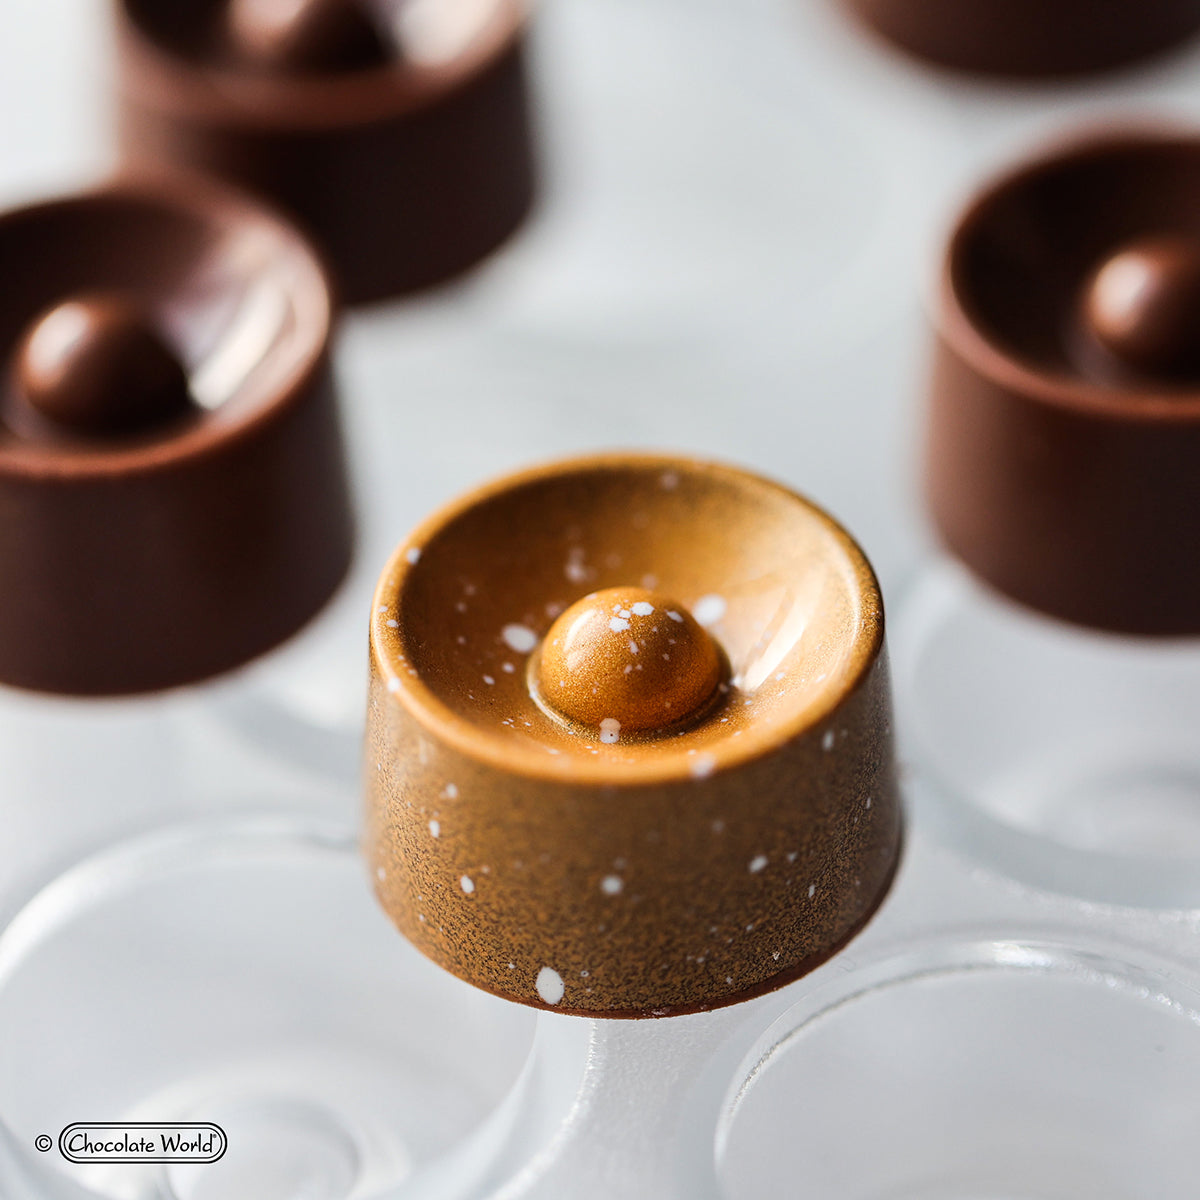
Problem 7: Dull finish, no gloss
What it looks like: Chocolate sets firmly and snaps cleanly but has a matte rather than glossy surface.
Cause: Usually one of three things: mold surface was not clean and polished, cooling was too slow (gloss requires rapid crystal formation at the surface), or working temperature was slightly low.
Fix:
- Polish polycarbonate molds with a dry cotton cloth before each use — any residue, fingerprint oil, or water mark will transfer to the chocolate surface
- Ensure cooling environment is cold enough: 12–15°C is the professional range
- Bring working temperature up by 0.5°C and re-test
Problem 8: Chocolate thickens rapidly and becomes unworkable mid-session
What it looks like: Chocolate was working fine but thickened suddenly during a production session, becoming grainy or paste-like even though temperature seems correct.
Cause: Over-seeding. If you added too much solid chocolate during the seeding phase, you created too many Form V crystals — the chocolate becomes over-crystallized, thickens rapidly, and loses fluidity. Also caused by working too long at a temperature just below the crystal melt point, allowing gradual over-crystallization.
Fix:
- Gently raise temperature by 1–2°C while stirring — this melts back some of the excess crystals without destroying all temper
- If too thick to recover: re-melt completely to 45–50°C and re-temper from scratch
Prevention: When seeding, add solid chocolate gradually and test frequently. A tempering machine manages this automatically — the Archimedes screw in continuous machines like the Bilait Adam K6 or Pomati T5 continuously circulates and manages crystal count.
The equipment fix: why most tempering problems are preventable
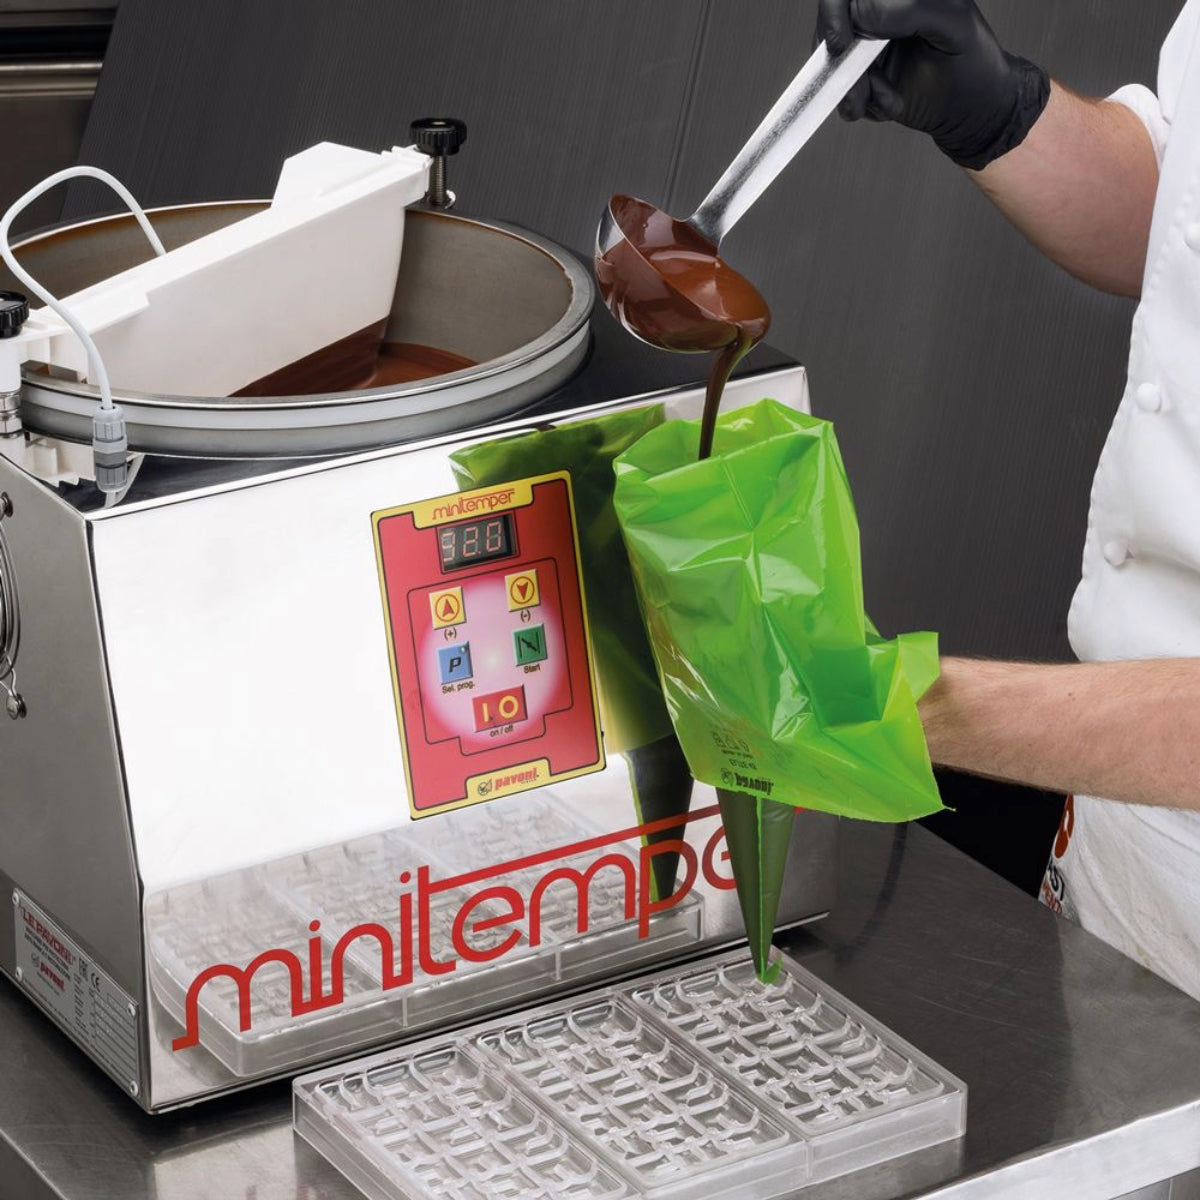
Most of the problems above become rare or disappear entirely when you move from manual tempering to a dedicated tempering machine. A continuous tempering machine maintains working temperature within ±0.5°C throughout a production session, manages crystal count automatically, and gives you consistent chocolate from the first piece to the last.
For professional production in Canada:
- Pavoni MiniTemper 110V — 3.5 kg, 5 programmable presets, standard outlet — $3,350 CAD
- Bilait Adam K6 — 6 kg continuous, touchscreen, 230V — $9,899 CAD
- Pomati T5 — 5 kg continuous, 110V universal — $11,650 CAD
Not sure which machine fits your volume and electrical setup? Contact our team — we work with chocolatiers and pastry chefs across Canada and can recommend the right machine for your production.


Leave a comment
All comments are moderated before being published.
This site is protected by hCaptcha and the hCaptcha Privacy Policy and Terms of Service apply.