
Creating Layered Effects in Molded Chocolate: Colour, Shell and Filling Layers
Short answer: a layered moulded chocolate is built from the outside in. Whatever goes into the mould first becomes the outer surface: first the coloured cocoa butter, then the tempered chocolate shell, then the fillings one layer at a time, each allowed to set, and finally the chocolate cap. The chef recipes in Chocolate World's mould catalogue follow exactly this order, for example a caramel layer to one-third of the height, ganache to the top, 24 hours at 18°C (64°F), then the cap.
Quick answer: what you need for each layer
| Layer | Product | Price |
|---|---|---|
| Colour, ready to use | Pavoni Chocolart red cocoa butter, 200 g | $79.99 |
| Colour from plant extracts | Pavoni Seasons red natural concentrate, 200 g | $73.99 |
| Spraying cocoa butter colours | KREA Swiss chocSPRAYER, 120V | $1,250.00 |
| Bonbon mould with a matching stencil | Chocolate World CW1921, Andrey Dubovik | $39.95 |
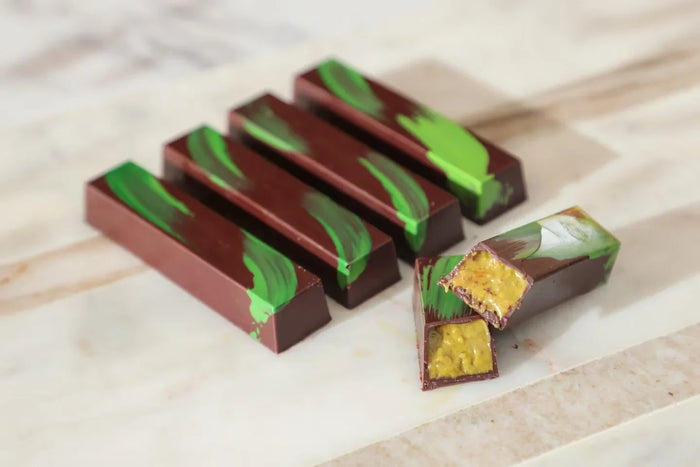
| Layered bars | Chocolate World CW1883 Bubble Bar | $39.95 |
| Holding the shell chocolate in temper | Martellato Digital Meltinchoc 3.6 L | $1,150.00 |
The order of the layers
Plan the piece from the front to the back: the first thing in the cavity is what the customer sees. Chocolate World's instructions for its magnetic moulds show the principle clearly: the transfer sheet goes in first, at the bottom of the mould with the printed cocoa butter side up, and after cooling and demoulding the design sits on top of the praline.
A full layered bonbon, as Shigeo Hirai (2009 World Chocolate Masters champion) describes it for his Chocolate World mould CW1690, runs like this:
- Spray coloured cocoa butter into the mould (Hirai uses red, brown and gold).
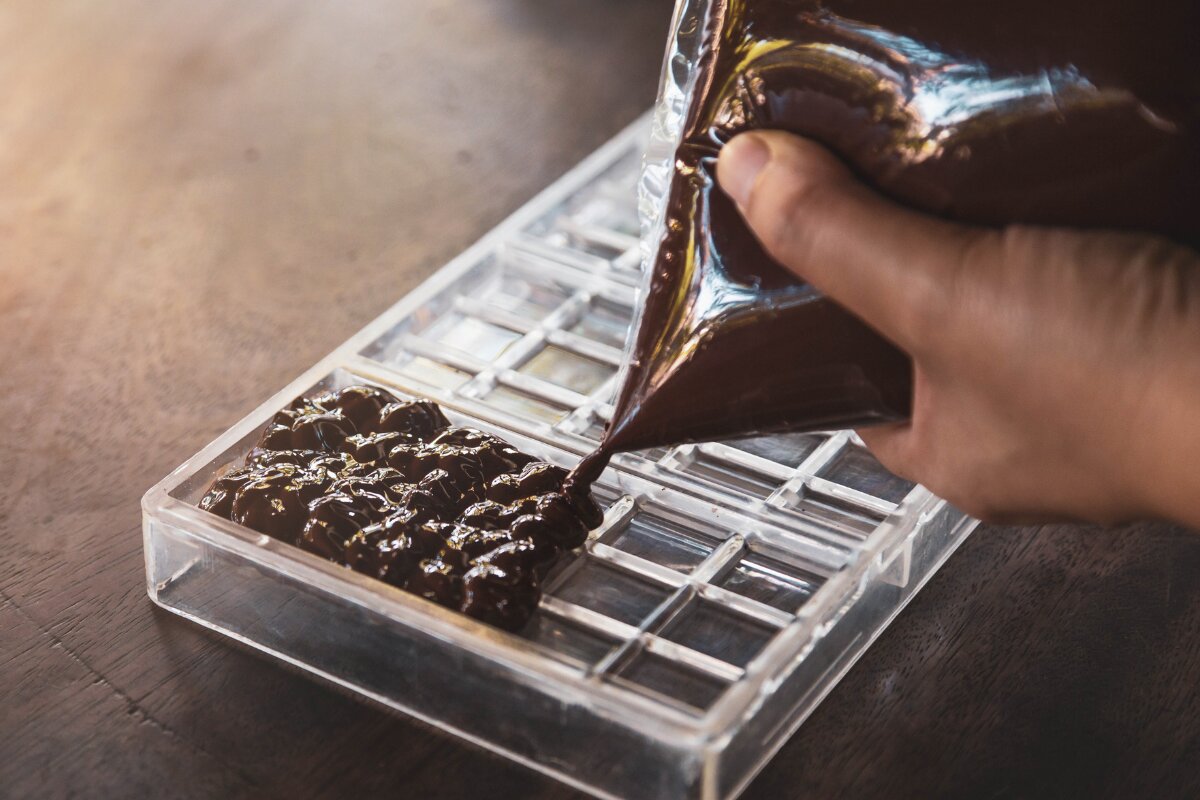
- Pour pre-crystallised (tempered) dark chocolate into the mould to make the shell.
- Pipe the caramel into the mould to one-third of its height.
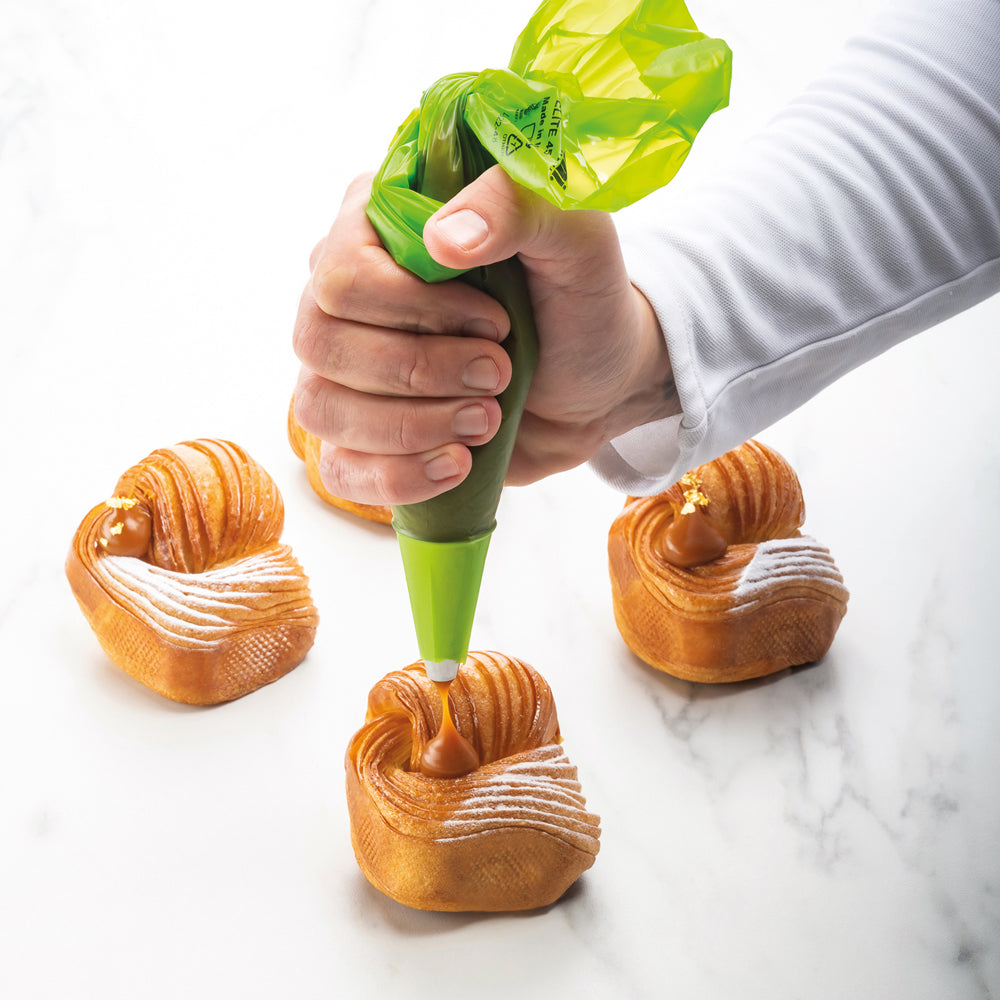
- Pipe the ganache to fill the rest.
- Leave it 24 hours at 18°C (64°F).
- Close the shell with dark chocolate and put a transfer sheet on before it sets.
- When set, remove the transfer sheet and demould.
Layer 1: colour with cocoa butter
Coloured cocoa butter is tempered before it goes into the mould, like the chocolate. The product instructions for Pavoni's Chocolart colours are to melt at 45°C (113°F) and temper to 28–30°C (82–86°F) before applying them to moulds or chocolate. Martellato gives the same rule for its coloured cocoa butters: temper before each use.
- Brush: apply the tempered colour directly onto the mould surface for a hand-painted effect, then mould tempered chocolate over the coloured mould.
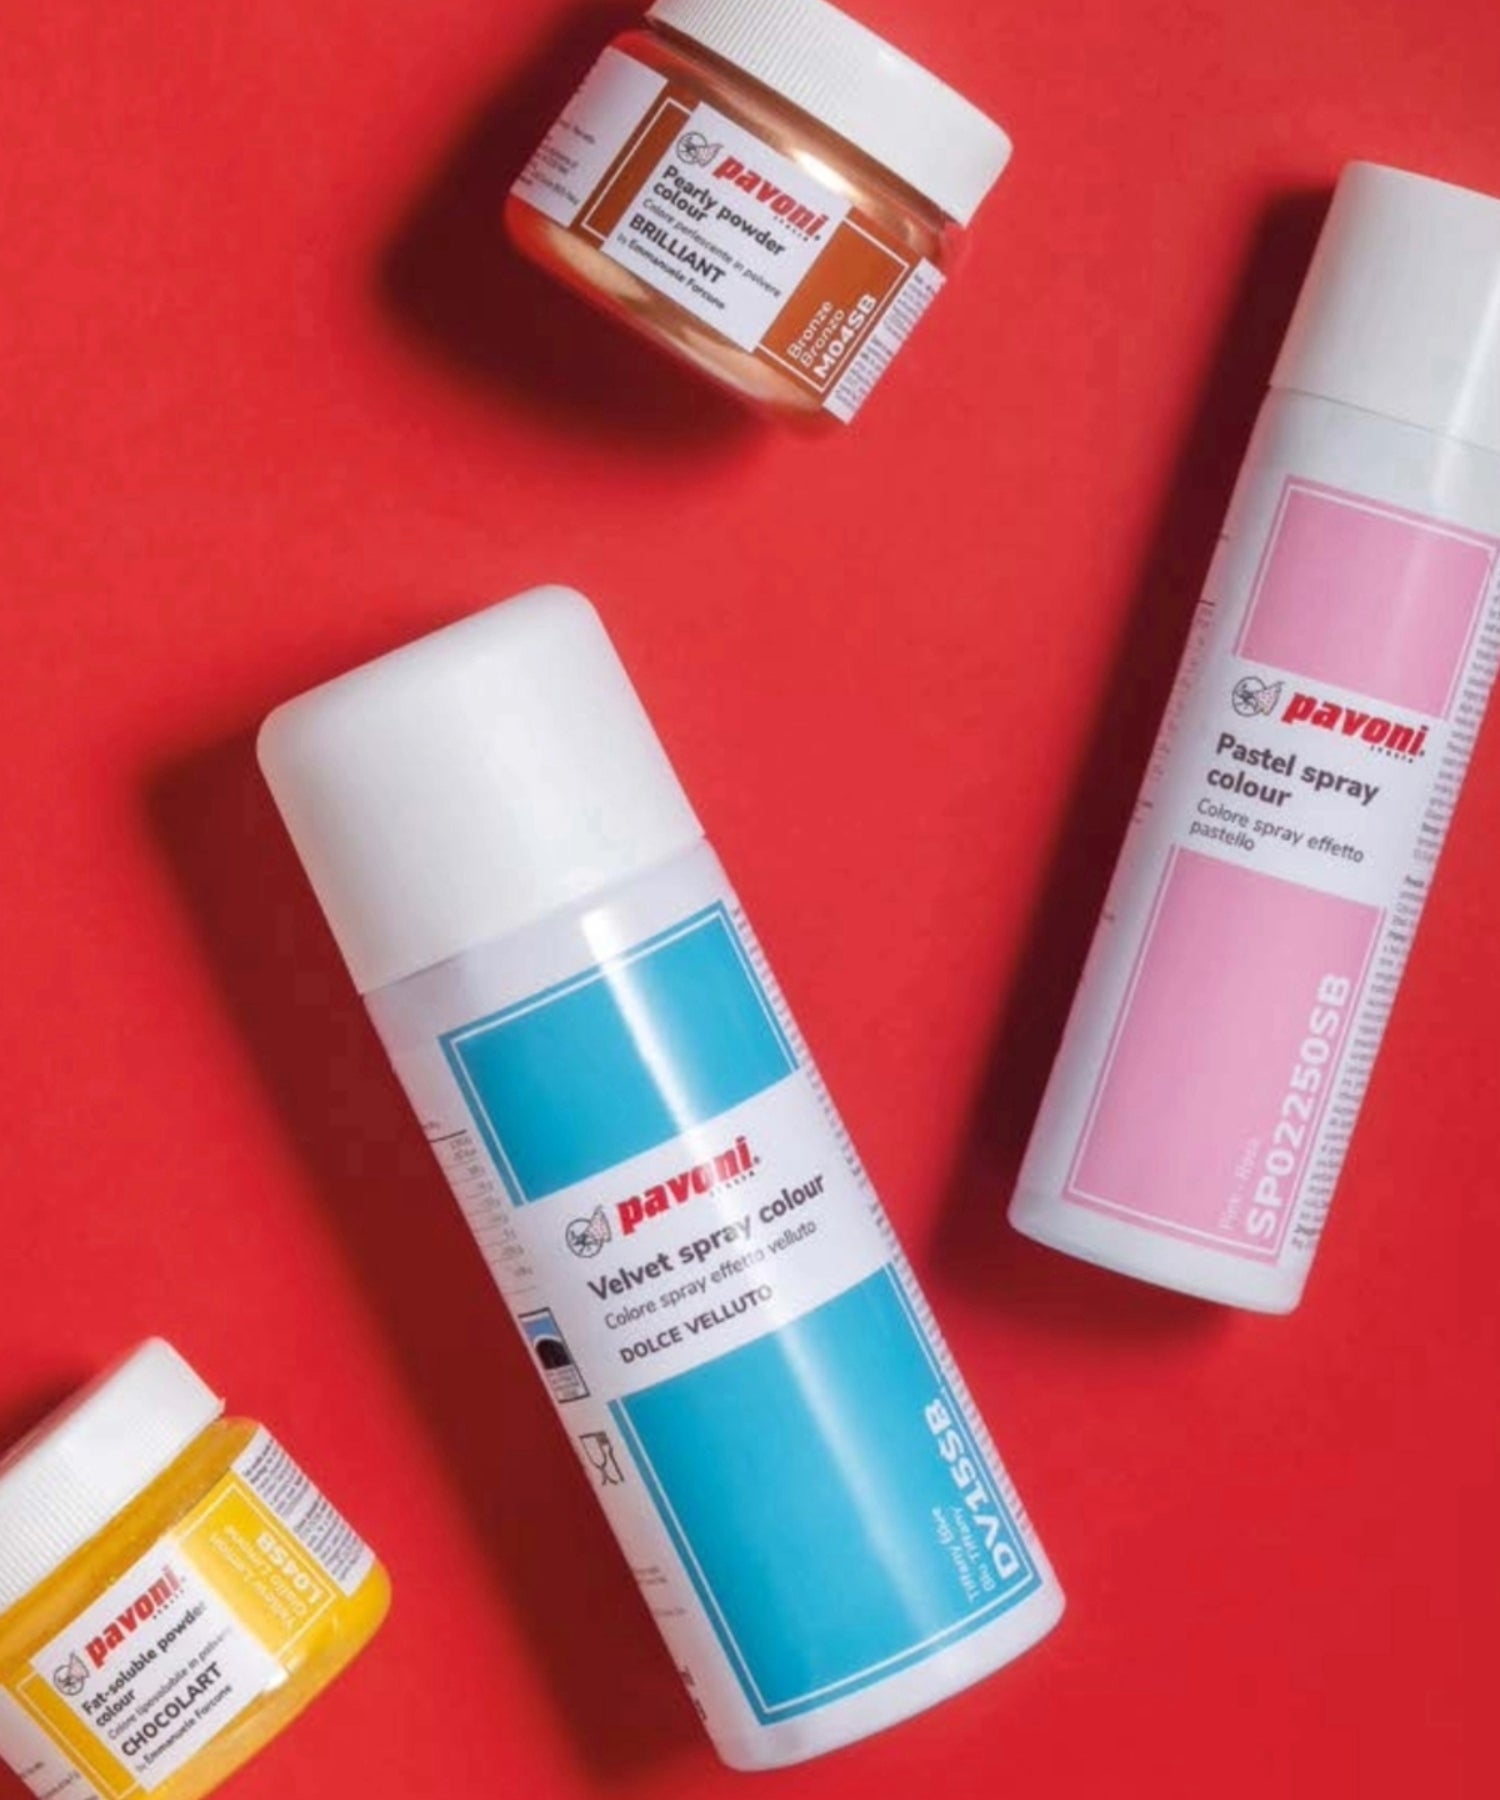
- Spray: Hirai sprays the colours into the mould; Kevin Kugel airbrushes his CW1854 bar mould white and yellow before moulding dark shells. For Pavoni's Seasons natural concentrates, keep the colour at 30–35°C (86–95°F) in the spray gun.
- Make your own colour: Pavoni's Chocolart fat-soluble powders are high-density colours melted into cocoa butter at 45°C (113°F) and mixed thoroughly before they go into the chocolate, for example the red L10SB, 40 g ($46.99 CAD).
Colours for a layered design:
- Chocolart red LB10SB → $79.99 CAD
- Chocolart white LB08SB → $79.99 CAD
- Chocolart gold LB12SB → $109.00 CAD
- Seasons red NC10, from plant extracts → $73.99 CAD
All four are 200 g jars, E171 free, made in Italy. Store them at 15–18°C (59–64°F), away from moisture and direct sunlight.
View all coloured cocoa butters →
Spraying without a compressor
The KREA Swiss chocSPRAYER sprays chocolate blends up to 70%, cocoa butter and glazes at 26–40°C (79–104°F). Its heated nozzle and insulated 700 ml container keep pre-tempered material workable for up to an hour, without a compressor (60 W, 120V, 120–240 g per minute). It does not temper: bring the cocoa butter to working temperature first, and the sprayer keeps it there. For velvet finishes and spraying technique, see our chocolate spray gun guide.
Layer 2: the tempered shell
The shell is ordinary moulding with tempered chocolate, poured over the set colour. Work to your chocolate's published curve, for example:
| Chocolate | Melt | Crystallise | Work at |
|---|---|---|---|
| FCH 55% dark (Venezuela) | 45–50°C (113–122°F) | 28–29°C (82–84°F) | 31–32°C (88–90°F) |
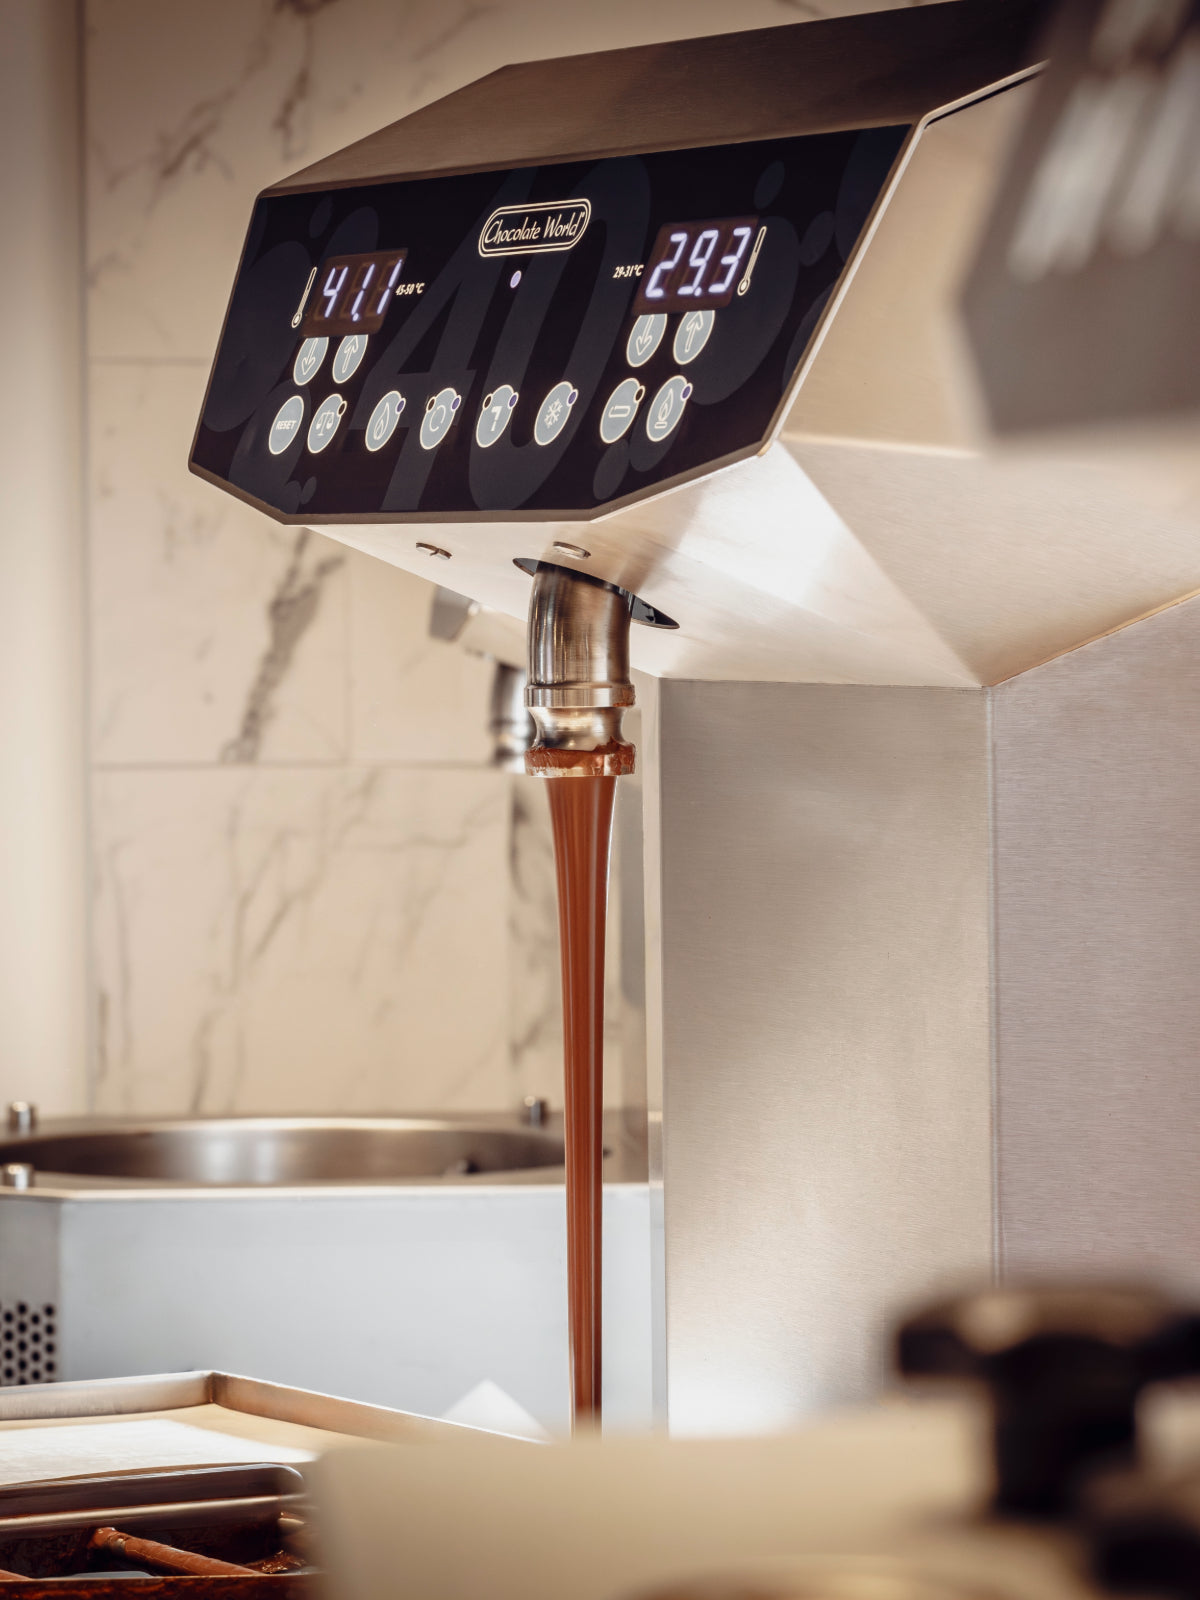
A melter with programs keeps the shell chocolate in range while you work through several moulds: the Martellato Digital Meltinchoc melts to 45°C, signals when to seed, then holds 31°C for dark, 29°C for milk or 28°C for white. For the full method, read how to mould chocolate and tools for tempering chocolate.
Layers 3 and up: fillings, one at a time
Each filling layer must set before the next goes in, and none should be warm enough to melt the shell. The chef recipes in the Chocolate World catalogue give concrete timings and temperatures:
| Chef and mould | Layers | Timing and temperature |
|---|---|---|
| Shigeo Hirai, CW1690 | Colour, dark shell, caramel to 1/3, ganache to the top, dark cap with transfer sheet | 24 hours at 18°C (64°F) before capping |
| Stéphane Leroux, CW1668 Bamboo | Raspberry fruit paste, then yuzu milk-chocolate ganache | Fruit layer dries 1 hour at 18°C (64°F); ganache poured at 35–38°C (95–100°F); crystallise 12 hours at 18°C and 60% humidity; then close |
| Kevin Kugel, CW1854 | White and yellow airbrushed colour, dark shell, two ganaches piped alternately, solid dark base | — |
| Juliana Badaró, CW1929 | Shell, honey caramel applied cold, chocolate layer, acetate sheet for a smooth bottom | Caramel cooled to 35°C (95°F) before the butter goes in, then applied cold |
| Andrey Dubovik, CW1921 | Shell with yuzu and matcha ganaches | Shells filled at 29–30°C (84–86°F) and 29°C (84°F) |
Kugel's idea is worth copying for retail: he combines different compositions in one bar so each part brings its own flavour.
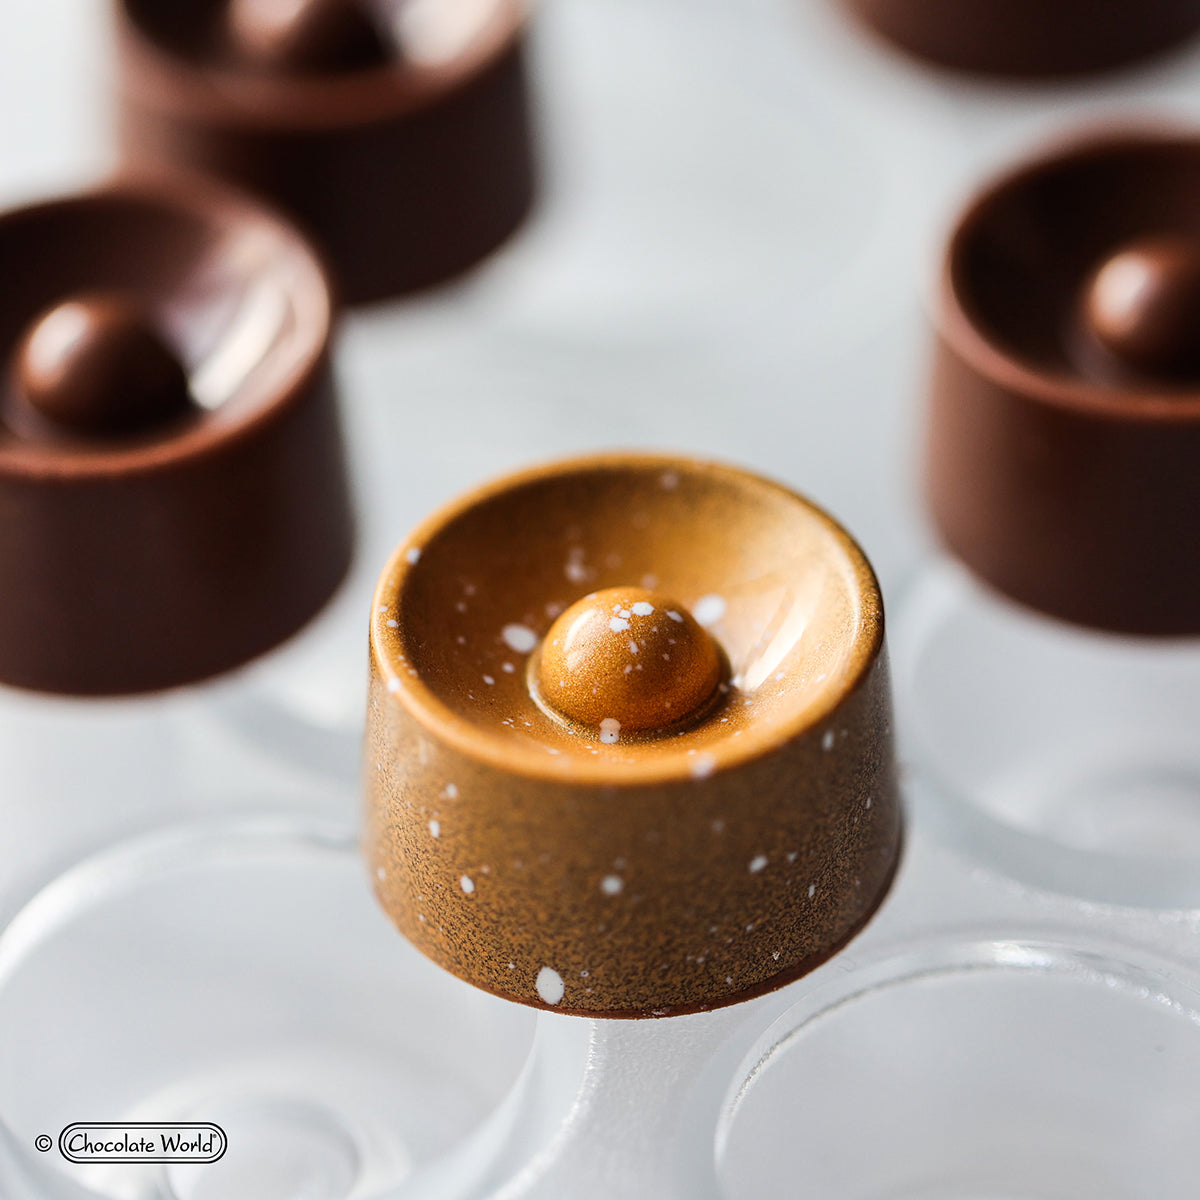
For layered bonbons, the Andrey Dubovik mould CW1921 has 21 cavities of 10.5 g (36.5 × 27.5 × 16.5 mm) and a matching stencil ($39.95 CAD) for decorating with edible powders or cocoa butter. For layered bars, the Bubble Bar CW1883, developed with the Dutch Pastry Team, has 7 bars of 28 g, 100 × 30 × 20 mm.
The last layer: cap and finish
- Cap: close the shell with tempered chocolate. Badaró lays an acetate sheet over the last layer for a smooth bottom, lets it set and demoulds.
- Transfer on the cap: Hirai places a transfer sheet on the closing chocolate before it sets and removes it once set.
- Transfer on the front: magnetic moulds hold a pre-cut transfer sheet at the bottom of the cavity; fill as usual (solid or shell moulding), and the design stays on top of the praline.
- Metallic finish: Badaró sprays her bars with gold powder mixed with edible alcohol. Pavoni's Brilliant metallic powders can be used dry or dissolved in alcohol: Brilliant gold M01SB, 40 g ($56.99 CAD).
View magnetic moulds → View transfer sheets →
How AI can help your production
Give an AI assistant your recipe and the cavity weight of your mould (for example 10.5 g for CW1921) and ask it to split each cavity into shell, layer 1, layer 2 and cap by weight, then scale every component to the number of moulds you plan to run. Ask it to turn the layer sequence into a timed production plan, so colour, shells, each filling and capping fall on the right shift, with the setting time for each layer written in. A written plan stops layers being added before the previous one has set.
AI organises the information; tasting and the final decision stay with your chef.
Moulds, colours and tools at Zucchero Canada
We are an authorized distributor of Chocolate World, Pavoni Italia, Martellato and KREA Swiss, based in Calgary. Each brand has its own job in a layered piece: Chocolate World polycarbonate moulds for the shape, including its chef's signature moulds; Pavoni Italia for coloured cocoa butters, fat-soluble colours and metallic powders; Martellato for the melter that keeps the shell chocolate in temper; KREA Swiss for spraying cocoa butter without a compressor.
Moulds, colours and tools count toward free shipping on orders of CAD 300 or more within Canada; remote areas and the territories pay the actual carrier rate. Orders over CAD 500 get 5% off automatically at checkout. Producing for retail or wholesale? Contact our team or call 587-774-8873 (toll free 877-741-8251).
Chocolate World moulds | Coloured cocoa butter | Spray guns | Shiny bonbons guide | Cocoa butter guide
This article is for information only. Every business is different: draw your own conclusions based on your own expectations, budget and goals, and talk to qualified experts before you decide or invest.
Sources: Chocolate World Moulds catalogue, Edition 15 (chef's signature recipes by S. Hirai, S. Leroux, K. Kugel, J. Badaró and A. Dubovik; magnetic moulds instructions); Pavoni Italia Food Equipment 2026 catalogue (colours); Martellato Food Colours catalogue (coloured cocoa butter usage); Martellato, Digital Meltinchoc user manual; product data for Pavoni Chocolart and Seasons colours, KREA Swiss chocSPRAYER, FCH 55% dark and Chocolate World moulds (zuccherocanada.ca).
Good to know
Frequently asked questions
How do you create layered effects in molded chocolate?
Build the piece from the outside in: coloured cocoa butter first, then a tempered chocolate shell, then each filling layer, letting each one set before the next, and finally the chocolate cap. Shigeo Hirai's recipe for the Chocolate World CW1690 mould pipes caramel to one-third of the height, ganache to the top, leaves it 24 hours at 18°C (64°F), then closes the shell.
At what temperature should coloured cocoa butter go into the mold?
Temper it first. The product instructions for Pavoni's Chocolart coloured cocoa butters are to melt them at 45°C (113°F) and temper them to 28–30°C (82–86°F) before applying them to moulds. For Pavoni's Seasons natural concentrates in a spray gun, keep the colour at 30–35°C (86–95°F).
How long should each layer set before adding the next?
It depends on the layer, so follow the recipe. In the Chocolate World catalogue, Stéphane Leroux lets his fruit-paste layer dry 1 hour at 18°C (64°F) before adding ganache, then crystallises the filled moulds 12 hours at 18°C and 60% humidity before closing; Shigeo Hirai leaves his caramel and ganache layers 24 hours at 18°C.
Should I brush or spray coloured cocoa butter?
Both work. A brush gives a hand-painted look; spraying gives an even coat or several colours over each other, as Hirai and Kevin Kugel do in their recipes. To spray without a compressor, the KREA Swiss chocSPRAYER keeps cocoa butter at 26–40°C (79–104°F) in a heated nozzle, but it does not temper: bring the colour to working temperature first.
How do I add a printed design to a layered bonbon?
Use a transfer sheet. On the front: a magnetic mould holds the pre-cut sheet at the bottom of the cavity, printed side up, and the design ends up on top of the praline. On the cap: place the sheet on the closing chocolate before it sets and peel it off once set.
Do chocolate molds and colours qualify for free shipping?
Yes. Moulds, colours and tools count toward free shipping on orders of $300 CAD or more within Canada; remote areas and the territories pay the actual carrier rate. Orders over $500 CAD also get 5% off automatically at checkout.
Shop this article
Products mentioned in this guide
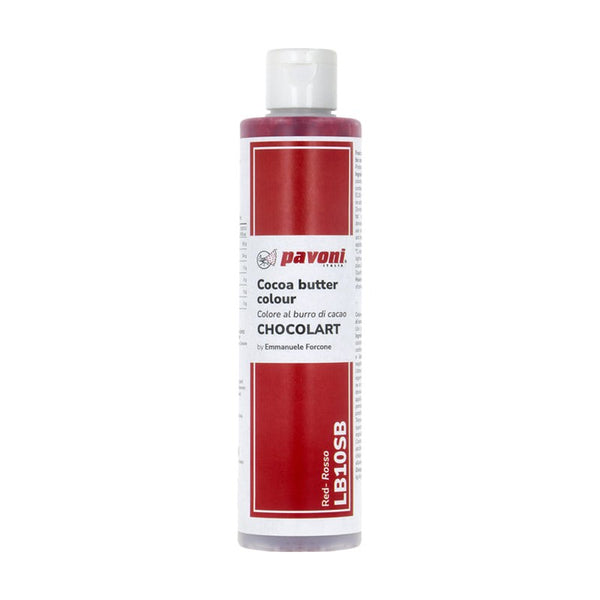 Pavoni ItaliaChocolart Red Cocoa Butter – LB10SB$79.99 CADView product →
 Pavoni ItaliaSeasons Red Natural Cocoa Butter Concentrate – NC10$73.99 CADView product →
 KREA SwisschocSPRAYER (hotCHOC+) Heated Chocolate Spray Gun 60 W – KREA Swiss, 120 V$1,250.00 CADView product →
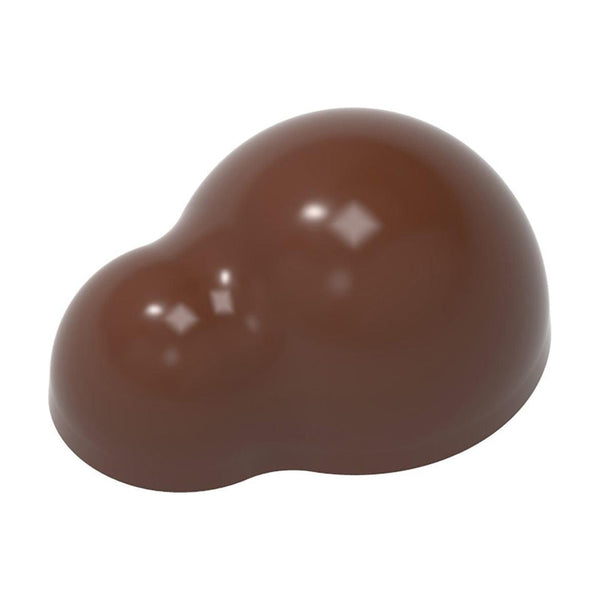 Chocolate WorldAndrey Dubovik Chocolate Mold CW1921From $39.95 CADView product →
For professionals
Equipping a chocolate shop, bakery or kitchen?
Tell us what you produce and how much. We will recommend the right machine, moulds and ingredients, and send you a quote.
For home bakers
Professional tools for your own kitchen
The same European moulds, tools and ingredients the professionals use.
5% off orders over $500 CAD, applied automatically at checkout.
Keep reading


Leave a comment
All comments are moderated before being published.
This site is protected by hCaptcha and the hCaptcha Privacy Policy and Terms of Service apply.