


Creating chocolate covered Oreos with mold transforms ordinary cookies into stunning confections perfect for any celebration. This comprehensive guide reveals professional techniques for crafting bakery-quality treats using specialized molds, premium chocolate, and expert finishing methods that elevate your homemade creations to professional standards.
Understanding Chocolate Molds for Oreos
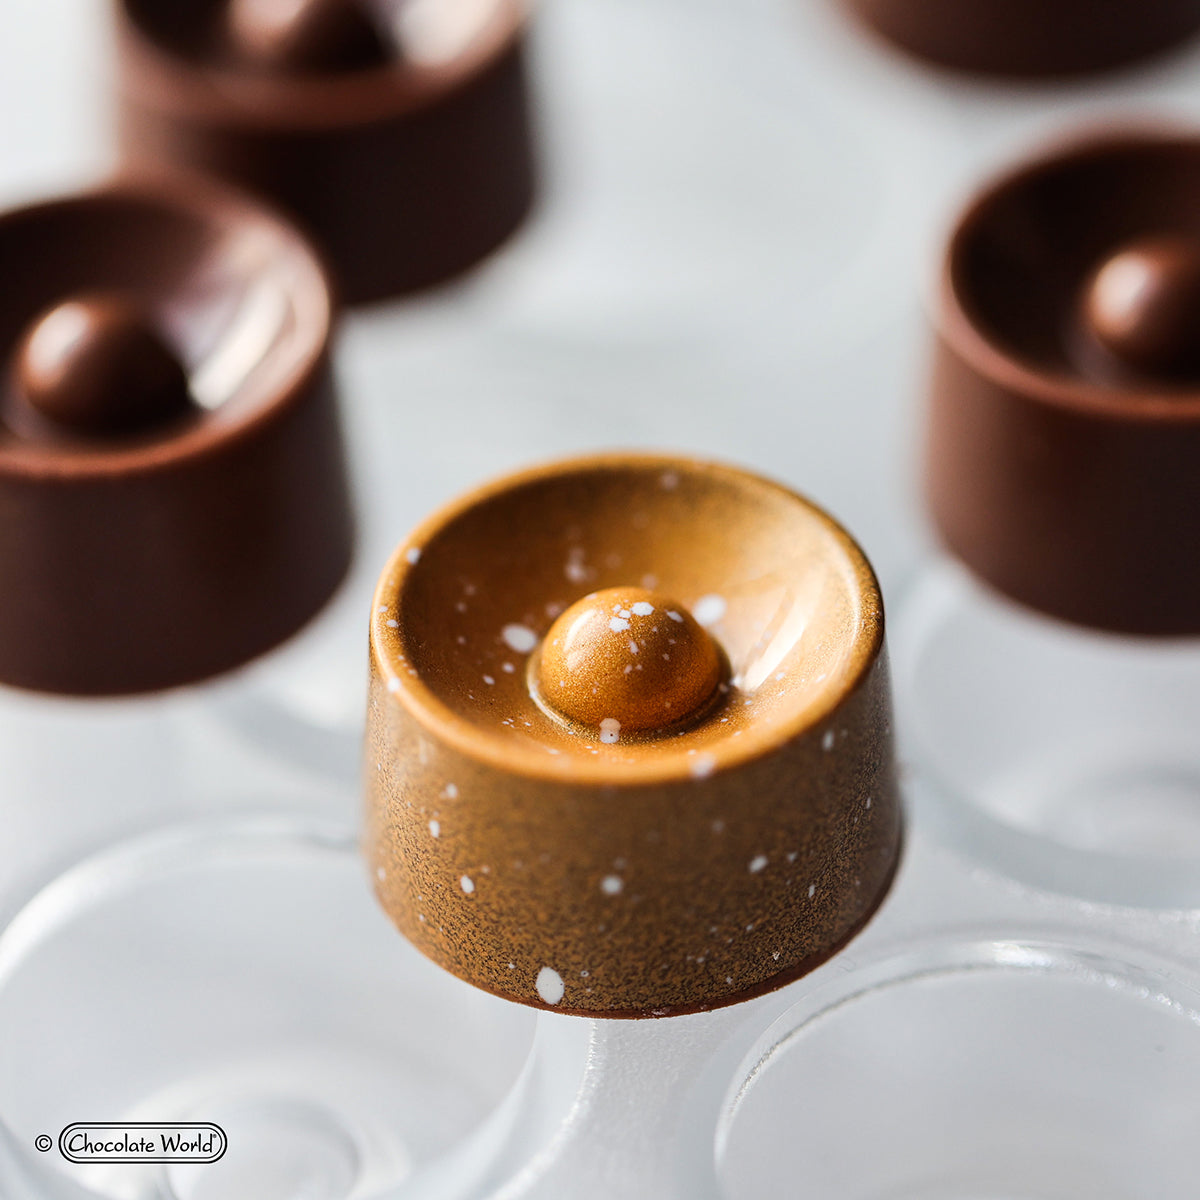
Chocolate covered Oreos with mold require specific types of molds designed to accommodate the cookie's thickness and diameter. Professional confectioners prefer polycarbonate molds for their durability and heat resistance, while silicone options offer flexibility for beginners.
Types of Molds Suitable for Oreo Coating
Different mold materials provide distinct advantages when making chocolate covered Oreos. Polycarbonate molds create the glossiest finish and release chocolates cleanly, making them ideal for professional results. The American Truffle Chocolate Mold CW1291 works exceptionally well for standard Oreo sizes, while the Half Sphere Chocolate Mold CW1217 offers versatility for various cookie dimensions.
Silicone molds provide easier chocolate removal and work well for beginners learning how to make chocolate covered Oreos with mold. The 3D Pavoflex Silicone Mold options from Pavoni Italia deliver professional results with simplified demolding processes. Magnetic molds, like the Magnetic Bar Chocolate Mold CW1000L37, ensure perfect alignment between mold halves for seamless finished products.
Selecting the Right Mold Size
Proper mold sizing ensures complete chocolate covered Oreos without excess chocolate or gaps. Standard Oreos measure approximately 1.75 inches in diameter and require molds with cavities measuring 45-50mm. The Ballotin Chocolate Praline Mold CW1025 accommodates regular Oreos perfectly, while Double Stuf varieties need deeper cavities found in molds like the Blank Cube Chocolate Mold CW1630.
Mini Oreos work beautifully with smaller cavity molds such as the Diamond Chocolate Praline Mold CW1024, creating bite-sized treats perfect for dessert tables. Measure your Oreos before purchasing molds to ensure proper fit and professional presentation.

Essential Materials and Equipment
Creating professional chocolate covered Oreos with mold requires quality ingredients and proper tools. Success depends on using correctly tempered chocolate, appropriate molds, and finishing supplies that elevate your final presentation.
|
Category |
Essential Items |
Professional Upgrade |
|
Chocolate |
Compound coating chocolate |
Tempered couverture chocolate |
|
Molds |
Basic polycarbonate molds |
|
|
Tools |
Offset spatula, scraper |
|
|
Coloring |
Basic food colors |
|
|
Application |
Brush or spoon |
Chocolate Selection for Molding
Chocolate covered Oreos achieve best results with properly tempered chocolate or high-quality compound coating. Couverture chocolate containing cocoa butter requires tempering but delivers superior snap and glossy finish. The Dark Chocolate 55% Venezuela provides rich flavor perfect for chocolate covered Oreos with mold, while White Chocolate Candy Melts offer beginner-friendly alternatives requiring no tempering.
Compound chocolate made with vegetable oils melts easily and sets quickly without tempering, making it ideal for home bakers. FCH Milk Chocolate Candy Melts Wafers provide consistent results and smooth coating for chocolate covered Oreos. Choose chocolate based on your skill level and desired finish quality.
Required Tools and Accessories
Professional chocolate covered Oreos with mold creation requires specific tools beyond basic kitchen equipment. A Digital Thermometer ensures accurate chocolate temperatures during tempering, while Rigid Plastic Scrapers remove excess chocolate cleanly from mold surfaces.
Dipping Fork Sets help position Oreos in molds without fingerprints, and Pastry Piping Bags allow precise chocolate application. A Chocolate Melter maintains consistent working temperatures for extended projects, preventing chocolate from seizing or becoming too thick.
Step-by-Step Molding Process
Mastering how to make chocolate covered Oreos with mold follows a systematic approach ensuring consistent professional results. Each step builds upon the previous, creating perfectly coated cookies with smooth surfaces and clean edges.
Preparing Your Workspace
Clean, organized workspace setup prevents common chocolate covered Oreos with mold mistakes. Ensure molds are completely clean and dry, as any moisture causes chocolate to seize and develop white spots. Polish molds with soft cotton cloth to remove fingerprints and dust that mar finished chocolate surfaces.
Room temperature affects chocolate working time significantly. Ideal workspace temperature ranges between 65-70°F (18-21°C) for chocolate covered Oreos production. Warmer environments cause chocolate to remain soft longer, while cooler spaces speed setting time. Gather all materials before beginning to maintain chocolate at proper working temperature throughout the process.
Tempering Chocolate Properly
Tempered chocolate creates chocolate covered Oreos with mold that snap cleanly and maintain glossy appearance. Melt two-thirds of your chocolate to 115-120°F (46-49°C) for dark chocolate or 105-110°F (40-43°C) for milk and white varieties. Add remaining chocolate in small amounts, stirring constantly until temperature drops to 82-84°F (28-29°C).
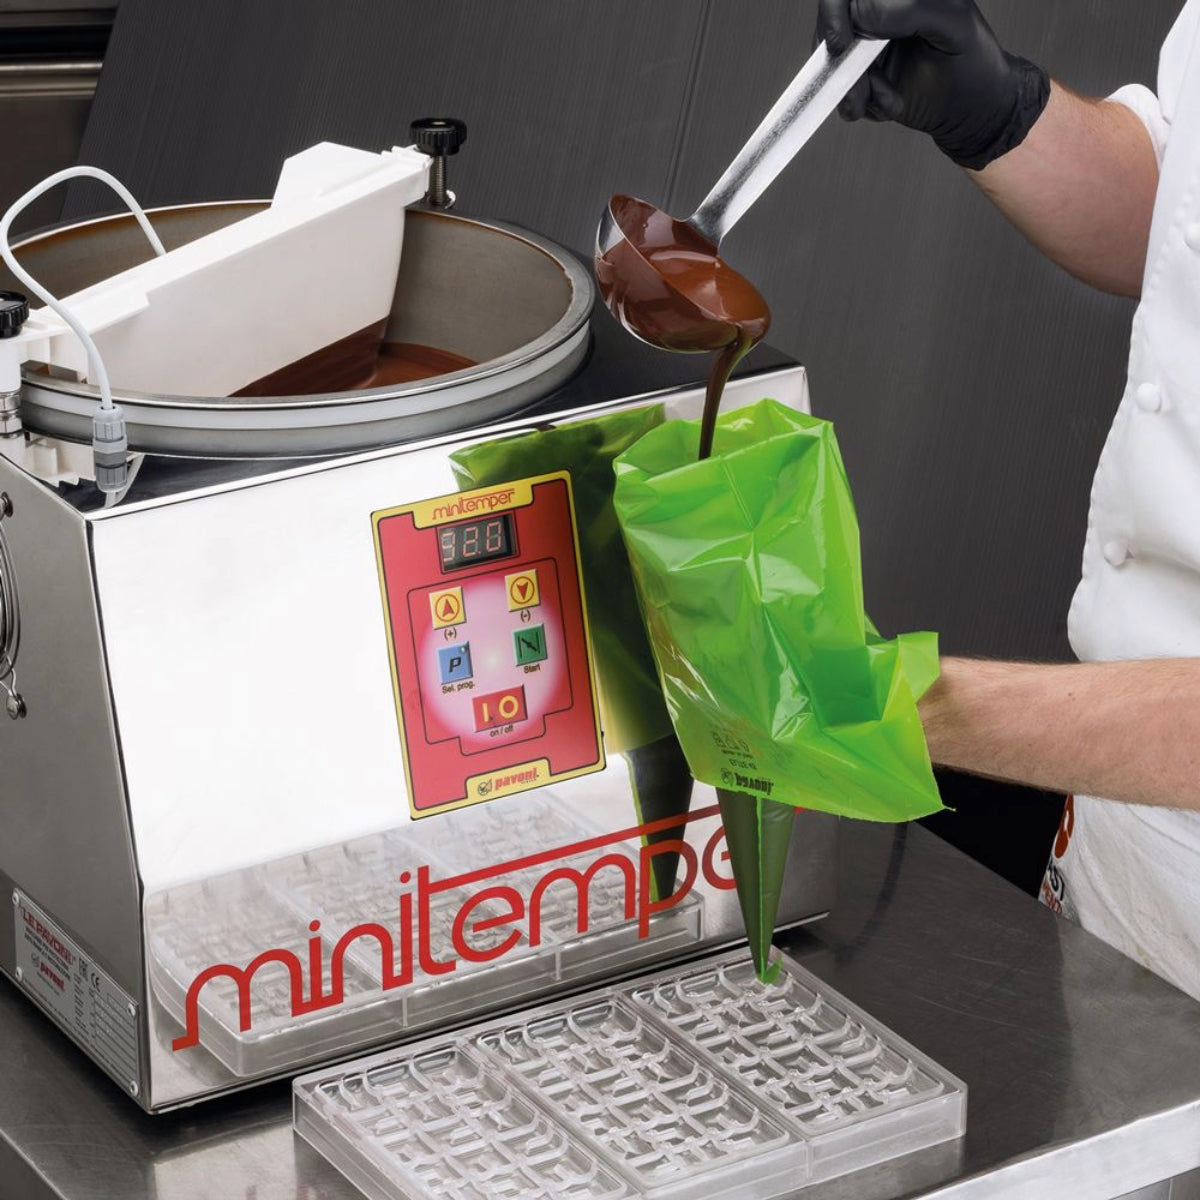
Reheat chocolate gently to working temperature: 88-90°F (31-32°C) for dark chocolate, 84-86°F (29-30°C) for milk chocolate, and 82-84°F (28-29°C) for white chocolate. Test temper by spreading small amount on parchment paper; properly tempered chocolate covered Oreos set within 3-5 minutes with matte finish that becomes glossy as it fully crystallizes. The Pavoni Minitemper automates this process for consistent results.
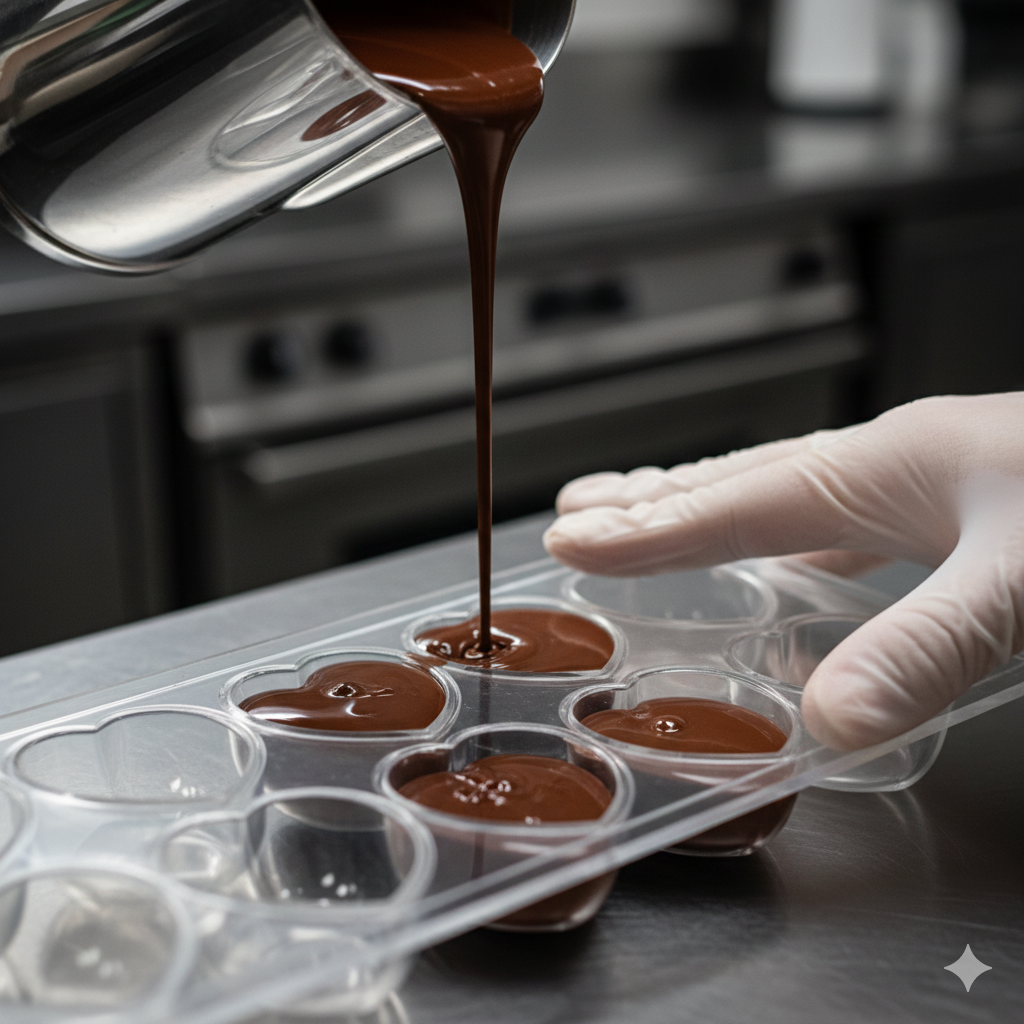
Creating the Base Chocolate Layer
Pour tempered chocolate into mold cavities until half full for chocolate covered Oreos with mold. Tap mold firmly on countertop 10-15 times to release air bubbles that create holes in finished surface. Use Angular Plastic Spatula to spread chocolate evenly across cavity bottoms, ensuring complete coverage without thin spots.
Allow base layer to set until surface appears matte but chocolate remains slightly tacky, approximately 5-8 minutes. This partial set creates strong bond with Oreo cookie and prevents cookie from sinking through chocolate layer. Timing varies based on room temperature and chocolate thickness.
Positioning Oreos in Molds
Place Oreos gently into prepared mold cavities once base chocolate achieves proper set. Press cookies down slightly to ensure good contact with bottom chocolate layer, but avoid pressing too hard which forces chocolate up around cookie edges. Centered placement creates even chocolate coating around entire cookie perimeter.
For chocolate covered Oreos with mold featuring designs, position cookies to showcase patterns effectively. Consider orientation before setting cookies in place, as repositioning risks disrupting base chocolate layer. Use clean Dipping Forks to adjust cookie position without leaving fingerprints on chocolate surfaces.
Sealing with Top Chocolate Layer
Pour additional tempered chocolate over positioned Oreos, filling mold cavities completely for chocolate covered Oreos with mold. Tap mold vigorously to eliminate air pockets between cookie and chocolate, ensuring solid coating without gaps. Use Professional Scraper to remove excess chocolate from mold surface, creating clean backing that sits flat after demolding.
Allow chocolate covered Oreos to crystallize completely at room temperature or refrigerate for 10-15 minutes. Chocolate contracts slightly during setting, naturally releasing from mold walls. Premature demolding causes surface damage and fingerprints that diminish professional appearance.
Advanced Decoration Techniques
Professional chocolate covered Oreos with mold incorporate decorative elements that transform simple treats into showstopping confections. Strategic use of colors, textures, and finishing touches elevates presentation significantly.
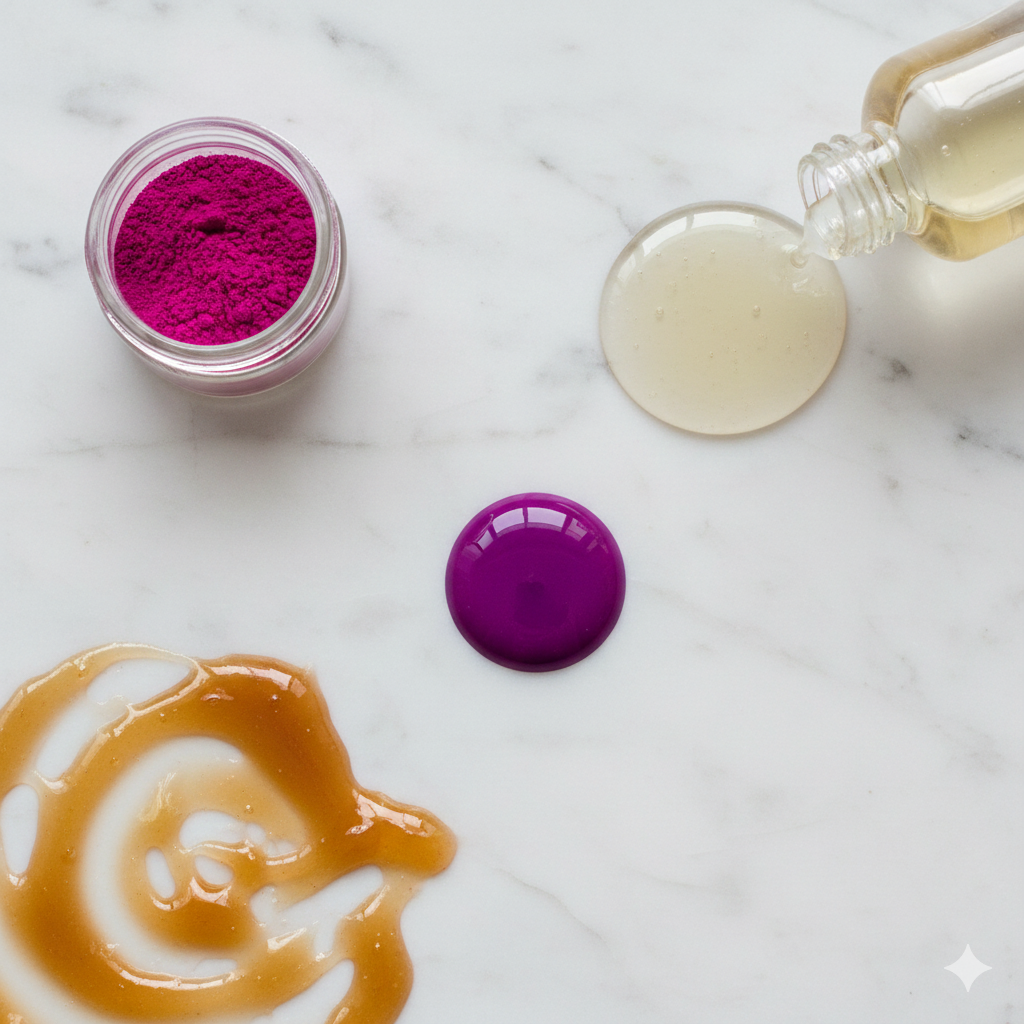
Adding Color with Cocoa Butter
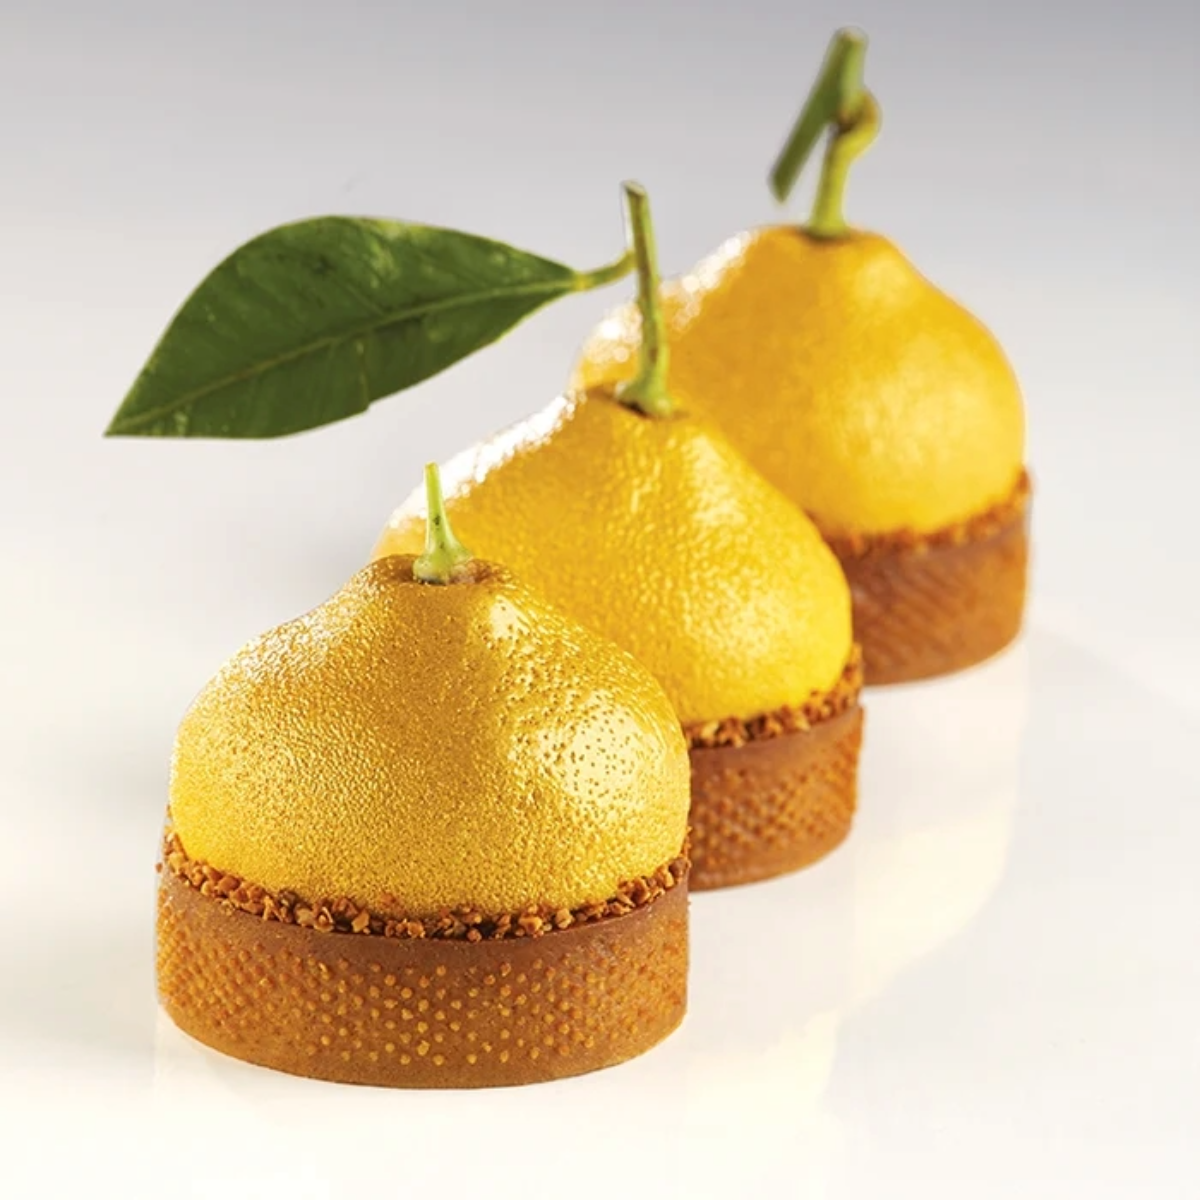
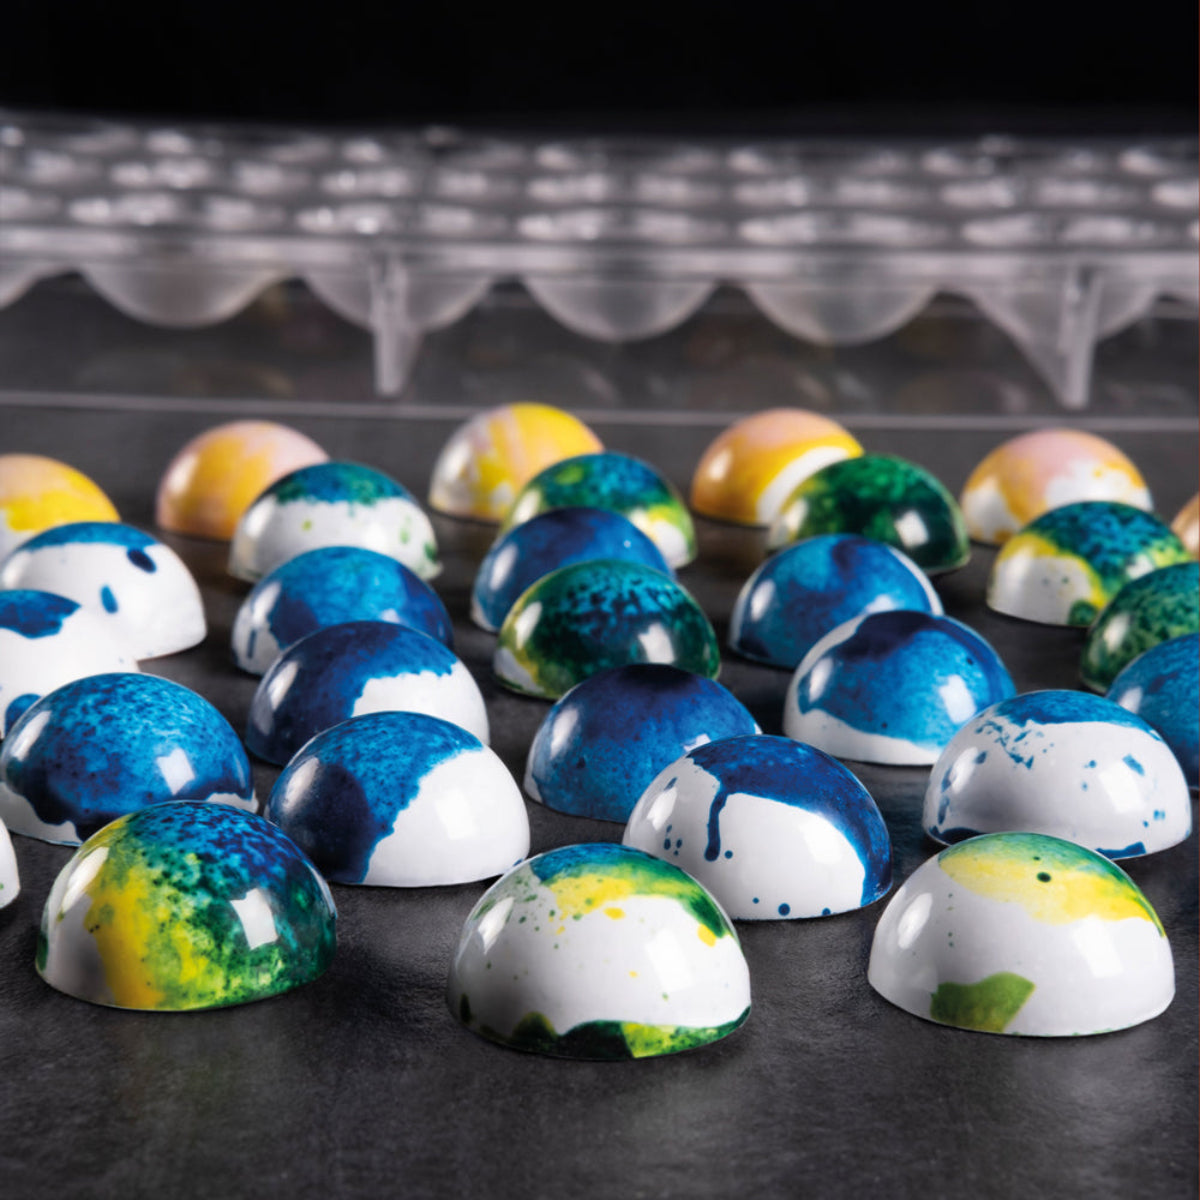
Cocoa butter coloring creates vibrant chocolate covered Oreos without affecting chocolate temper or texture. The Pavoni Italia professional color range includes cocoa butter colors specifically formulated for chocolate work, offering wide spectrum from Apple Green Cocoa Butter to Ruby Cocoa Butter.
Paint designs directly into clean molds before adding chocolate base layer. Warm cocoa butter colors to liquid consistency, then apply with fine brushes for detailed work or use KREA Swiss HOTCHOC heated airless spray gun for gradient effects and even coverage. The HOTCHOC system maintains ideal temperature for cocoa butter application, preventing crystallization during spraying and creating professional finishes impossible to achieve with traditional brushes.
Using Transfer Sheets
Transfer sheets imprint patterns onto chocolate covered Oreos with mold surfaces, creating professional designs effortlessly. Transfer Sheets with various patterns adhere to tempered chocolate, releasing intricate designs as chocolate sets. Cut transfer sheets to fit mold dimensions, placing printed side against chocolate immediately after pouring base layer.
Position Oreos as usual, then add top chocolate layer. Transfer sheet patterns appear on chocolate backing once demolded, creating decorated chocolate covered Oreos without hand-painting skills. Seasonal designs like Transfer Sheets Snowman or Transfer Sheets Hearts add festive touches to holiday treats.
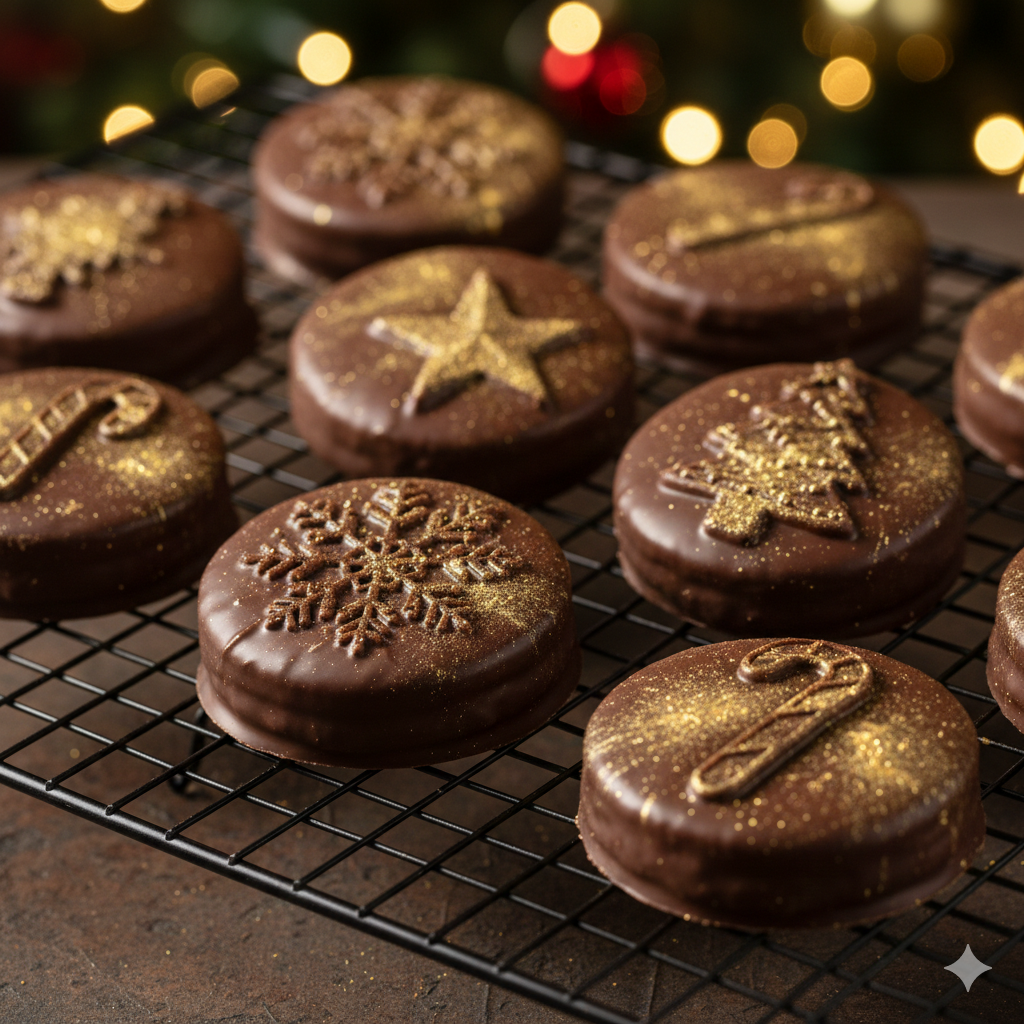
Metallic Finishes and Dusting
Metallized powders create luxurious chocolate covered Oreos with mold perfect for elegant events. Brilliant Gold Metallized Powder dusted onto chocolate surfaces adds shimmer, while Brilliant Silver Metallized Powder creates sophisticated shine.
Apply metallic powders after demolding chocolate covered Oreos using soft brushes or cotton. For even coverage, mix powder with neutral alcohol and spray using airbrush equipment from the KREA Swiss professional line. The spray gun collection offers precision control for consistent metallic finishes across multiple pieces.
Troubleshooting Common Issues
Even experienced chocolatiers encounter challenges when making chocolate covered Oreos with mold. Understanding common problems and solutions ensures successful results every time.
Chocolate Not Releasing from Molds
Improperly tempered chocolate causes chocolate covered Oreos to stick stubbornly in molds. Ensure chocolate reaches proper working temperature and passes temper test before pouring. Molds must be completely dry and at room temperature; cold molds cause chocolate to contract unevenly, creating adhesion.
If chocolate sticks despite proper tempering, place filled molds in refrigerator for 5-10 minutes. Extreme temperature change causes rapid contraction, usually releasing stubborn pieces. Flex silicone molds gently or tap polycarbonate molds firmly to loosen chocolate covered Oreos with mold. Never force pieces from molds as this causes surface damage.
Air Bubbles and Holes
Air pockets trapped during molding create unsightly holes in chocolate covered Oreos with mold surfaces. Vigorous tapping releases bubbles before chocolate sets. Tap mold on counter at least 10-15 times after each chocolate addition, working air toward mold openings.
Thin chocolate or chocolate that's too cool traps air more readily. Maintain proper working temperature throughout molding process. Using 3D Pavoflex molds reduces air bubble problems thanks to their flexible nature that releases trapped air easily during tapping.
Dull or Streaky Finish
Bloom, moisture, or improper cooling creates dull, streaky chocolate covered Oreos. Fat bloom appears when chocolate warms and cools repeatedly, causing cocoa butter to separate and crystallize on surfaces. Sugar bloom occurs when moisture contacts chocolate, dissolving sugar that recrystallizes as white spots.
Prevent bloom by maintaining consistent temperature during crystallization. Allow chocolate covered Oreos with mold to set completely at room temperature rather than refrigerating unless absolutely necessary. Store finished pieces in cool, dry environment away from temperature fluctuations. Properly tempered chocolate using equipment like the Automatic Tempering Machine virtually eliminates bloom issues.
Storage and Presentation
Proper storage preserves chocolate covered Oreos with mold quality while creative presentation maximizes visual impact for gifts and events.
Optimal Storage Conditions
Store chocolate covered Oreos in airtight containers at 60-65°F (15-18°C) with humidity below 50%. Avoid refrigeration unless absolutely necessary, as temperature changes cause condensation that leads to sugar bloom. Separate layers with parchment paper to prevent chocolates from sticking together.
Properly stored chocolate covered Oreos with mold maintain quality for 2-3 weeks. Compound chocolate coatings last slightly longer than tempered couverture due to vegetable oil stability. Mark storage containers with production dates to track freshness.
Creative Display Ideas
Present chocolate covered Oreos with mold using tiered displays, decorative boxes, or clear gift bags tied with ribbons. Display options showcase chocolates while protecting them from handling. The Chocolate Vertical Display presents multiple pieces elegantly, perfect for parties and events.
Individual clear boxes allow recipients to appreciate decorative details without unwrapping. Arrange chocolate covered Oreos in color-coordinated patterns or create ombre effects using various colored chocolates. Add complementary decorations like edible flowers, gold leaf, or themed toppers for special occasions.
Professional Tips from Expert Chocolatiers
Master chocolatiers share insights for elevating how to make chocolate covered Oreos with mold from hobby craft to professional-quality confections.
Working Temperature Control
Consistent temperature control separates amateur from professional chocolate covered Oreos with mold. Invest in quality thermometer and maintain chocolate within narrow temperature range throughout molding. Chocolate that's too hot becomes thin and takes excessive time to set; too cool chocolate develops thick consistency that traps air and creates poor surface finish.
Use heating pad or chocolate melter to maintain working temperature during extended projects. KREA Swiss spray equipment maintains optimal temperature automatically when applying colored cocoa butter, ensuring consistent results across multiple pieces.
Scaling Production
Create larger batches of chocolate covered Oreos efficiently by organizing workspace strategically. Set up assembly-line style operation: temper chocolate, fill multiple mold bases simultaneously, position Oreos across all molds, then seal with top layers. This systematic approach maximizes chocolate working time before temperature drops.
Professional mold collections allow simultaneous production of multiple pieces. Consider investing in books by master chocolatiers to learn advanced techniques and design inspiration for your chocolate covered Oreos with mold creations.
Quality Ingredient Investment
Premium ingredients produce superior chocolate covered Oreos with mold that justify higher price points. Single-origin chocolates like Venezuelan cocoa products offer distinctive flavor profiles that elevate simple cookies into gourmet confections. The Pavoni professional color range provides food-safe, high-quality pigments specifically formulated for chocolate work, delivering vibrant hues without compromising chocolate texture or temper.
Conclusion
Mastering how to make chocolate covered Oreos with mold combines technical skill with creative expression, transforming ordinary cookies into impressive confections perfect for any occasion. Success depends on understanding chocolate tempering, selecting appropriate molds, and executing systematic molding processes that ensure consistent professional results. Whether creating simple treats for family gatherings or elaborate designs for special events, the techniques outlined in this guide provide foundation for developing your chocolate-making expertise. Explore the comprehensive collection of professional chocolate molds, coloring systems, and specialized equipment at Zucchero Canada to elevate your confectionery creations to new heights.
References
Barry Callebaut. (2024). Chocolate tempering guide. Barry Callebaut Chocolate Academy. https://www.chocolate-academy.com
Greweling, P. (2023). Chocolates and confections: Formula, theory, and technique for the artisan confectioner (3rd ed.). Wiley.
Pavoni Italia. (2024). Professional color collections and raw materials. https://pavonitalia.com/en/collections/professional-collezioni-colori-e-materie-prime
KREA Swiss. (2024). Food equipment and spray systems. https://kreaswiss.com/food-equipment
National Confectioners Association. (2024). Chocolate manufacturing standards and best practices. NCA Technical Reference Manual.


Leave a comment
All comments are moderated before being published.
This site is protected by hCaptcha and the hCaptcha Privacy Policy and Terms of Service apply.